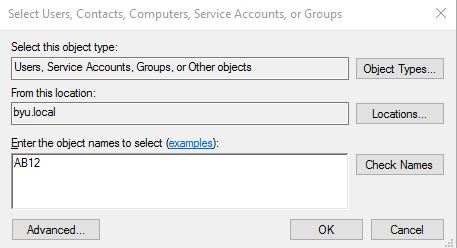
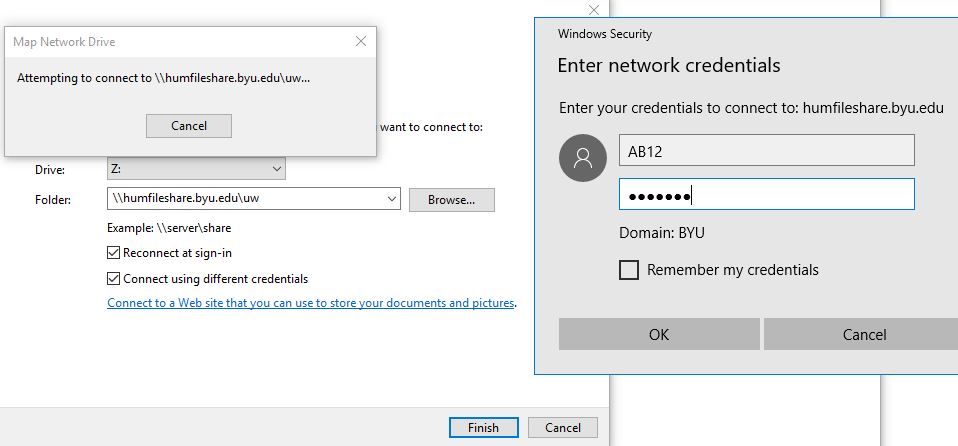
Here are the steps:
Find out the person’s netid (Ex. AB12)
Find out their department (Ex. University Writing)
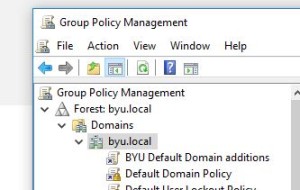
Open up GROUP POLICY MANAGER
- If you don’t have group policy manager go to this link
- If you do have it and don’t know where it is
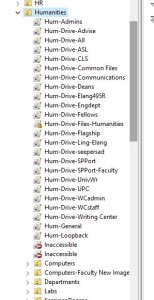
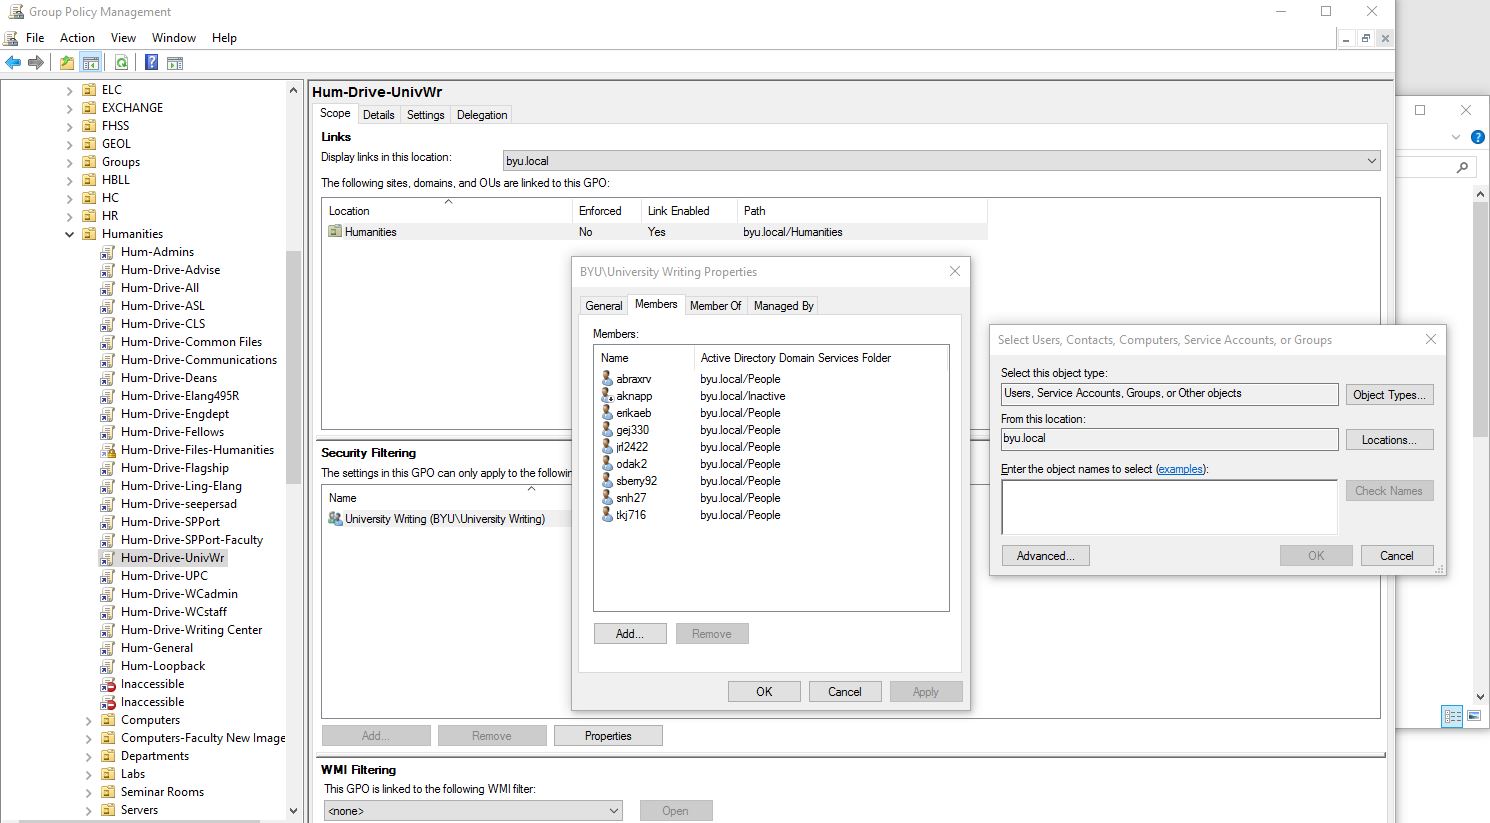
Find their specific shared drive in the top drive section (not computers) (Ex. UnivWr)
Click on the University Writing group under Security Filtering
- Double click on the group or select properties
Once the students netid has been added, confirm that their id is shown under the members tab.
Next go to their office and connect the drive.
To connect the drive go to file explorer>This PC> click on the computer tab at the top> Map a network drive
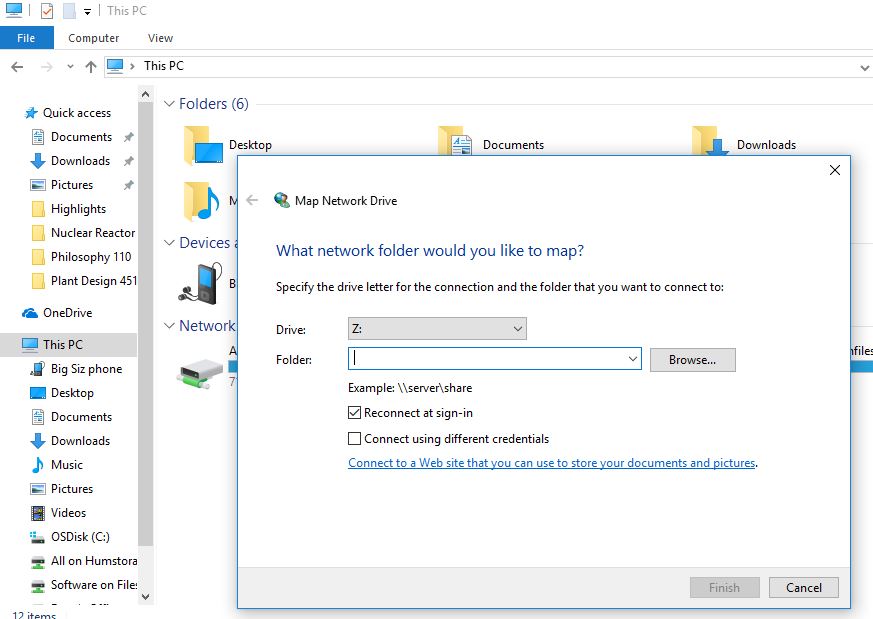
- Type in the file path if you know it. All of them start with \\humfileshare.byu.edu\
- IF YOU DON’T KNOW THE FILE PATH
- type in the base file path \\humfileshare.byu.edu\
- Uncheck reconnect at login
- Check Connect using different credentials
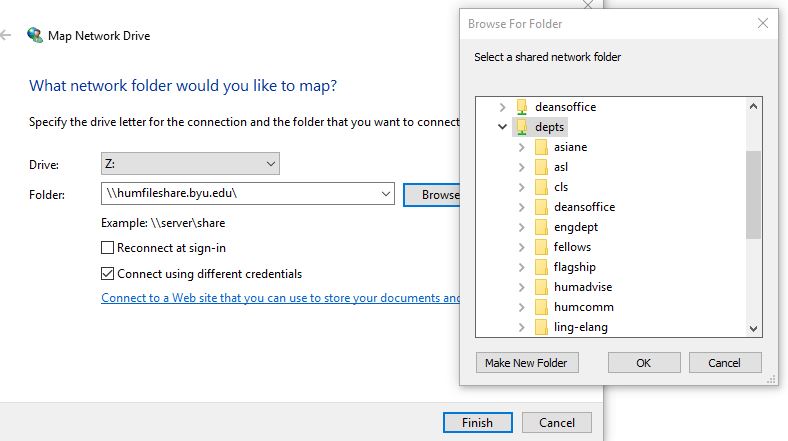
- Don’t click finish, click BROWSE
- Type in YOUR credentials, not the students, not the humsupport stuff
- If yours don’t work, talk to the boss (Mel Smith, Devin Asay) he will need to add you to an administrator list
- Expand the humfilshare.byu.edu
- select “depts”
- Inside is a long list of Shared folders, those are the filepath names. (Ex. Humanities Advisement is humadvise)
- Type in YOUR credentials, not the students, not the humsupport stuff
- type in the base file path \\humfileshare.byu.edu\
- Now you may need to log out and log back in to stop the filepath from using your credentials
- Go back to the previous steps and sign in using the students credentials to \\humfileshare.byu.edu\humadvise or \uw or \als or whatever it is.

