FOR PART TIME EMPLOYEES AND LABS, SEE BELOW BEFORE FOLLOWING THESE INSTRUCTIONS
Adobe Creative Cloud can be found in Software Center (for Windows) and Self Service (for Macs). Search for Adobe CC Desktop and hit Install. This might take a few minutes.
Note: If Software Center/Self Service isn’t working, the downloads for Windows and Mac can be found at adobe.byu.edu.
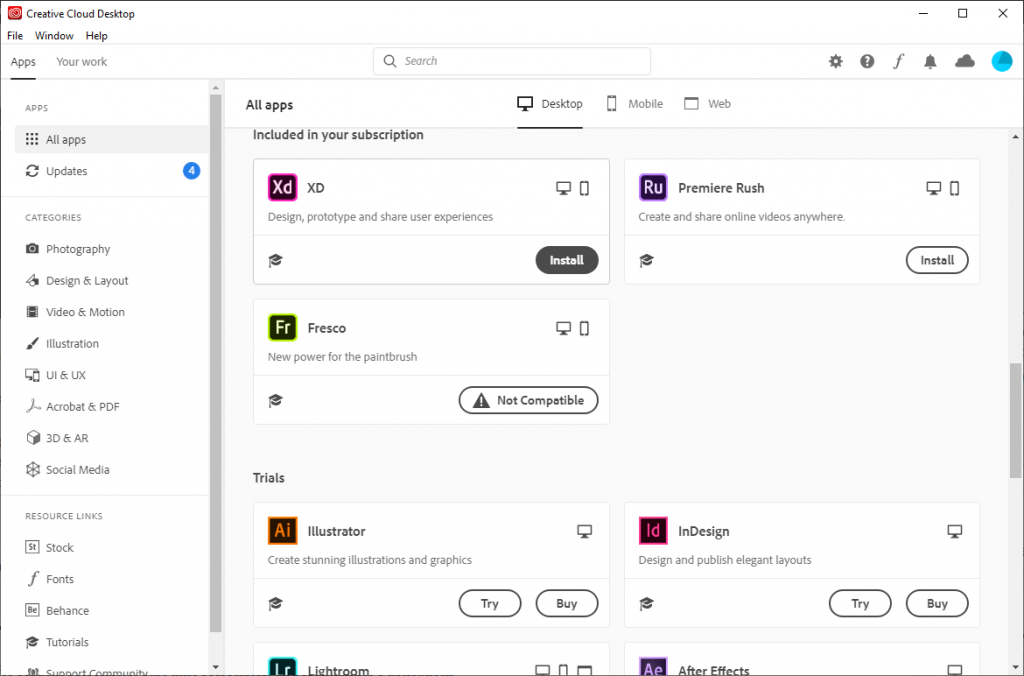
Once Adobe CC is installed, running the program Adobe Creative Cloud (or just Creative Cloud on Macs) from the Start Menu or Applications folder will bring up this window (or similar):

Full-time BYU employees (faculty and staff) should already have access to the Adobe Creative Cloud suite of software. They can just sign in with NetID@byu.edu and password (will redirect to a BYU-branded login and Duo 2FA security screen).
Once they’ve signed in and passed Duo, individual CC Suite software can be installed on an as-needed basis (Photoshop, InDesign, Illustrator, Premiere, etc). Simply press Install under the Program and wait.
Note: if installation fails, close all other running programs. If it still fails, restart the computer.
FOR STUDENT EMPLOYEES/PART-TIME FACULTY & STAFF:
This is mostly for student secretaries, part time secretaries, and Humanities Publications students. Occasionally a TA helping a professor with a project.
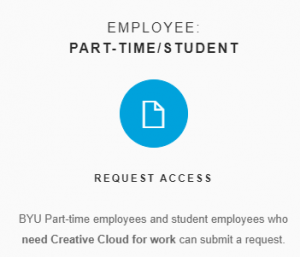
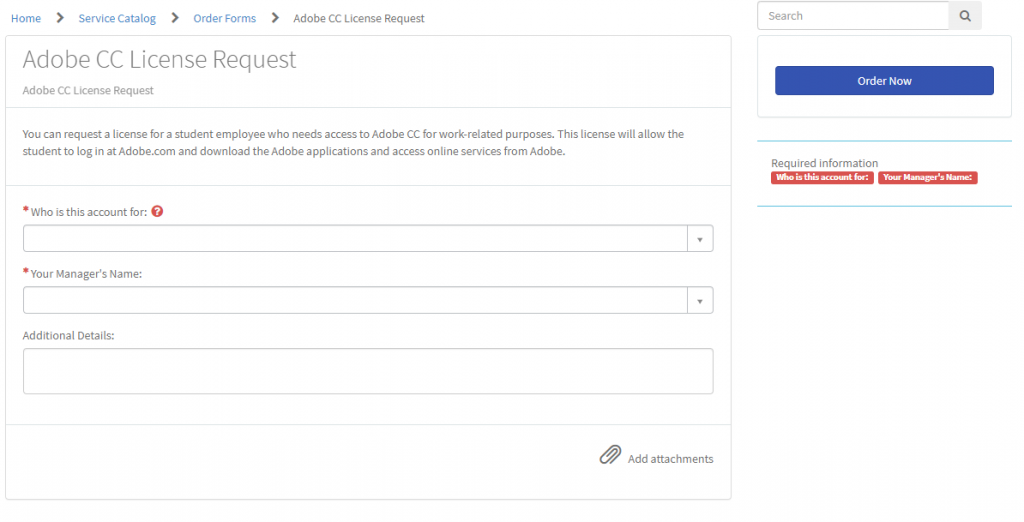
At adobe.byu.edu, hit the “Request Access” button. This will lead to an OIT form where the user will need to fill in the required information then hit “Order Now”.
This might take a while to be approved. Once access is granted, follow the normal procedures above.
FOR LABS
If Adobe CC isn’t already installed, use the Lab installers found at files.byu.edu\Software\Common\Adobe\Adobe CC\CC-Lab (.pkg for Mac, .msi for Windows).
Lab users will need to sign in with their NetID@byu.edu, password, and Duo as normal.
“You don’t have access to manage apps” error message
This sometimes happens even if the user has full permissions. To fix it follow these instructions:
Windows 10:
- Sign out of the Adobe Creative Cloud Desktop App.
- Browse to the following folder: C:\Program Files (x86)\Common Files\Adobe\OOBE\Configs
- Delete the ServiceConfig.xml file.
- Open the Adobe Creative Cloud Desktop App and sign in.
- The apps should now show when clicking Apps from the top menu.
Mac:
- Sign out of the Adobe Creative Cloud Desktop App.
- Click Go from the menu at the top of the screen.
- From the list, choose Go to folder.
- Copy and paste /Library/Application Support/Adobe/OOBE/Configs into the search box then click Go.
- Click the ServiceConfig.xml file and choose Move to Trash.
- Open the Adobe Creative Cloud Desktop App and sign in.
- The apps should now show when clicking on Apps from the top menu.
Note: If you don’t sign out before deleting the ServiceConfig.xml, the apps will not show and you will need to sign out and back into Adobe Creative Cloud.
(https://wvu.teamdynamix.com/TDClient/1976/Portal/KB/ArticleDet?ID=88013)


