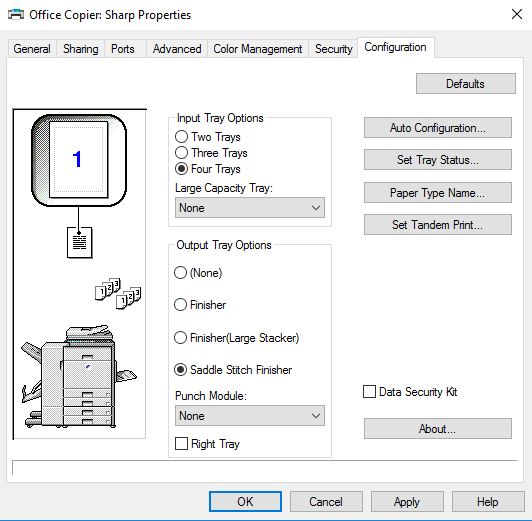
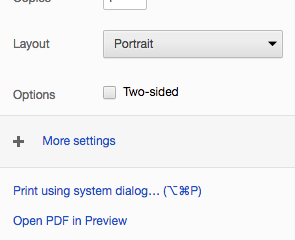
Do it in this order:
- Google the printer
- Download the correct driver package (if you do it without the package, it probably won’t work)
- Install using the user friendly tutorial
- Make sure they have a copy code in the “Job Handling” section
GOOGLE THE PRINTER
- Look at the printer and read off what type it is.
- Type the name into Google and click on the SharpUSA website
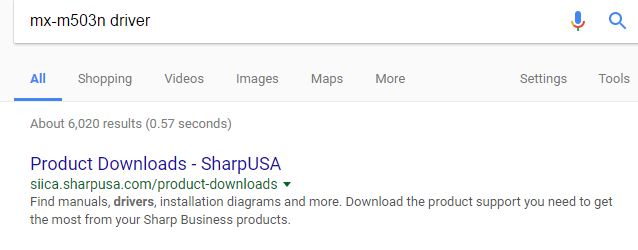
DOWNLOAD THE CORRECT DRIVER
- select the correct Product (the printer name MX-M503n)
- select drivers and utilities
- If you want the mac
- Click on the MAC OS Driver Package Software for the current Operating System
- If you don’t know it, grab the latest one or look it up on the computer
- Download it
- Run the .dmg file
- click continue after you type in the correct credentials.
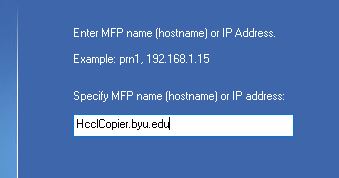
- Set up to the correct hostname given in the excel spreadsheet
- (Ex. HcclCopier.byu.edu)
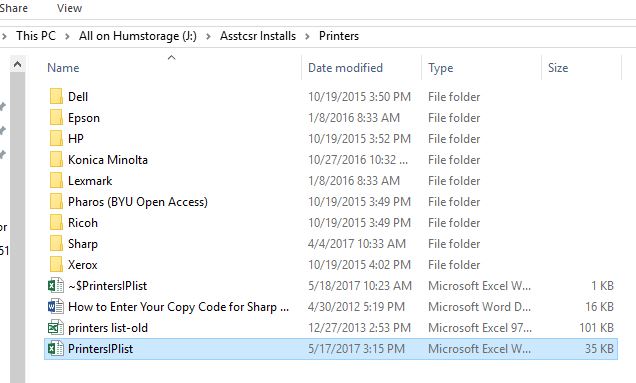
- Copy Code in Job Handling is totally different for macs.. See the end of this post
- Click on the MAC OS Driver Package Software for the current Operating System
- If you want the windows (what this tutorial is done on ie. more detailed)
- Click on the Windows 64 bit OS Driver Package
- Be sure it contains PCL Drivers
- Download it
- Click on the Windows 64 bit OS Driver Package
INSTALL USING THE USER FRIENDLY TUTORIAL
- May need to extract the files because they are zipped. Just click at the top where it says extract
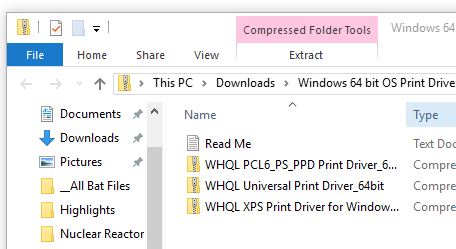
- Open the one containing PCL6 Drivers
- When I made this tutorial it was (WHQL PCL6_PS_PPD Print Driver_64bit)
- Install and Run the Application
- When you starts up, select Custom Installation
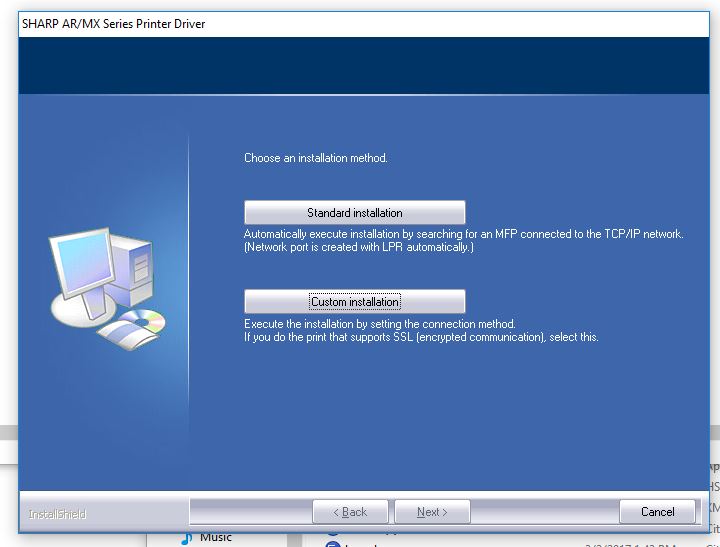
- Here, I always select LPR Direct Print (Specify Address)
- Then type in the host name
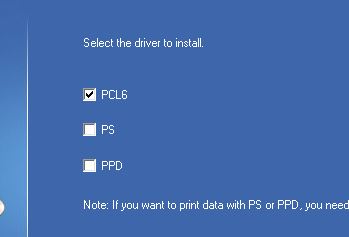
- Select the type that your printer is, or closest.
- Select just the PCL6 Driver
- Default Printer is up to you. Just click yes for now.
- The name is up to you as well. Make it easy for the professor.
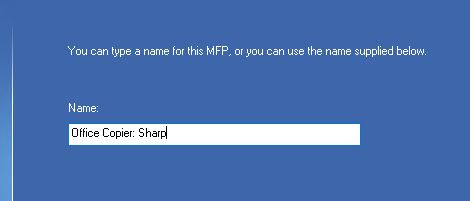
- Click Next to install the driver
- It should say that it completed. Click OK
- Now: go to the control panel and look at the printers, because it still isn’t set up.
COPY CODE/JOB HANDLING
- Now you need to right click again on the printer
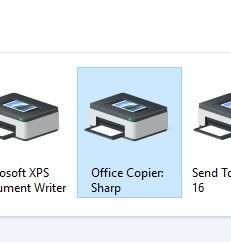
- select printer preferences
- Job Handling
- Check box User Number
- Type in the professor’s copy code (some don’t have one)
- If they don’t know it, then call their secretary
- Type in the professor’s copy code (some don’t have one)
- Copy Codes are the number one printer issue in the department.
- Make sure that if they are printing to the sharp, that they have the code in there.
- (honestly it is mostly mac users that don’t put the copy codes in) see below
<<SIDE NOTE>>
MAC COPY CODE/JOB HANDLING STUFF


