
Nuking a Dell Computer
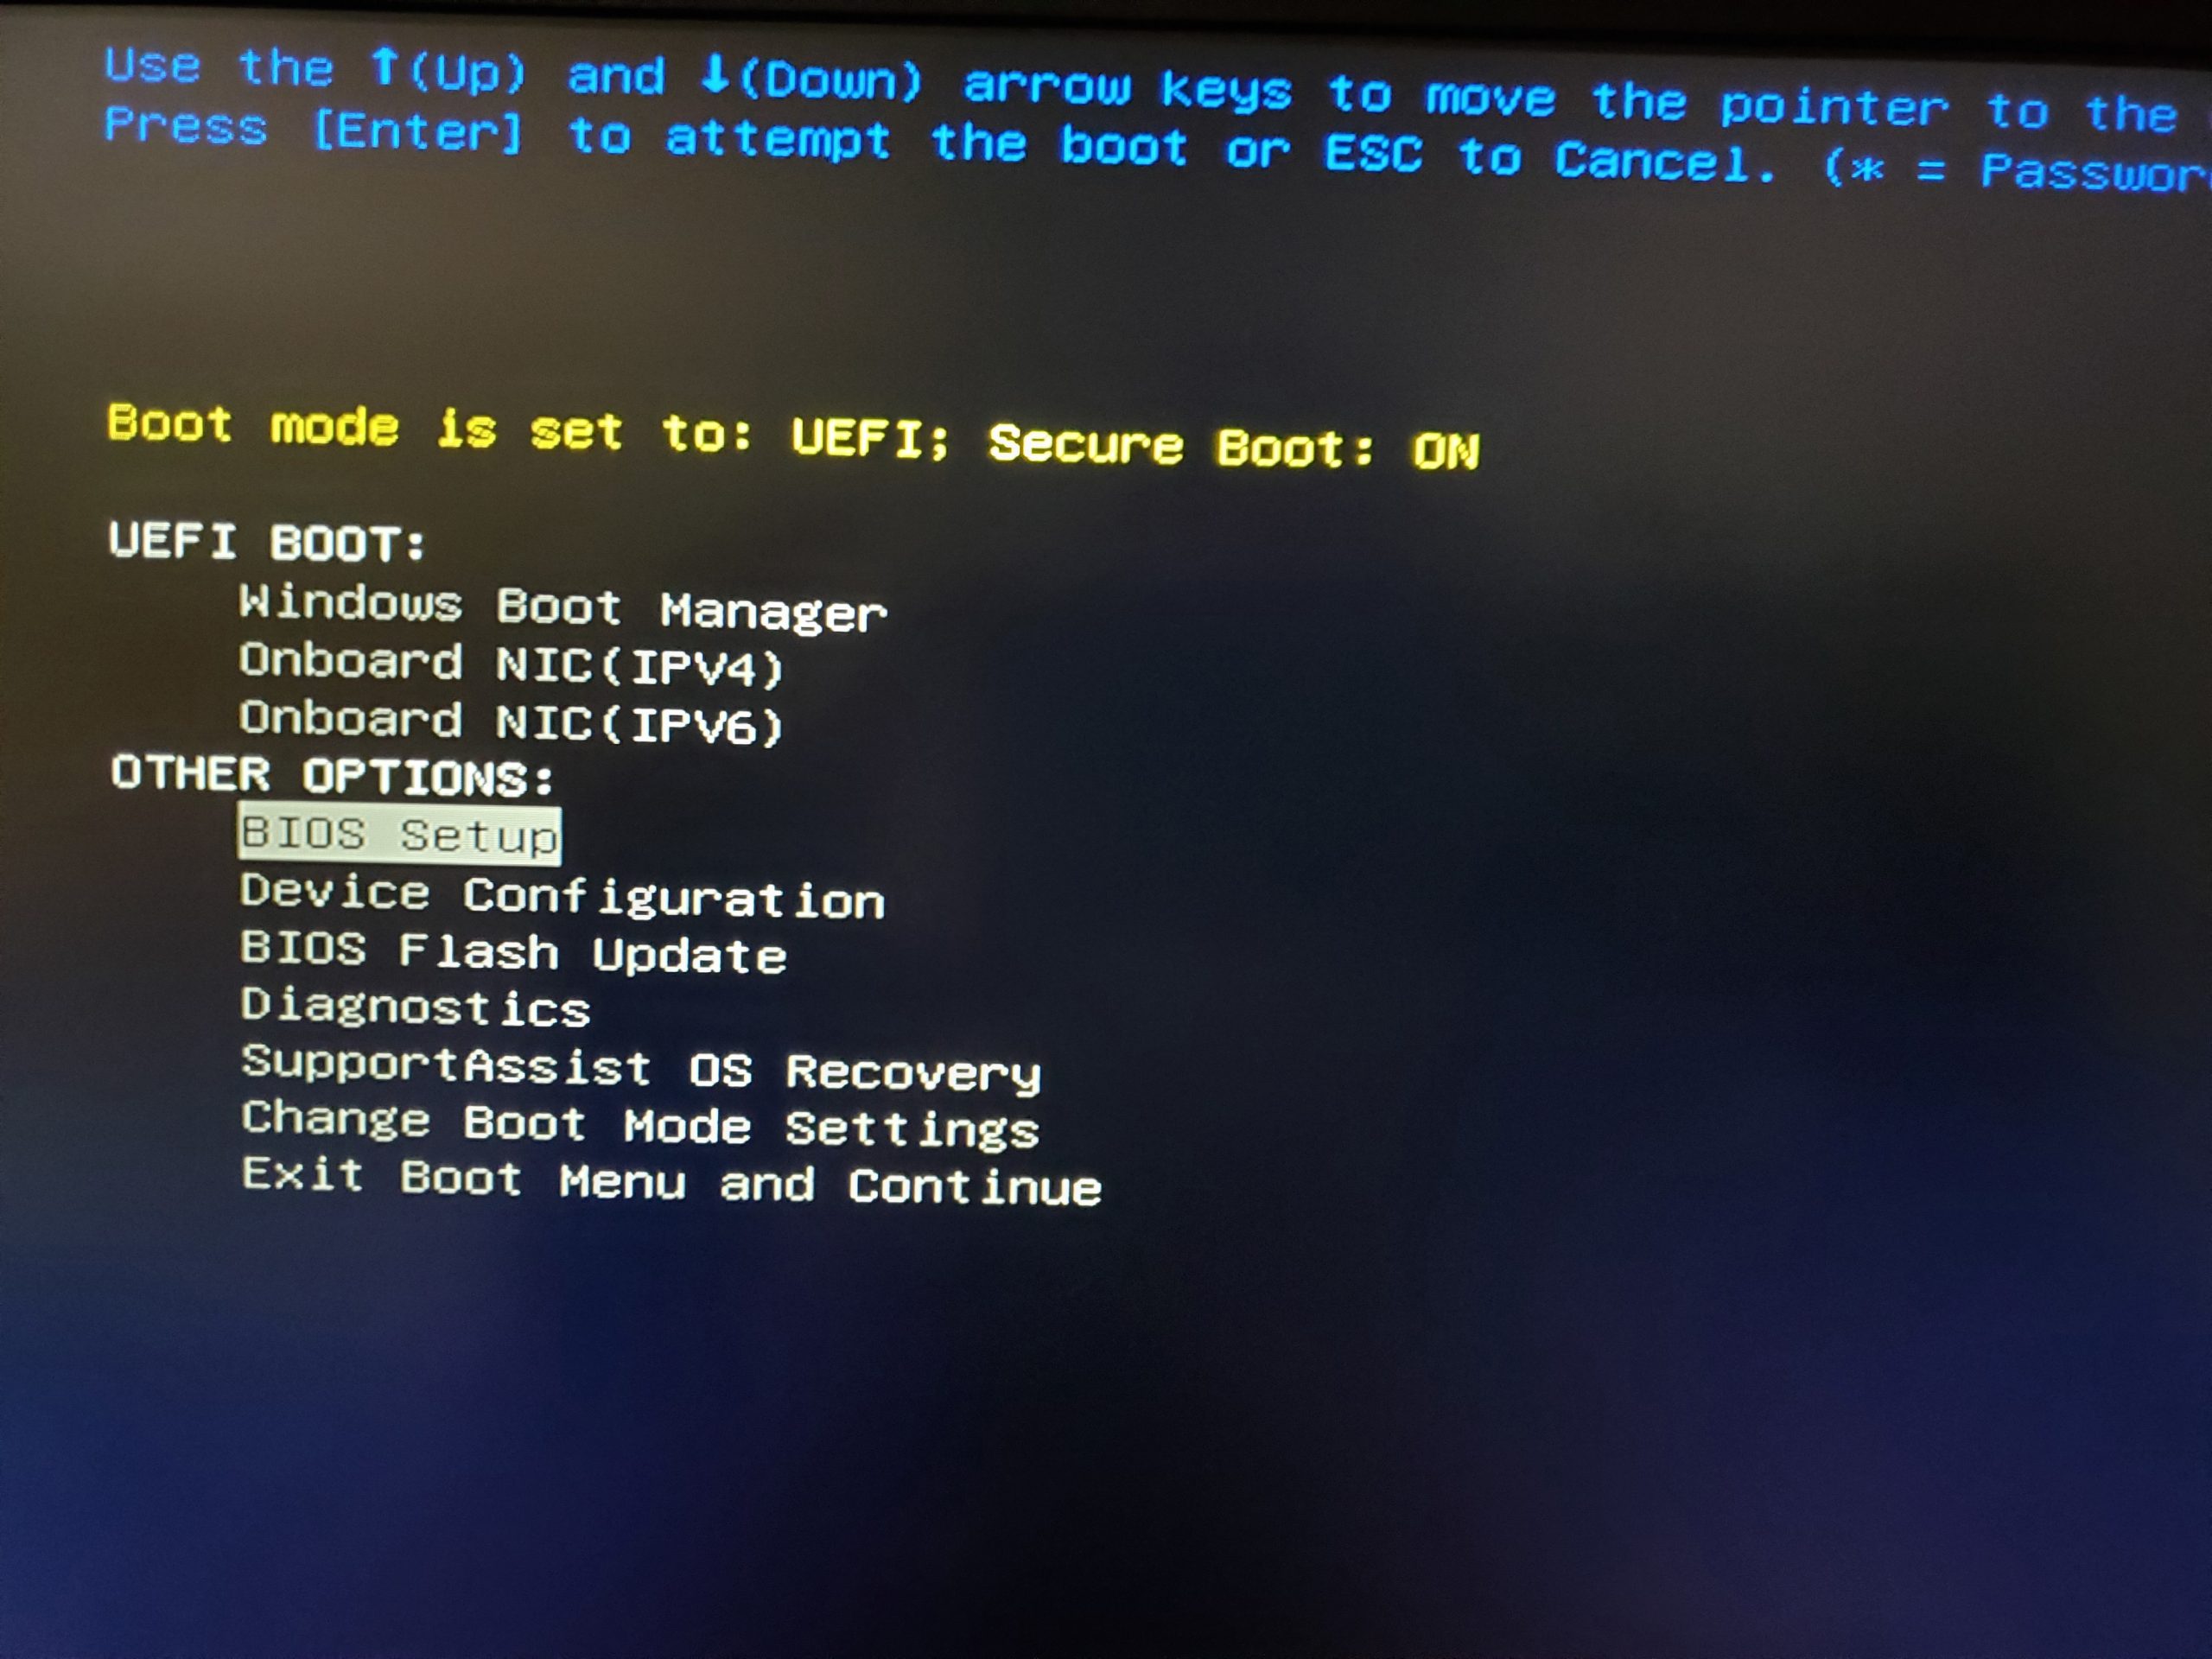
Once again, spam F12 on startup to get the BIOS screen. This time, select BIOS Setup.
Now a screen like below should pop up. Hit the plus sign next to “Maintenance” and then click Data Wipe. Now on the right side, check the box that says Wipe on Next Boot. You should get a popup like below where you have to click OK. Then click Apply, then Exit and the computer should automatically reboot and start wiping the data. Click “Continue” then “ERASE” when the computer prompts you. If done successfully, the screen should turn green and say “Data Wipe Completed Successfully”. This is a safe way to wipe for an SSD.

Don’t forget to double check that the device has been marked as surplussed in HelpDesk before putting it in the surplus pile.
Dell Data Wipe (Newer Version)
- The Data Wipe feature is invoked from within BIOS Setup. At the Dell splash screen, press F2 to enter BIOS Setup.

2. Once in the BIOS Setup application, the user can select “Wipe on Next Boot” from the Security > Data Wipe option or Advanced > Maintenance to invoke data wipe for all internal drives after the reboot. The BIOS asks for user confirmation twice before allowing the user to exit setup with the “Wipe on Next Boot” option selected to ensure that the user intends to erase all storage devices.

3. As an added safety measure, the BIOS adjusts the default selection for the final prompt to further enforce direct user acceptance of this operation.

4. Once the option is successfully selected and the prompts have been confirmed, the user exits BIOS Setup to force a reboot of the system and begin the data wipe process. After the reboot, the BIOS once again prompts for several confirmations before sending the data wipe instructions to the customer storage devices.

5. The user can select to cancel the drive wipe procedure at either of these prompts, and the data wipe trigger is reset. The process must be reinitiated from BIOS Setup to restart the erasing procedure, if wanted.

6. A successful erase procedure is reported by a green dialog and the “Data Wipe Completed Successfully” message. If there are any failures, they are presented instead of the success dialog: “Reboot the system and reinstall the OS”.
Nuking an Older Mac (pre-2022)
The easiest way to nuke a Mac is to shut down the device, then click the power button and hold down Command+R (the command key and the R key) if it is an older Mac (You then have to wait till it boots up but you should eventually see something like this):

Go to “Recovery Assistant” in the top left menu, click “Erase Mac” at the bottom. There will be 2 more options to click “Erase Mac”. Choose it each time.
Or it may look like this:

Go ahead and hit Enter. The next screen looks like this:
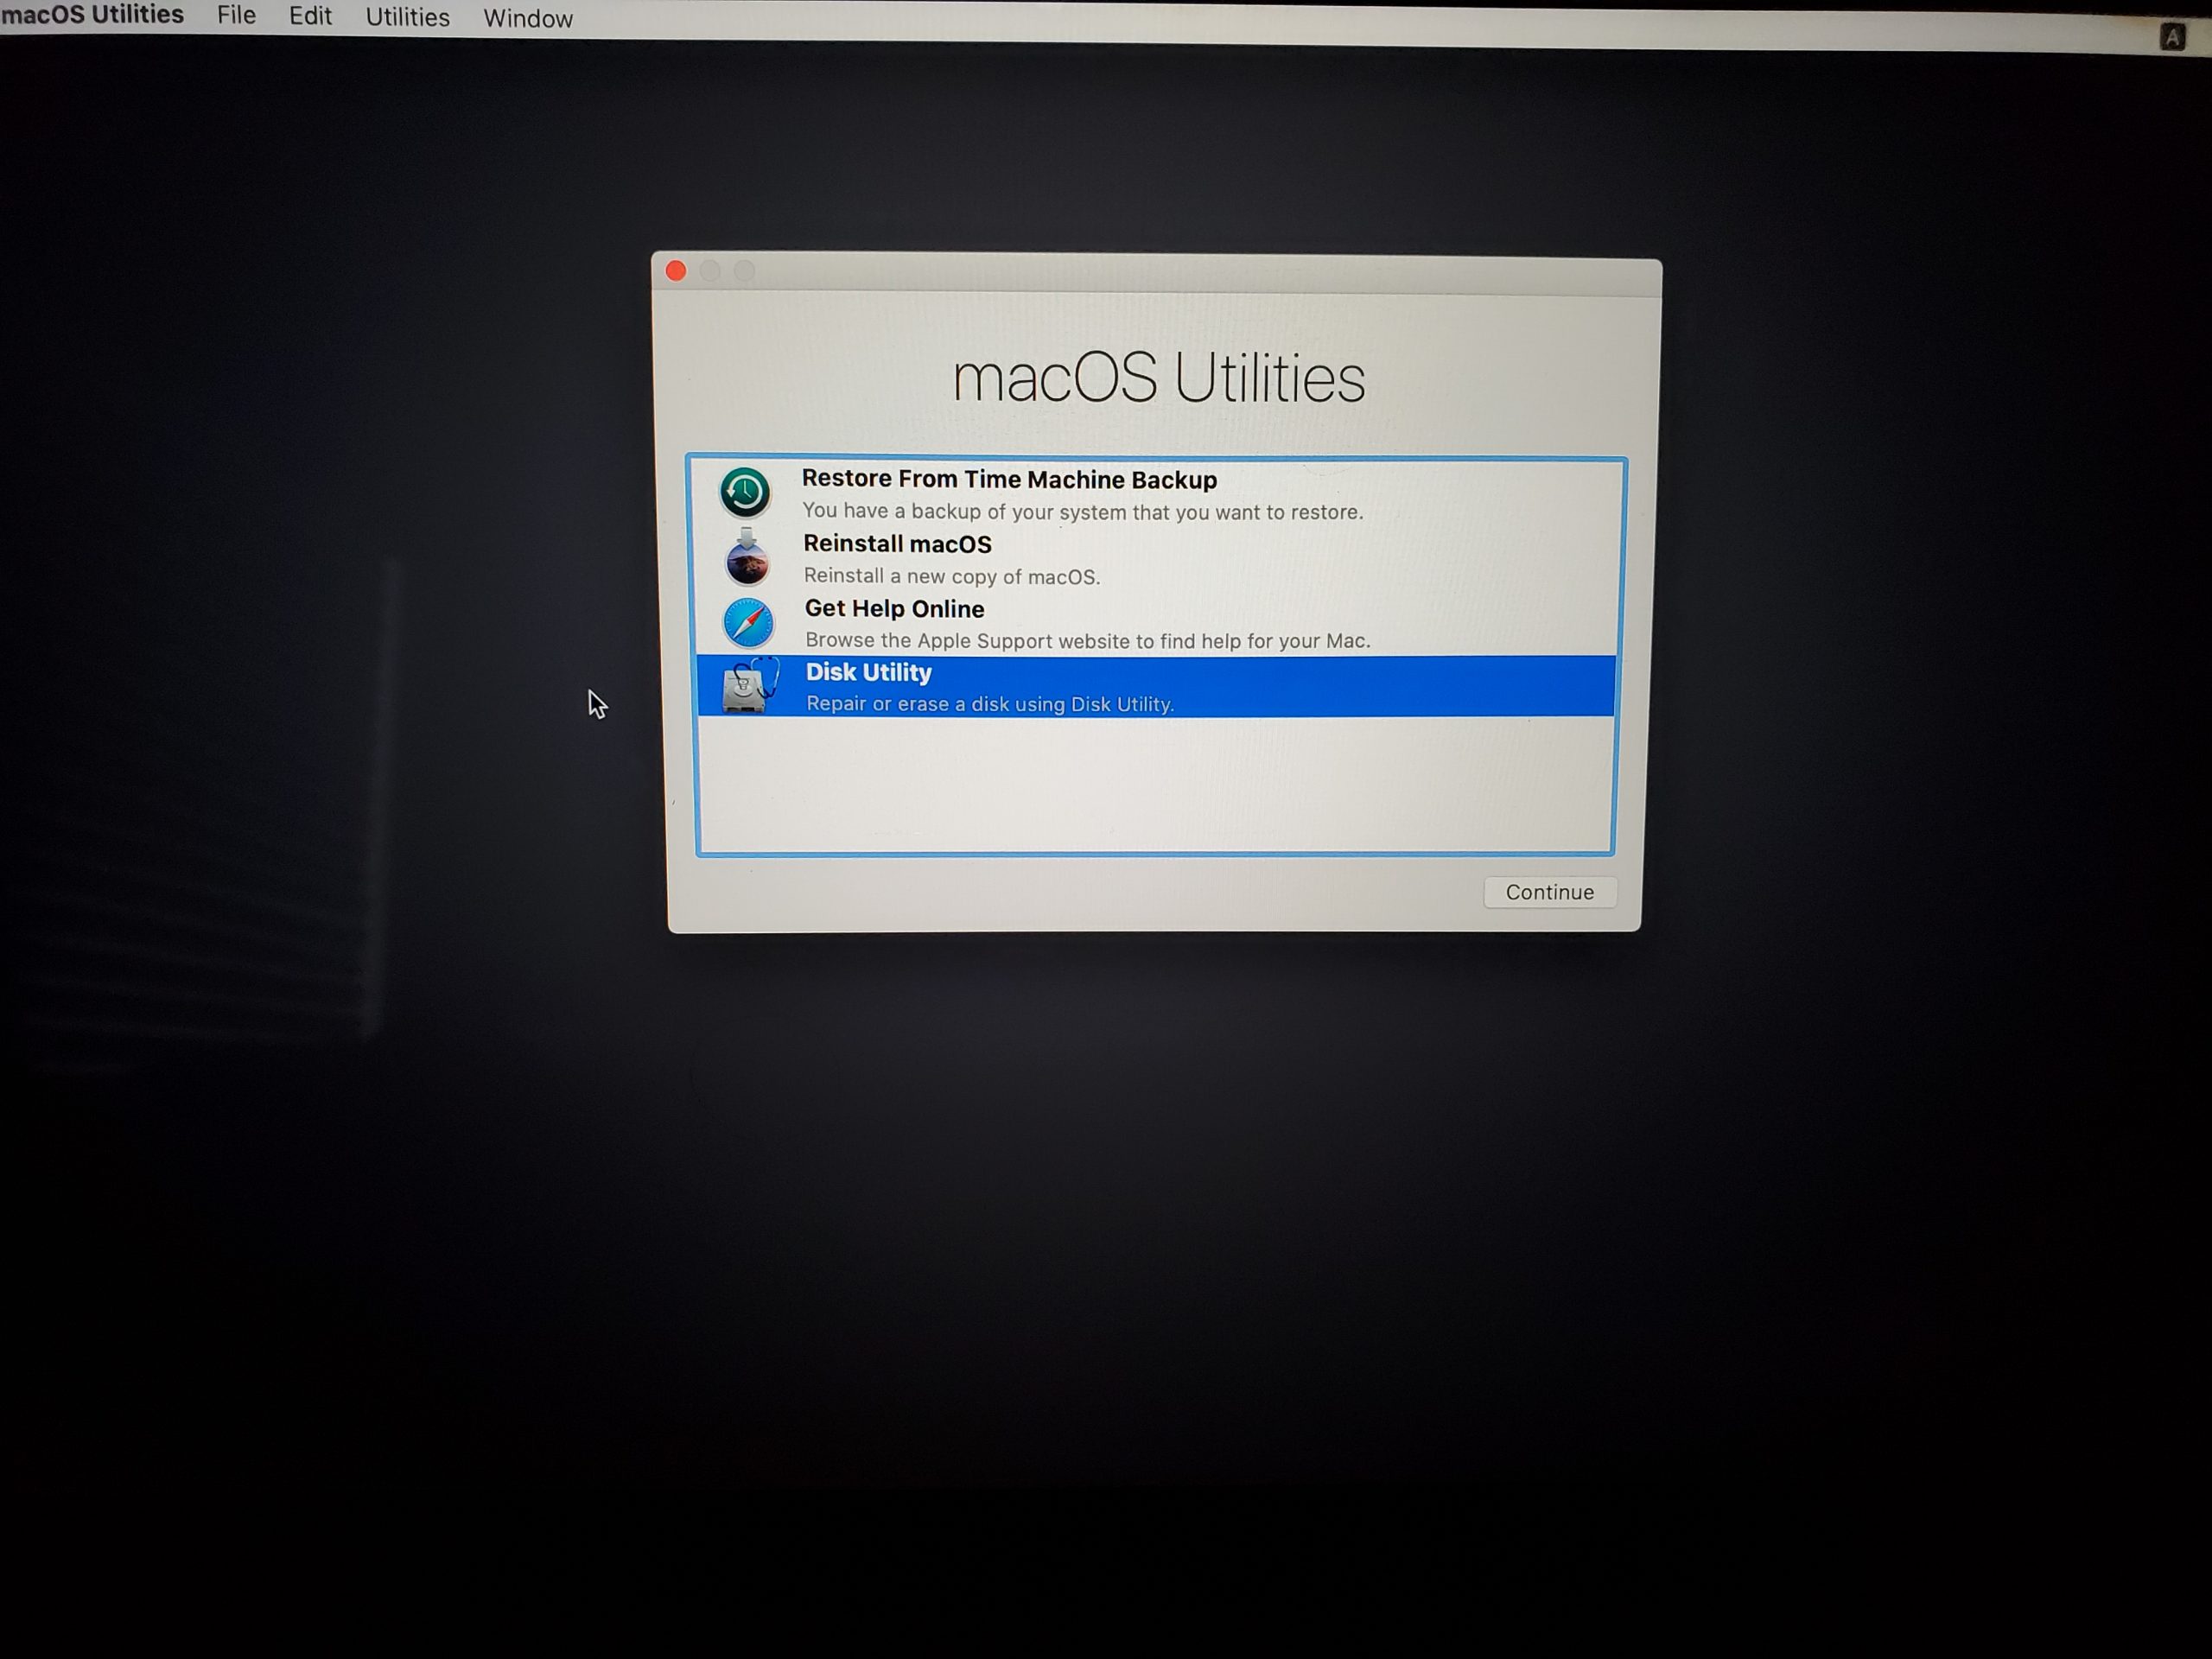
Double click Disk Utility to open the Disk Utility:

Select the storage device you want to nuke on the left-hand panel (you should wipe all of them one by one if you want a clean nuke) and then click “erase” in the top panel. The drop down box should appear as shown above. If the Mac has SSD storage, it will look exactly as above and all you need to do is click erase. If its an older Mac with a hard drive, you will see a Security Options drop down menu in between the Format box and the Erase button. You will need to choose 3 passes. The SSD way takes seconds, the hard drive way takes hours.
If you want to confirm that the Mac has been nuked properly, then restart the Mac and ensure that a question mark shows up on the screen.
Nuking a Newer Mac (post-2022)
The easiest way to nuke a Mac is to shut down the device, then click and hold the power button until the menu comes up that looks like this:
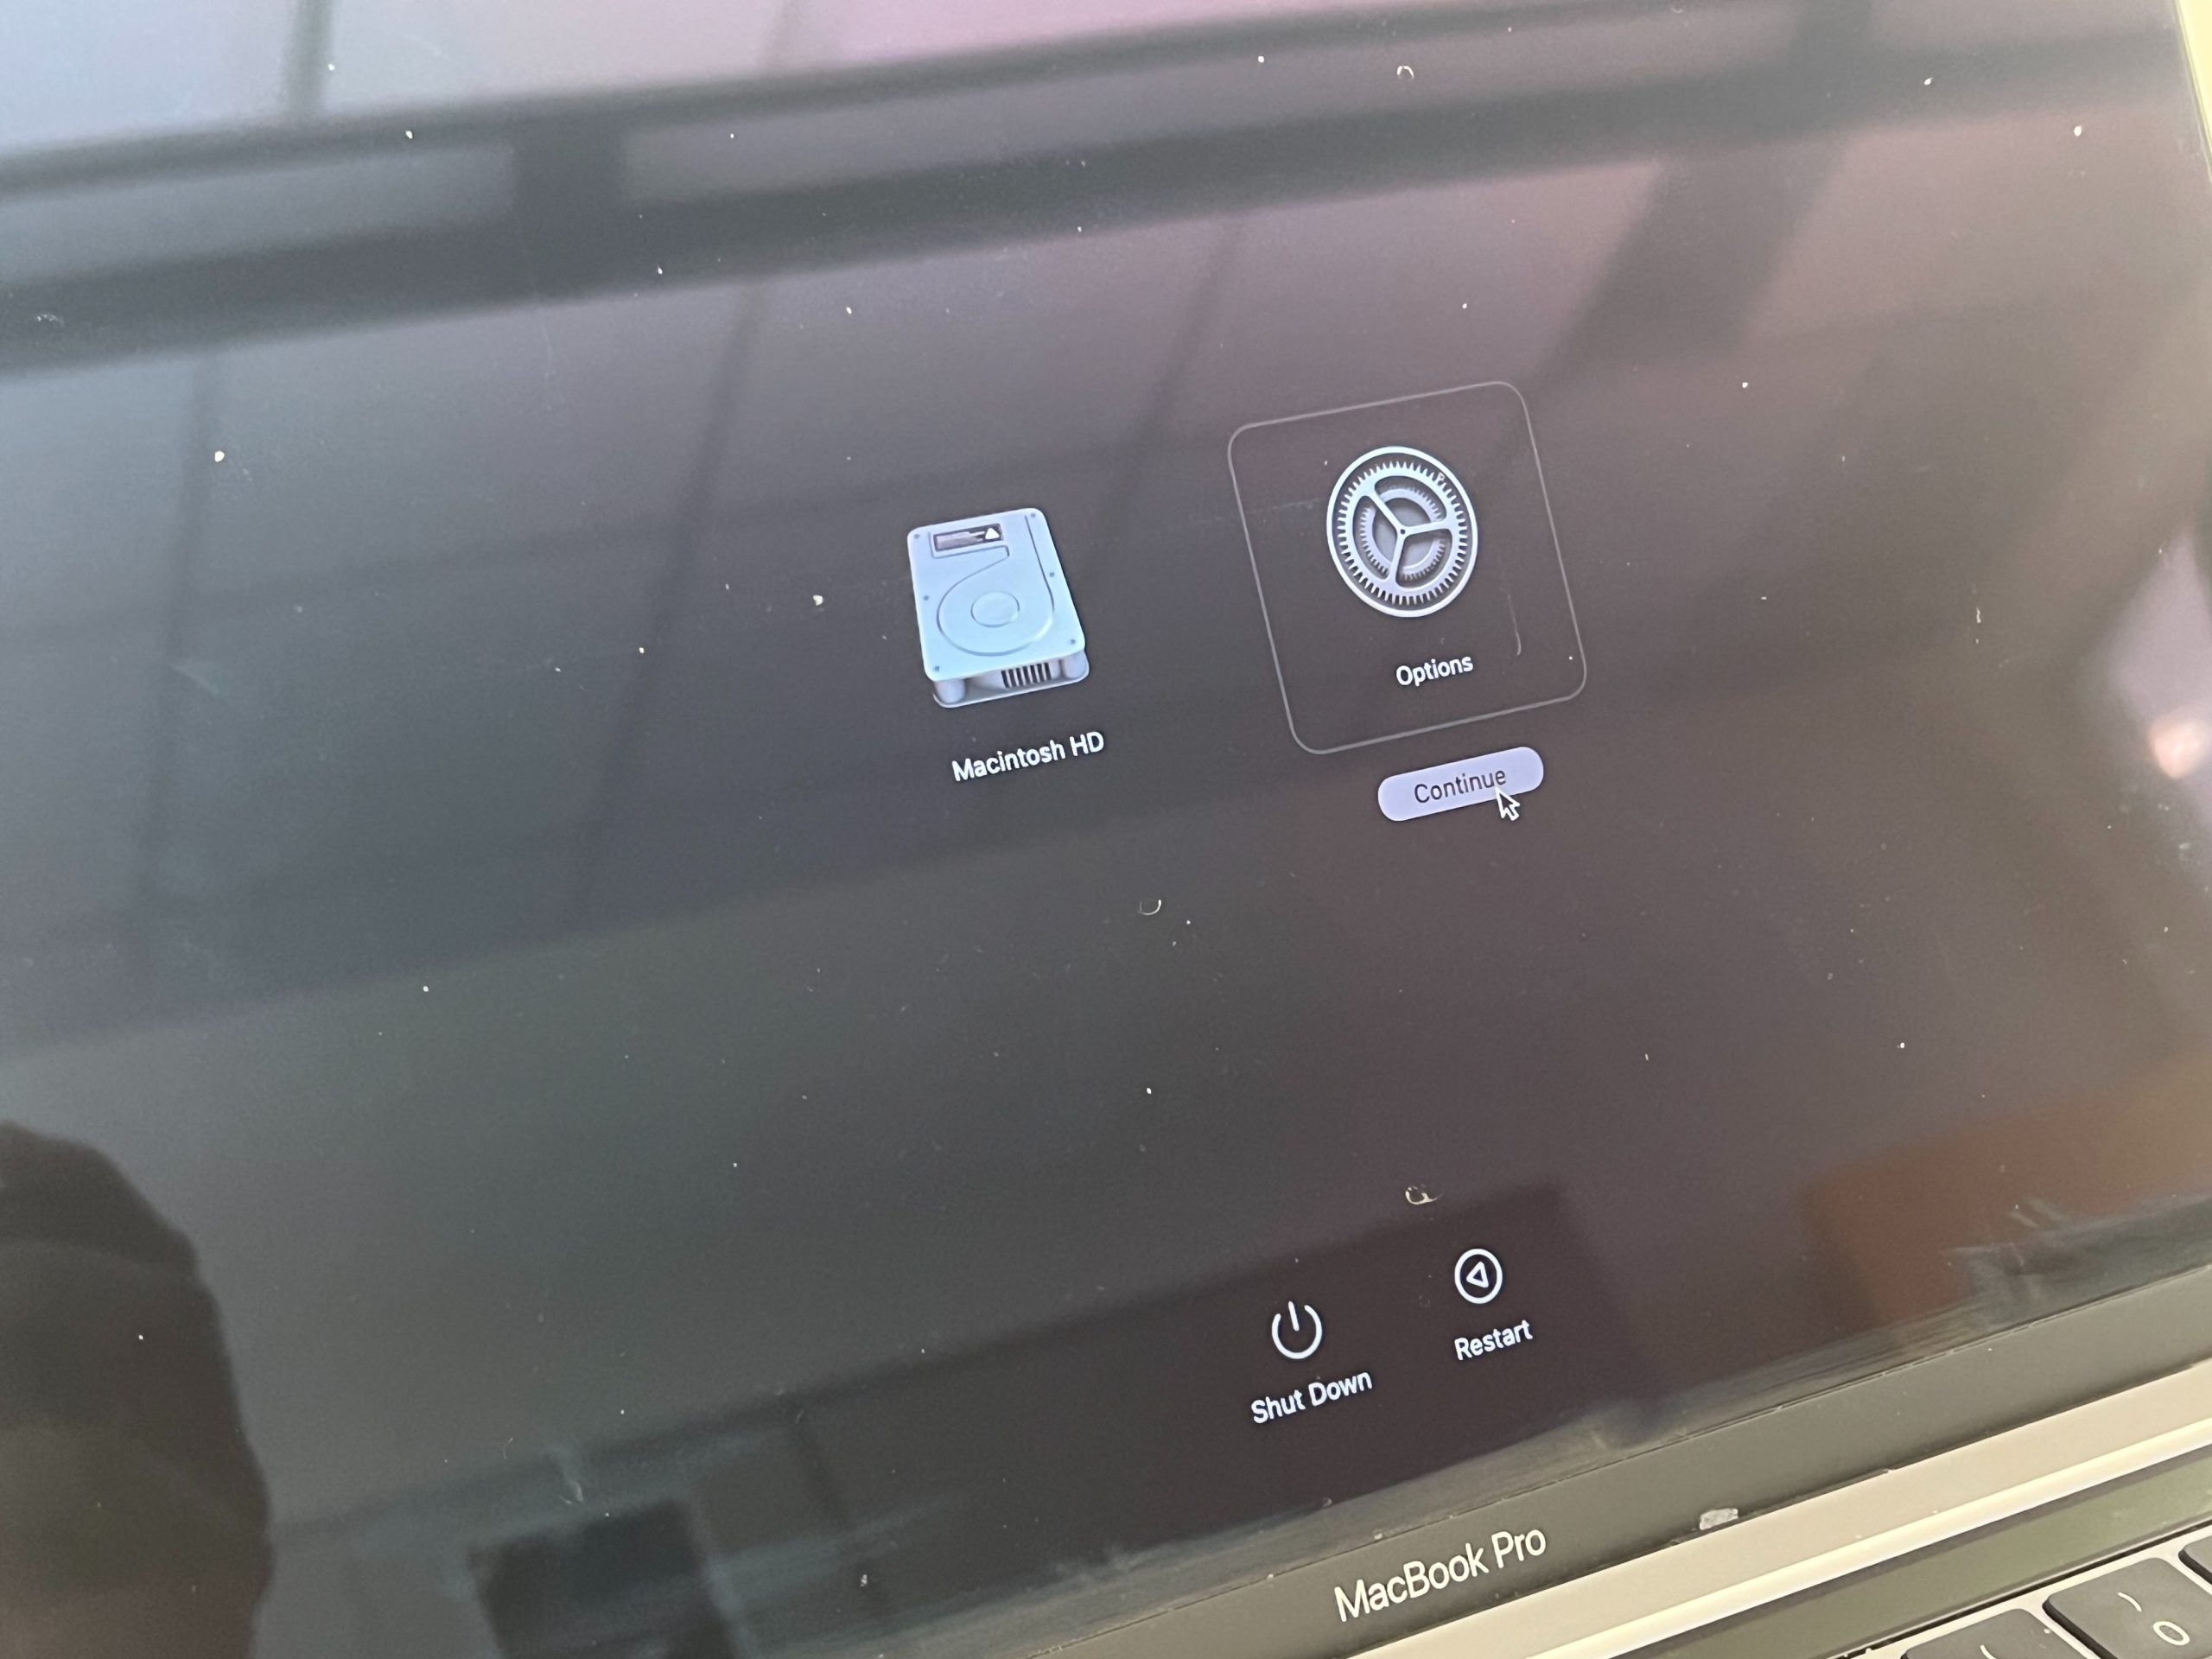
On the menu, choose “Options”. Then, choose the “humsupport” account. Then type in the humsupport password if needed. Next, a screen will pop up that looks like this:
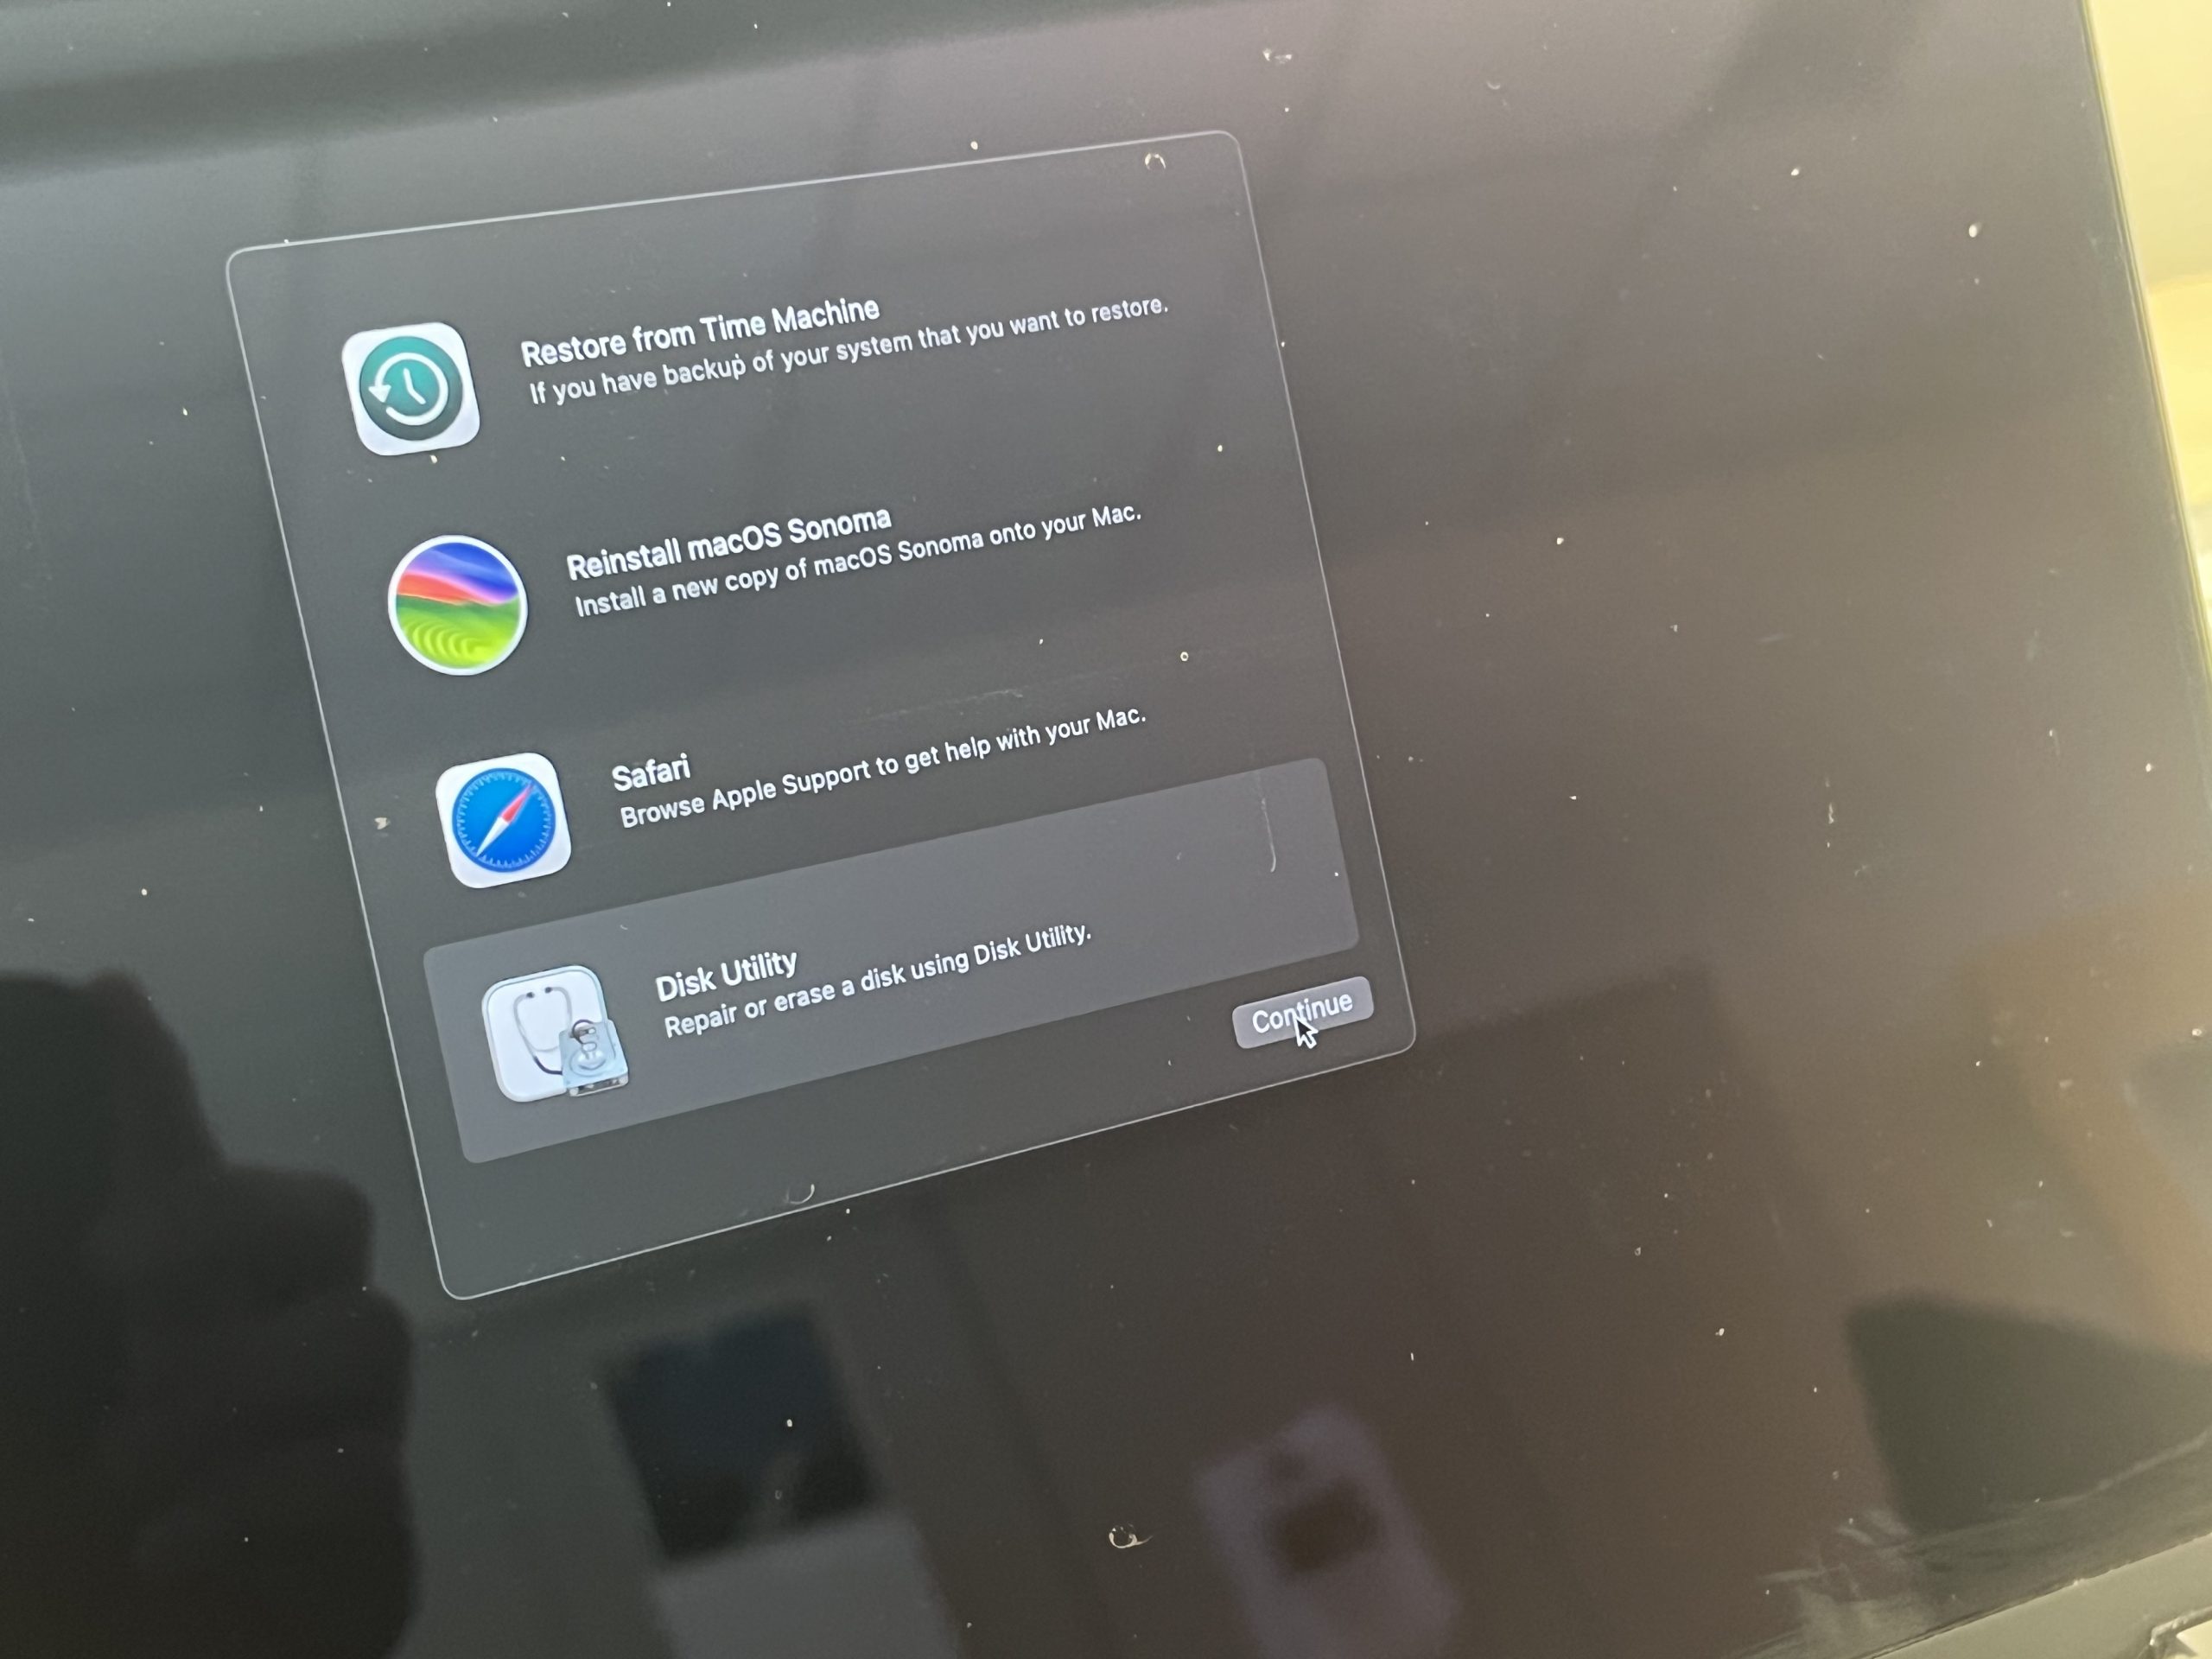
You will want to select “Disk Utility” and then continue. Then, the screen will look like this:
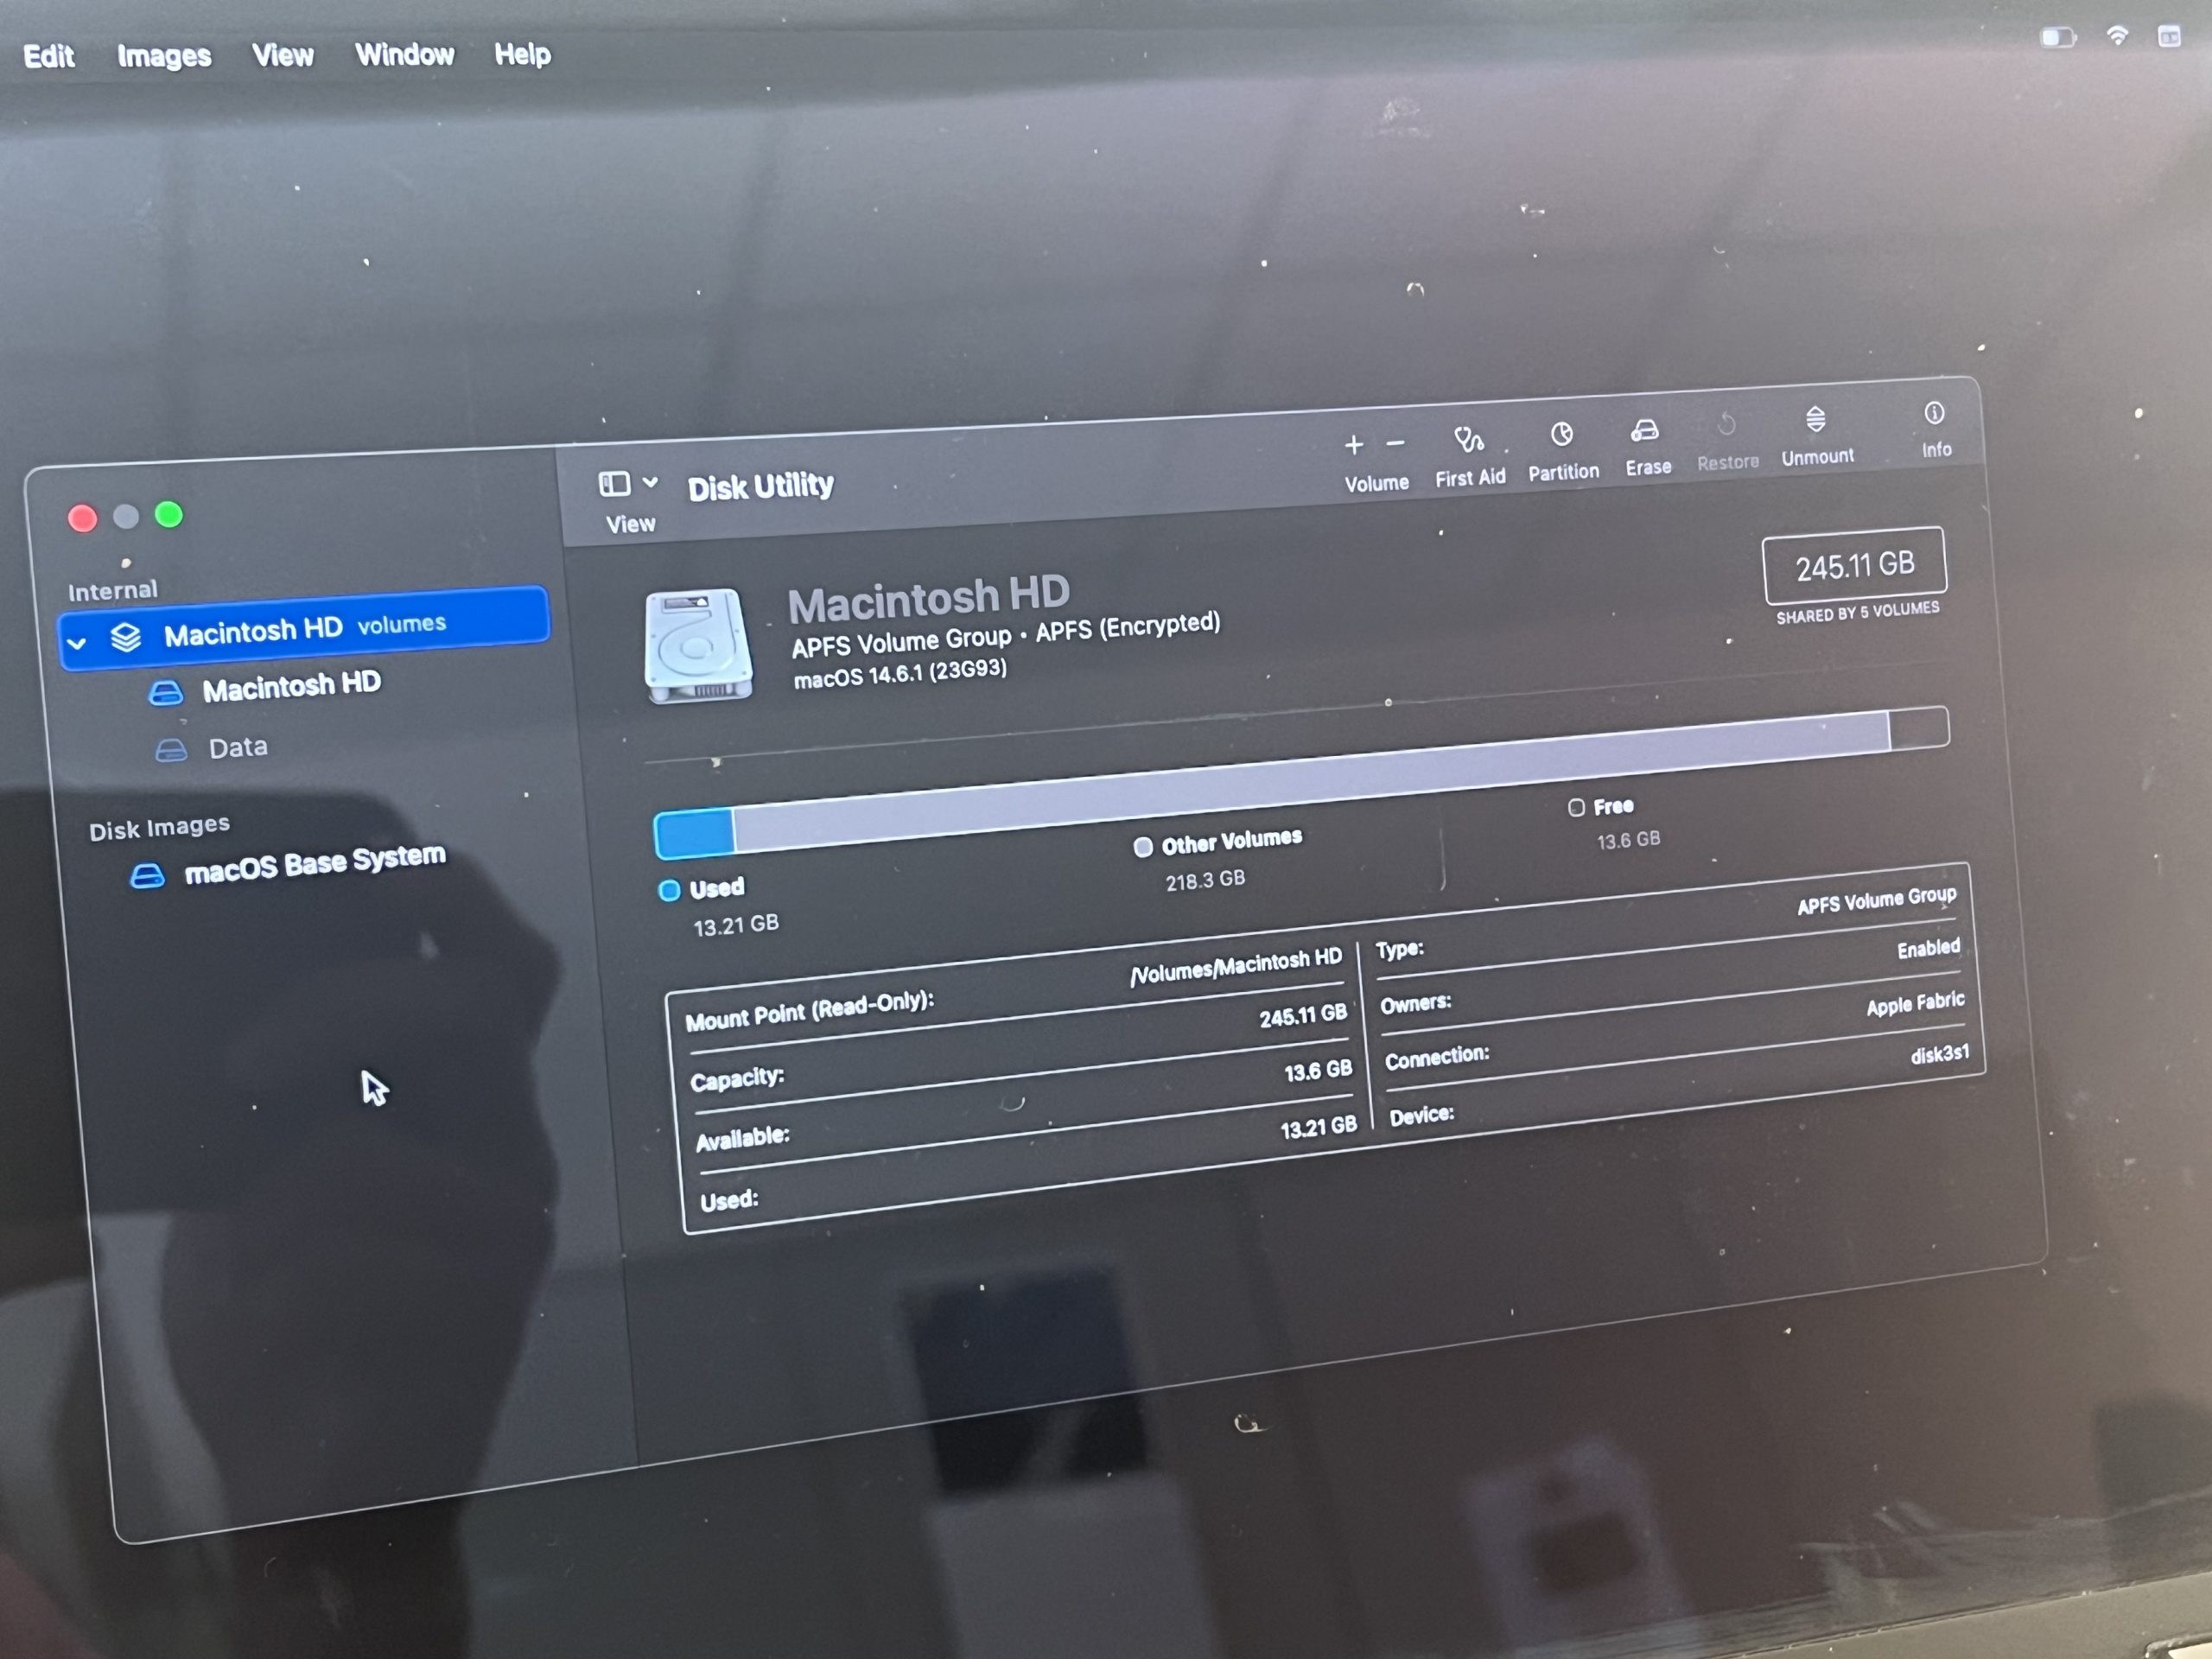
Select “Macintosh HD”, and then you will hit “Erase” in the top right corner. The next screen will look like this:
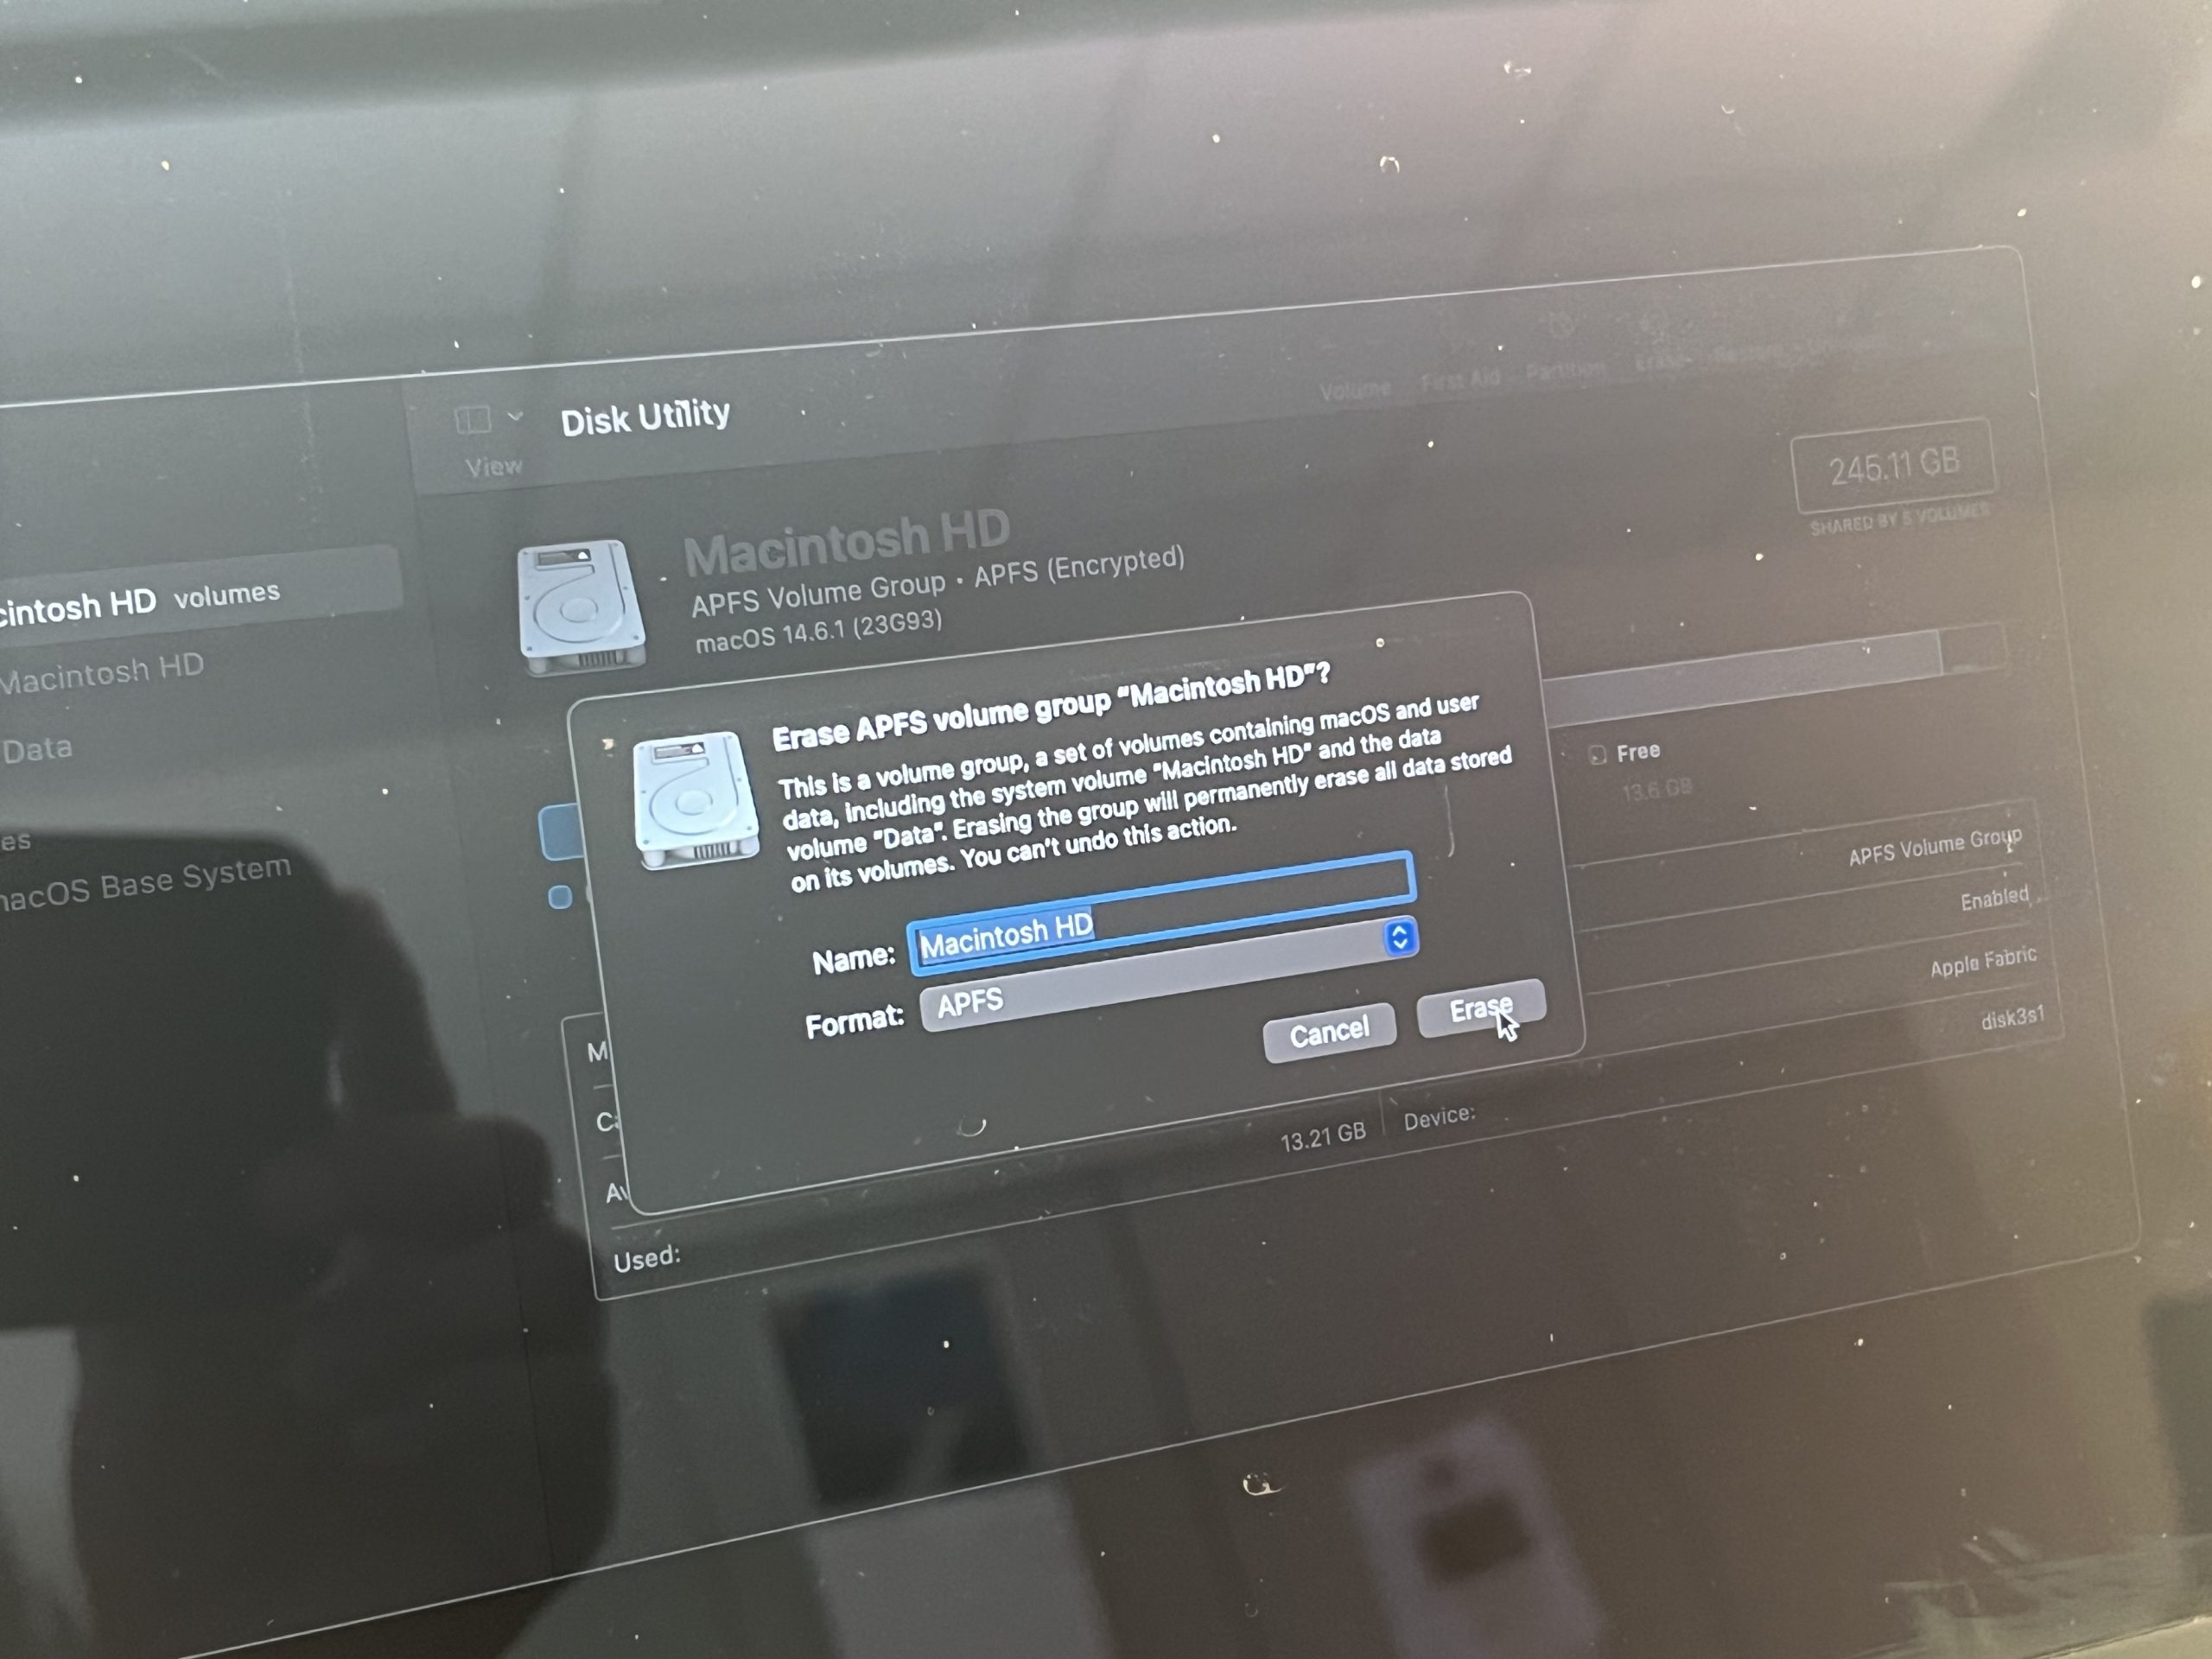
Hit “Erase”, then “Erase Mac”. You will then need to hit “Erase Mac and Restart”.
Marking as Surplus
Don’t forget to double check that the device has been marked as surplussed in HumHelp and listed on the surplus spreadsheet before putting it in the surplus pile.
To mark as surplus in HumHelp, click on “Today” next to “Surplus Date”. Then, hit “Save” in the bottom left corner. This device should now be marked as surplussed!

Here is a link to the surplus spreadsheet:
https://byu.app.box.com/s/95cy3ltjzmb27yebggnsy38cyajfvz2k
Reimaging a Mac After its Been Nuked
If you try to start up a Mac that has been nuked, all that happens is a File Folder with a question mark will blink on the screen for about 5 minutes and then the machine turns off. In order to get the Mac back working, shut it down, and click the power button and hold down Command+Option+R. This will boot the Mac into internet recovery mode.
This time double click the Reinstall macOS option. It will take you through a self explanatory walk through of installing the latest (or the newest that can be installed on your mac) macOS. After you have reinstalled the OS, follow the Mac imaging process as usual (https://humcsr.byu.edu/2018/08/10/setting-up-a-new-mac-computer/).