Open your favorite web browser and type in the URL crashplan.byu.edu
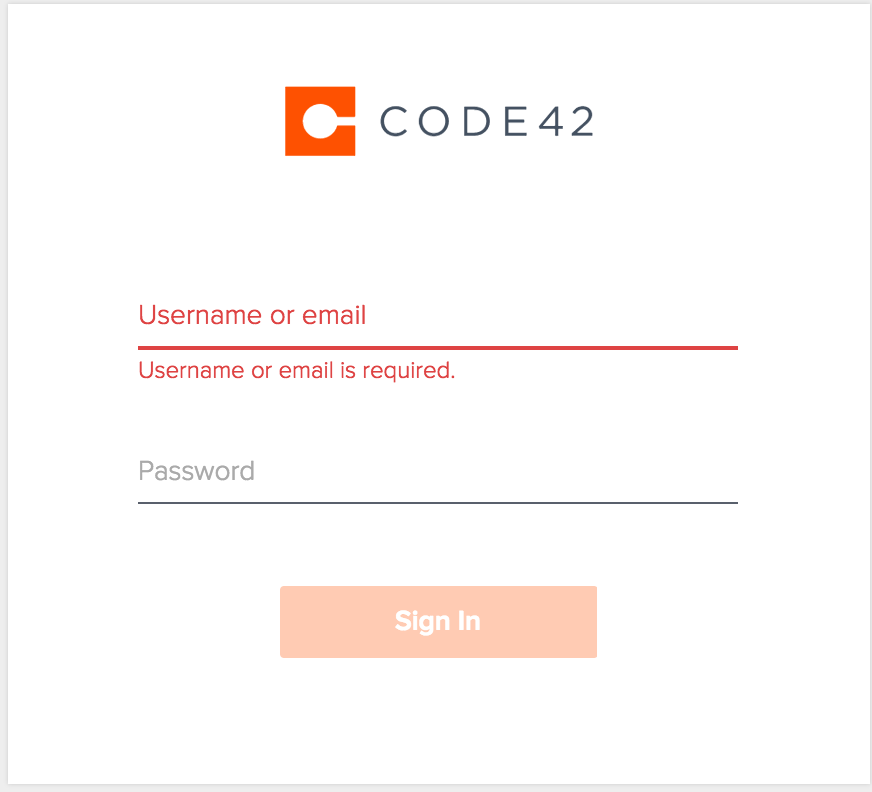
Up will pop this screen. Type in your NetID and Password
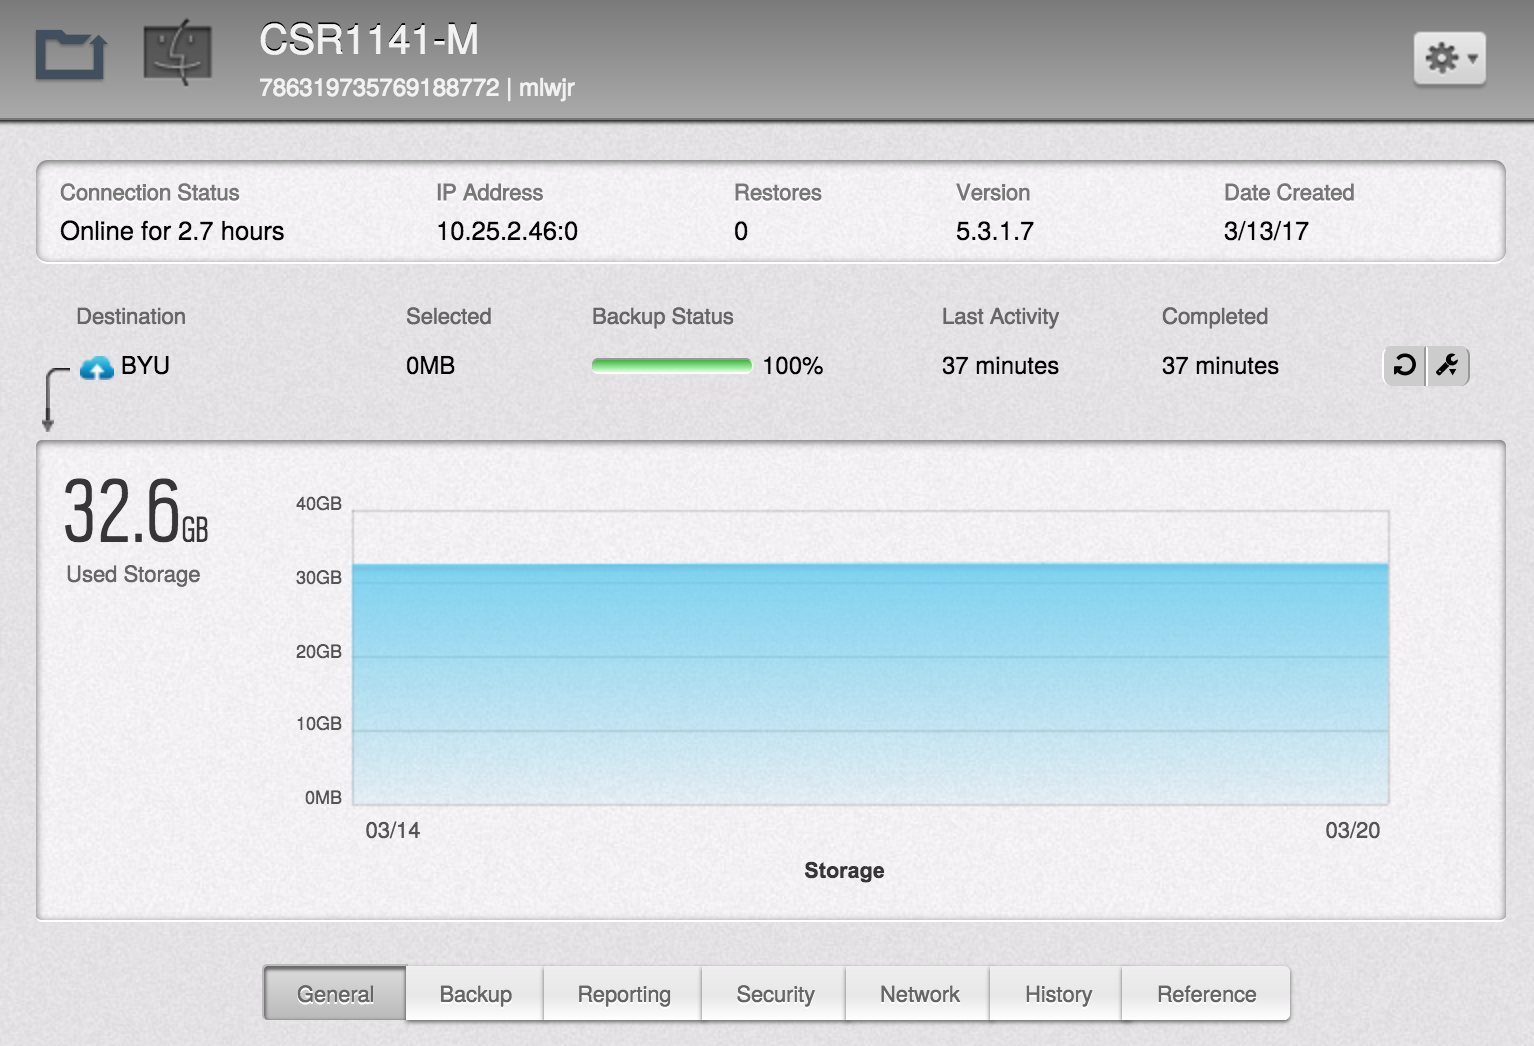
Navigate to the person’s device that you want to push restore information.
The icon you want to push is on the far right and is a clockwise circular arrow.
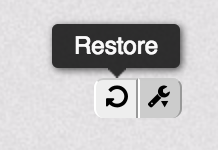
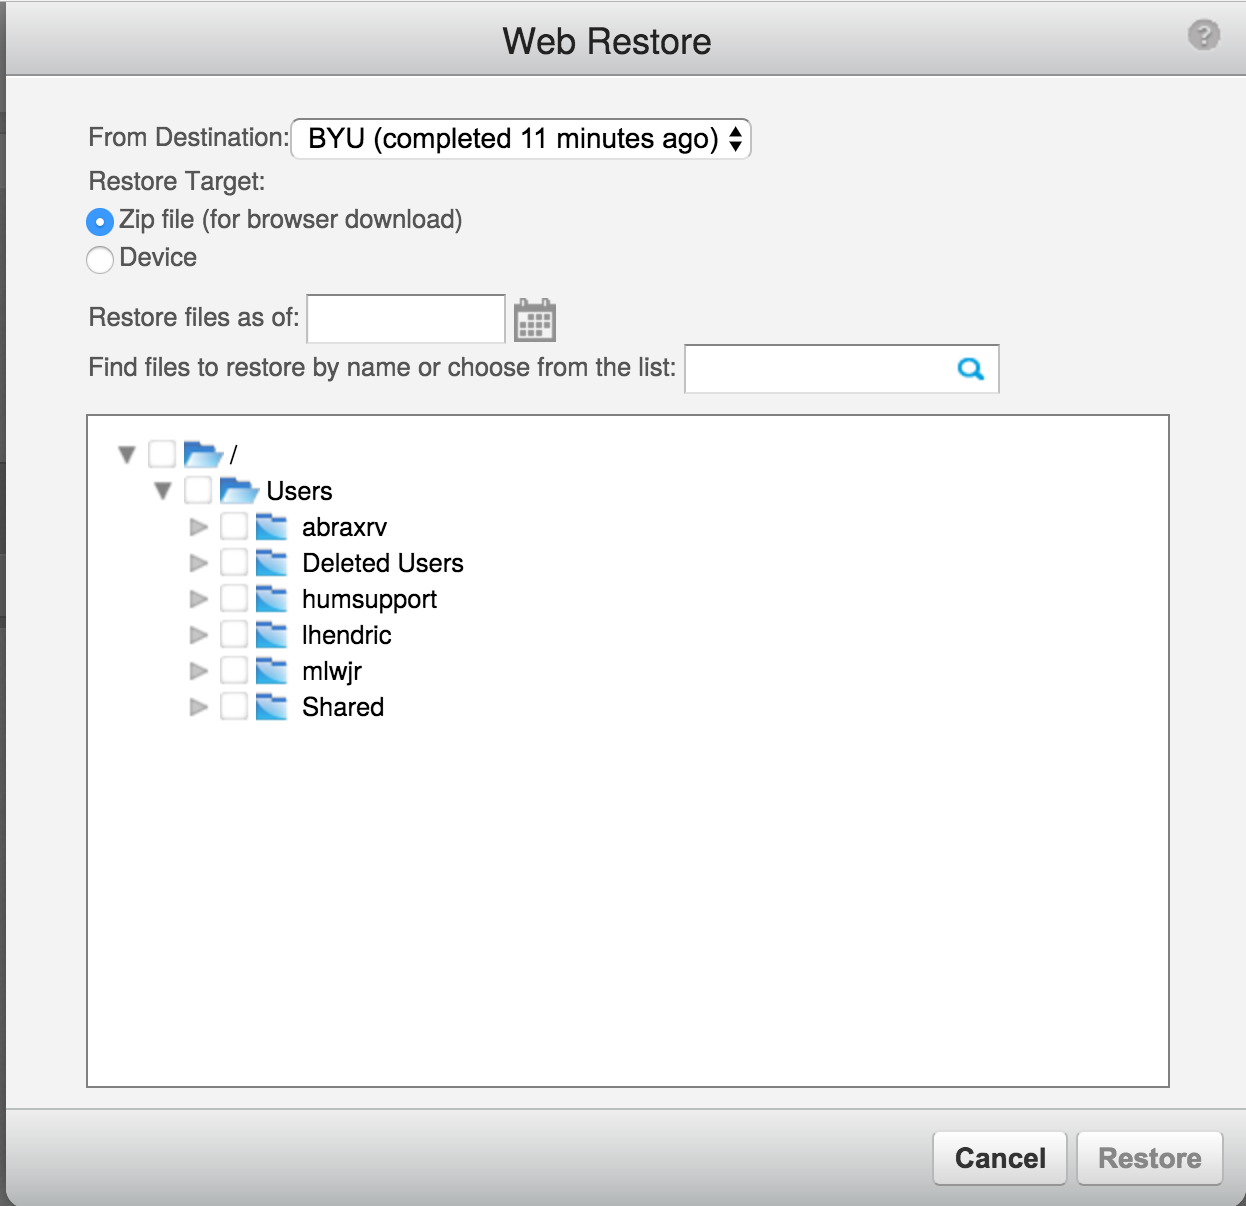
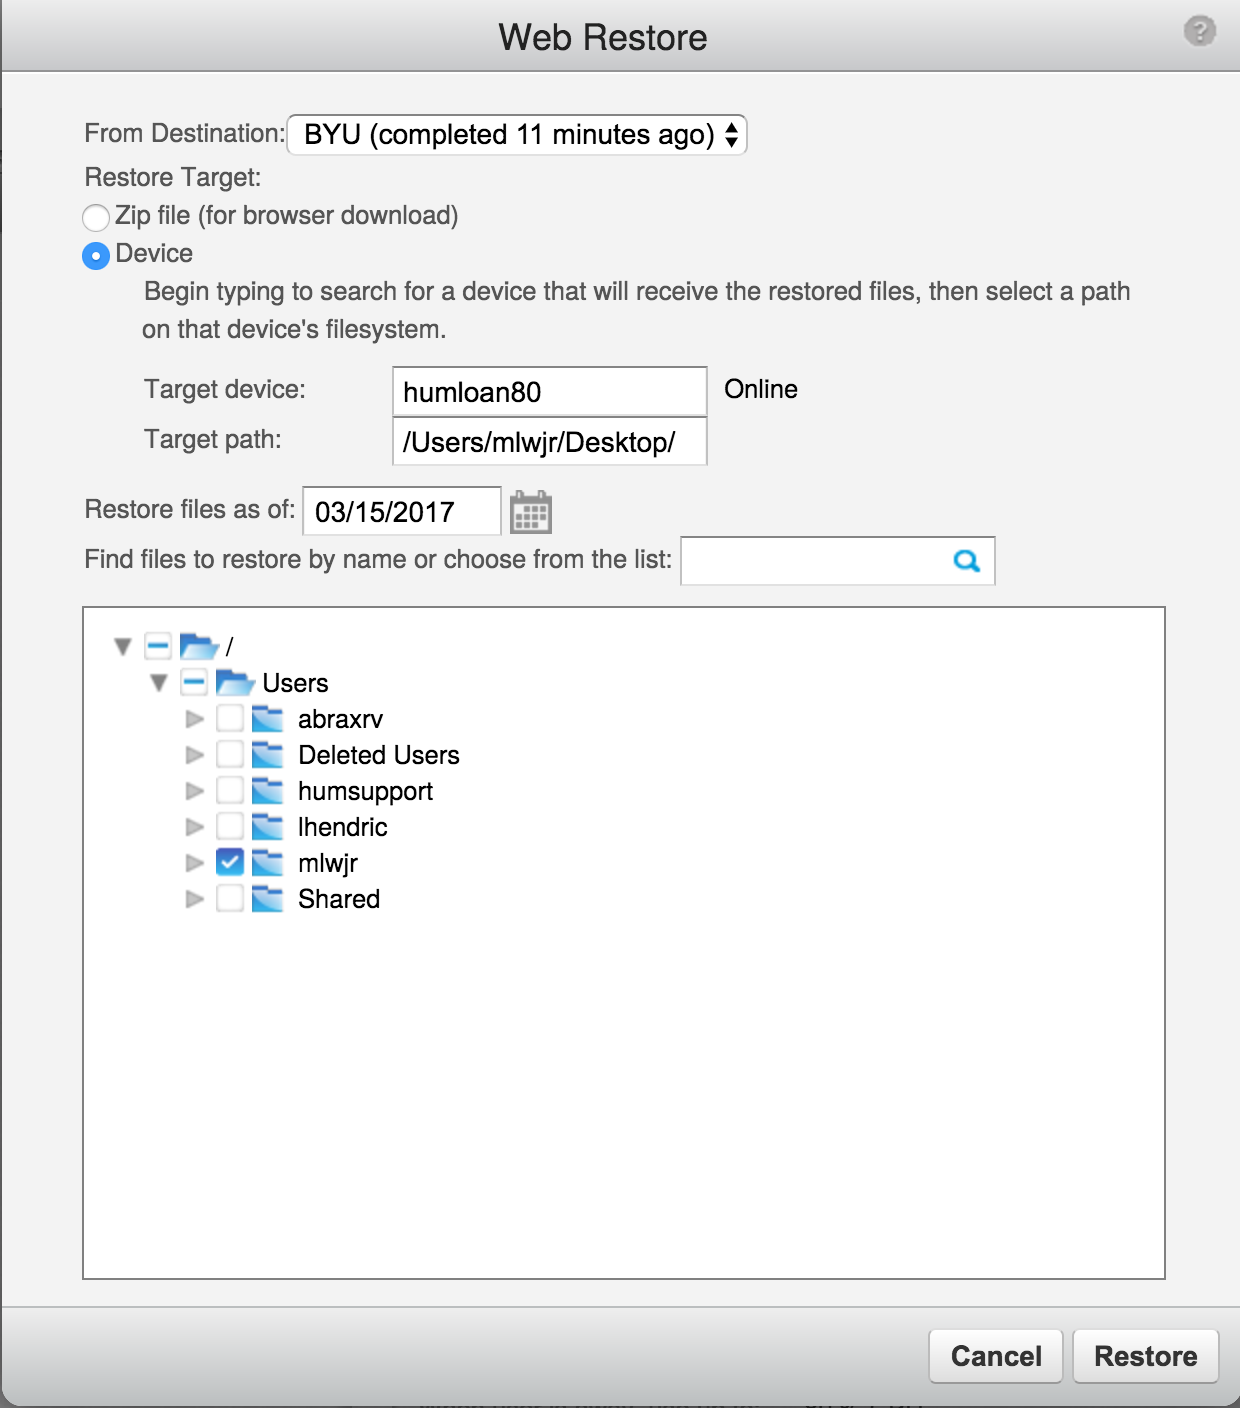
Click it and this screen will pop up. Click on device under restore target and you will see a menu with options pop up.
Click in target device area and start typing the name of the computer you want to restore files to, NOT the computer they come from.
Now select the target path and this will show up.
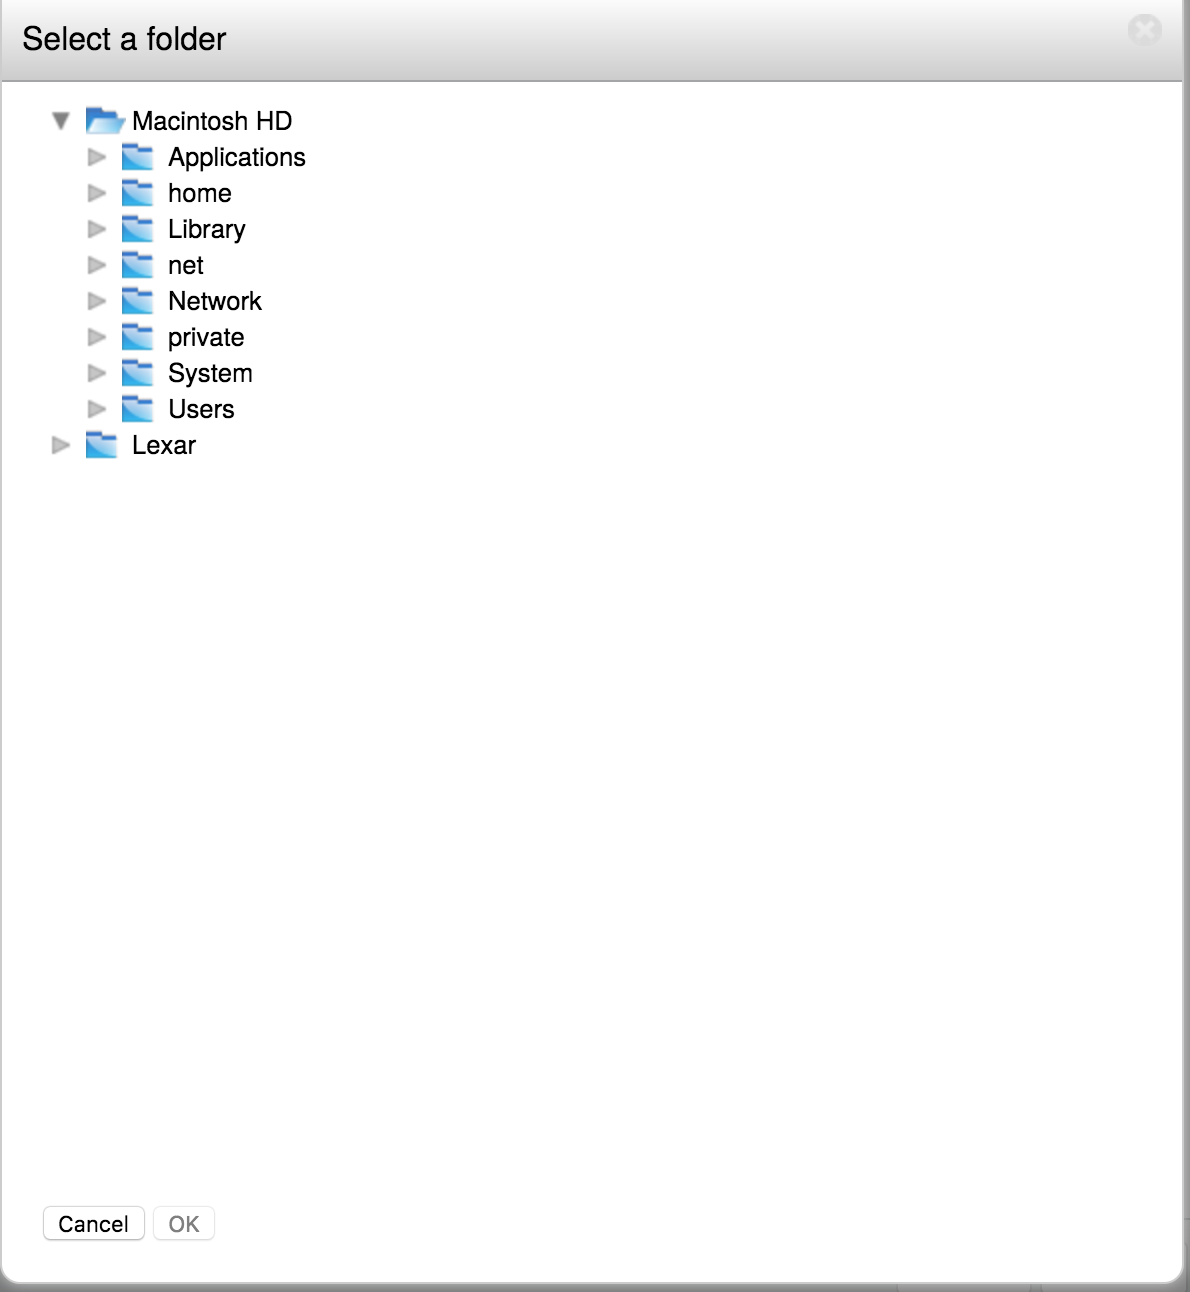
Now navigate to the place you want the restored files to show up and select it.
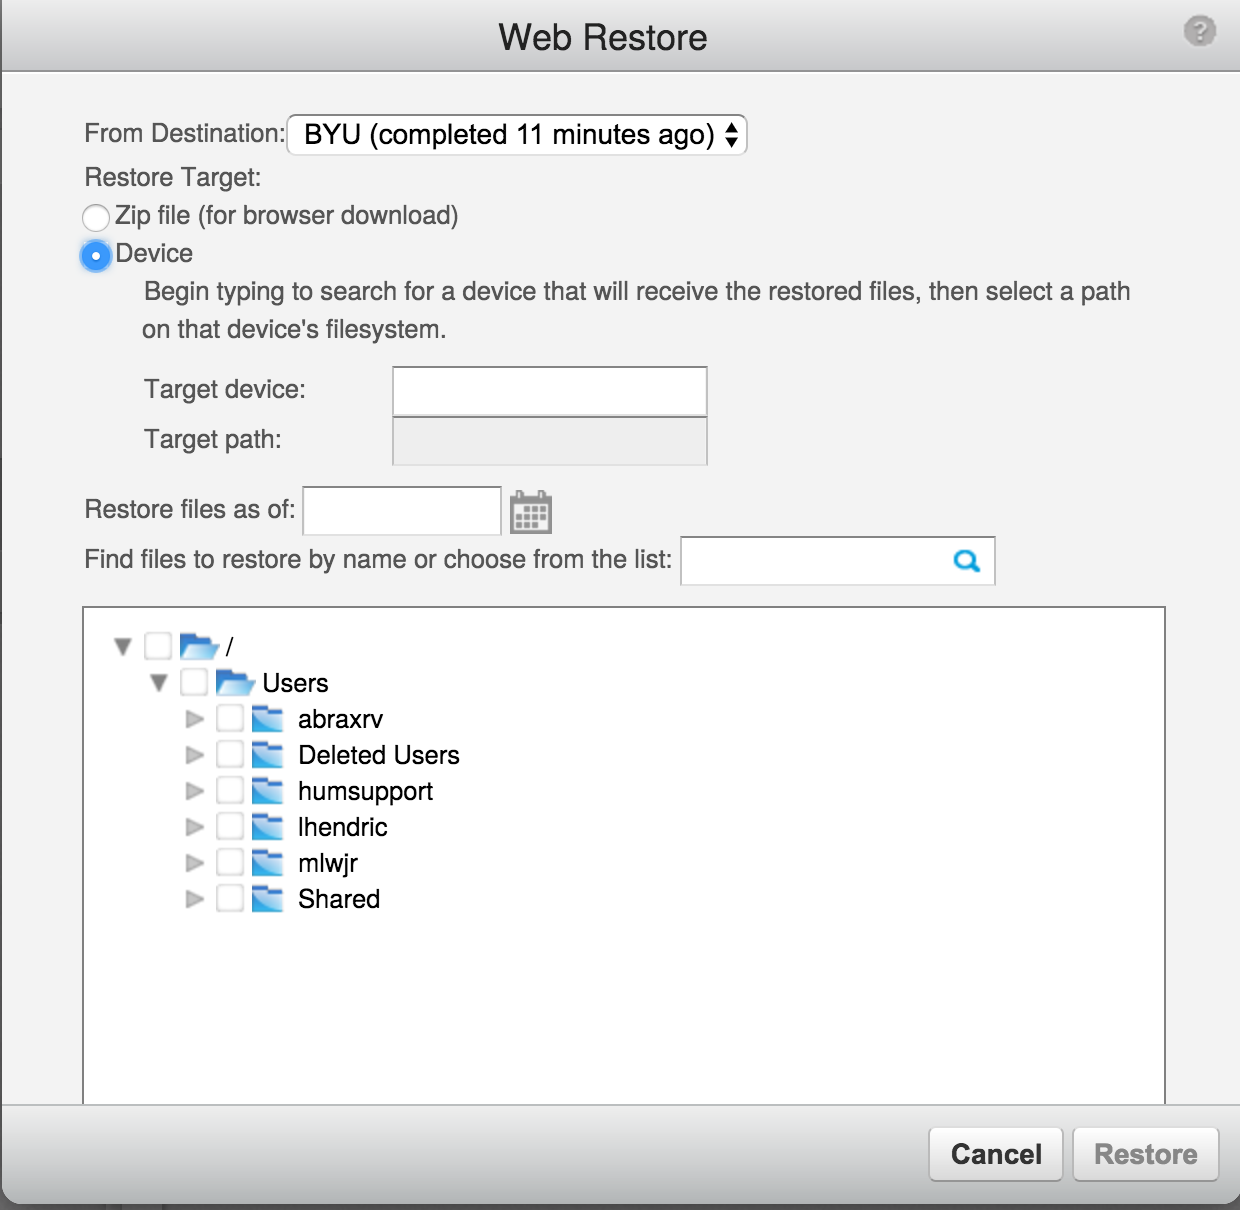
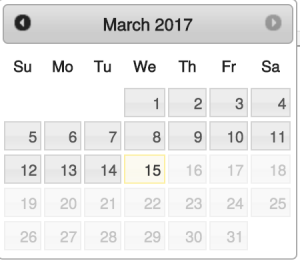
Next, you are going to choose what date you want to restore from. A calendar will show up and just navigate to the date you wish.
Now you are going to navigate to the bottom of the screen and Choose what files from the backup you would like to restore. Click restore and the process will start.
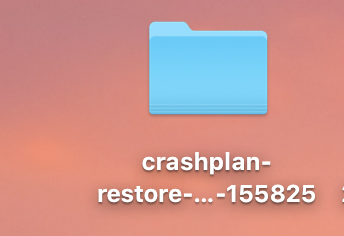
On the computer you restored to a folder will show up like so
Then in the client of CrashPlan on their computer, it will show
It will finish in about an hour or two depending on the size of the files and complexity.

