Setting up CrashPlan the First Time
First you must have CrashPlan installed on the computer.
Sign into crashplan.com/login with your NetID@byu.edu, go to Administration -> Downloads. You should see a similar screen to: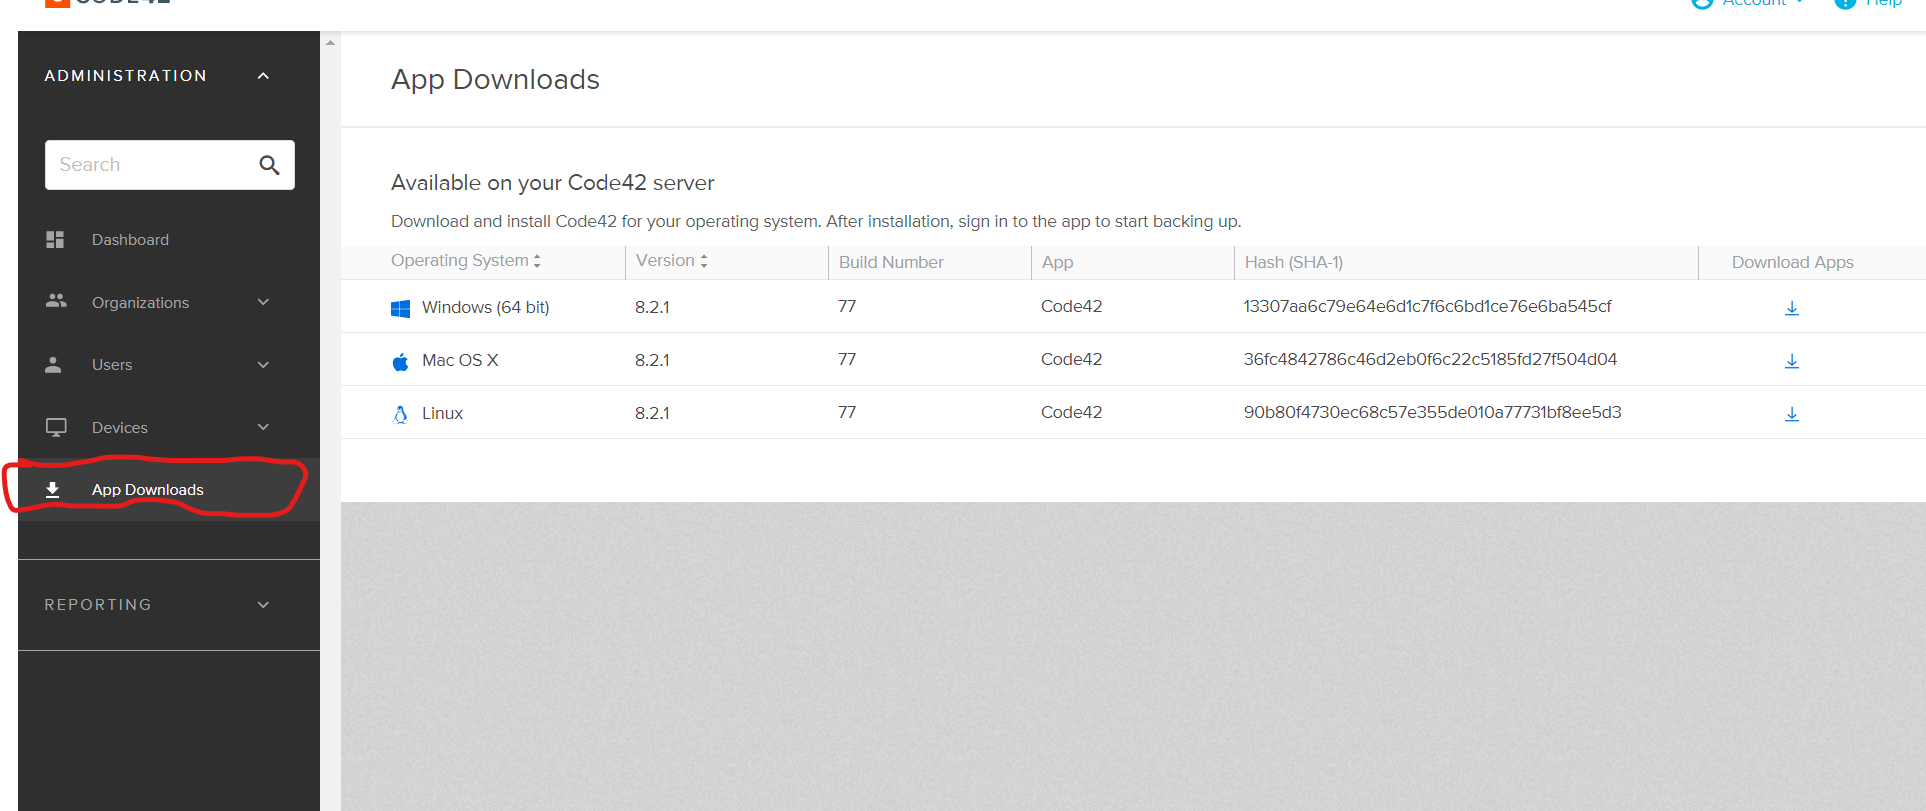
And click the download button next to your operating system.
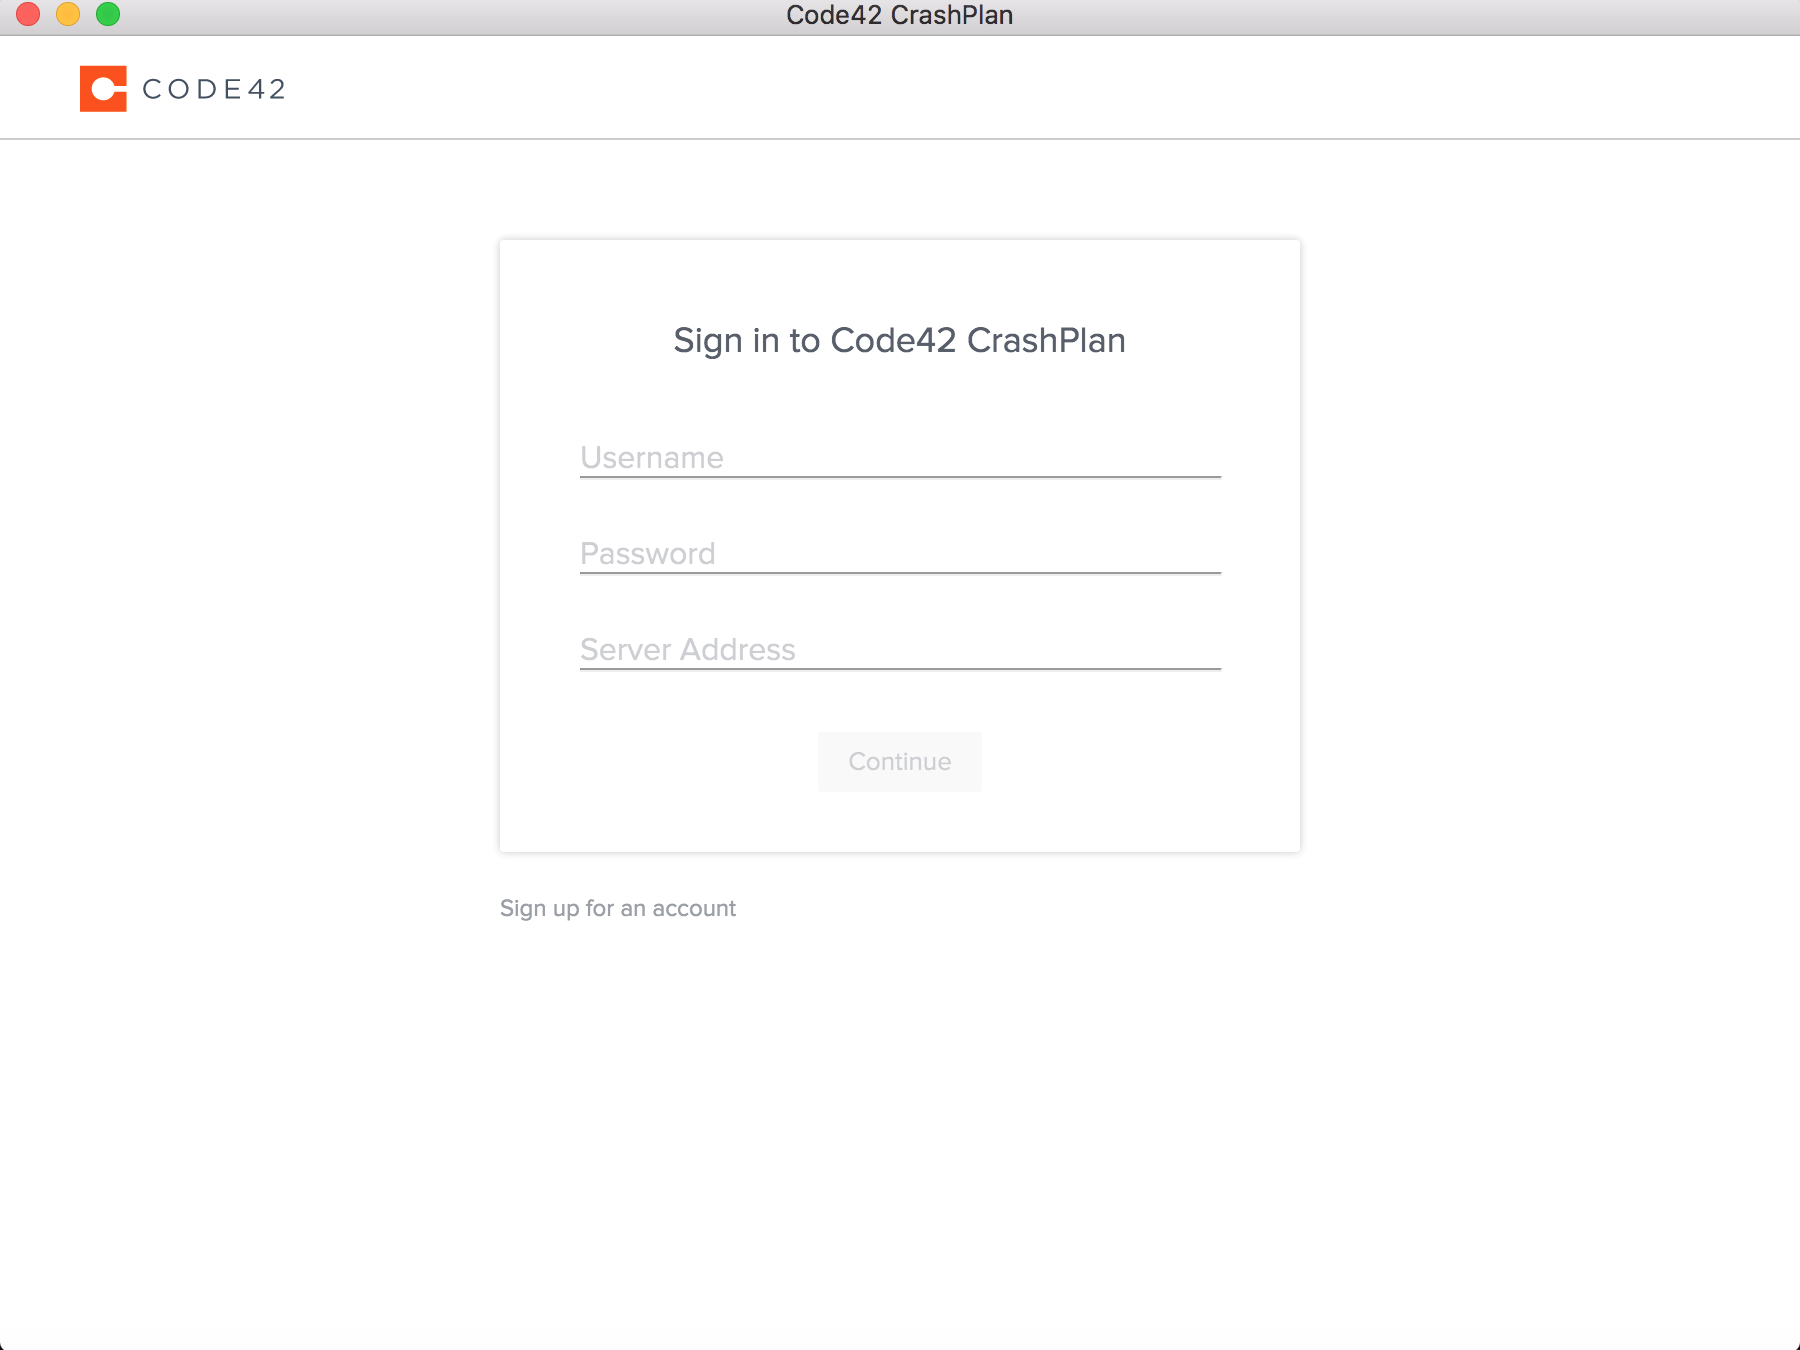
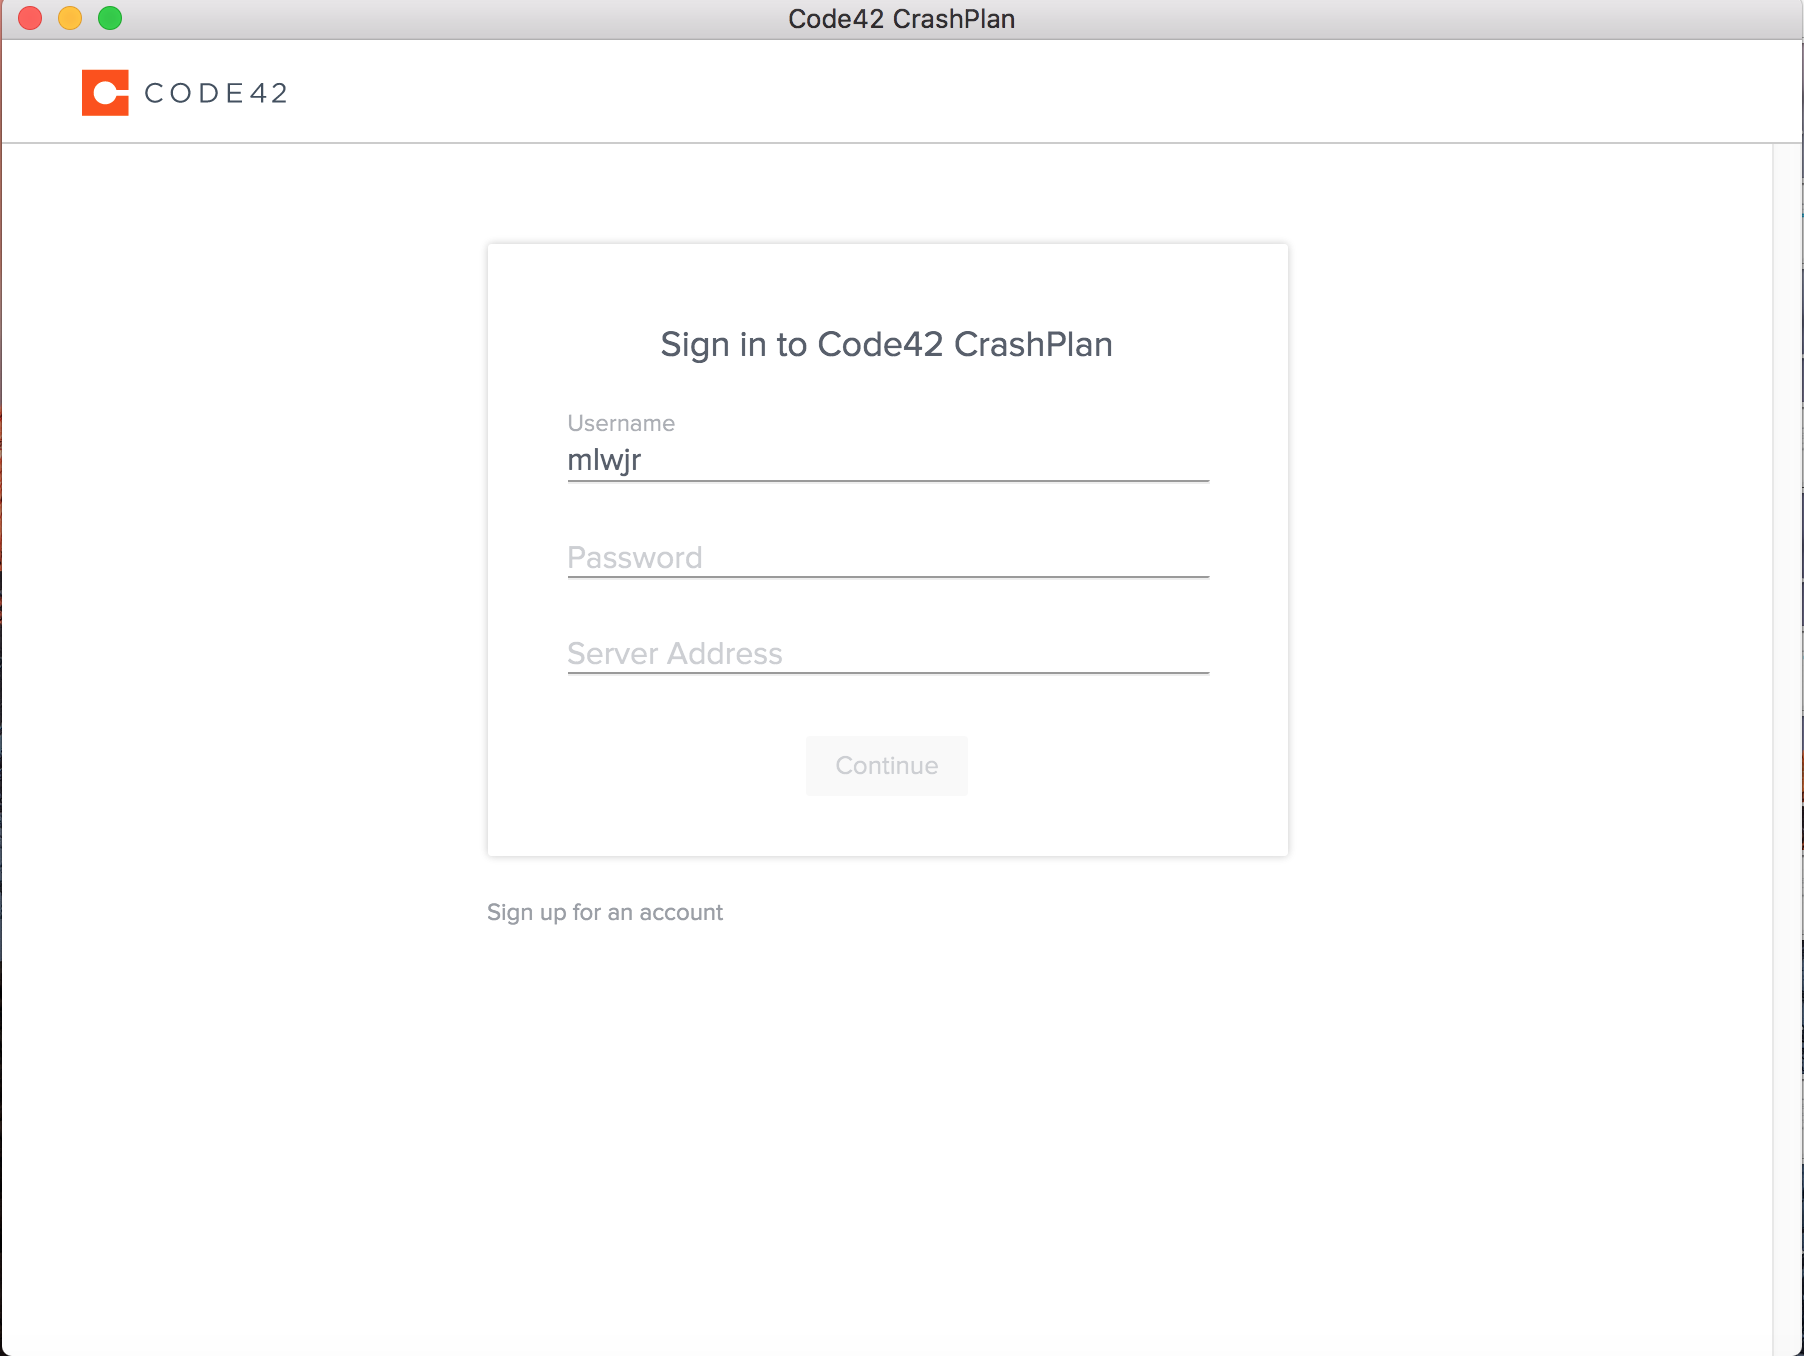
After you have the NEWEST version installed then you will want to search for it and open it. It will look like this when first opened.
Make sure you select Everybody and not just one user. It is defaulted this way so make sure it stays like this. 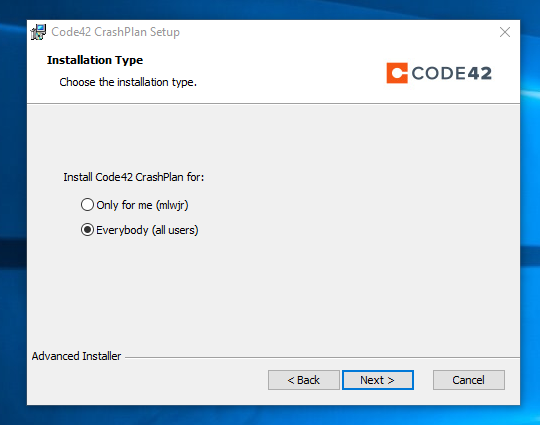
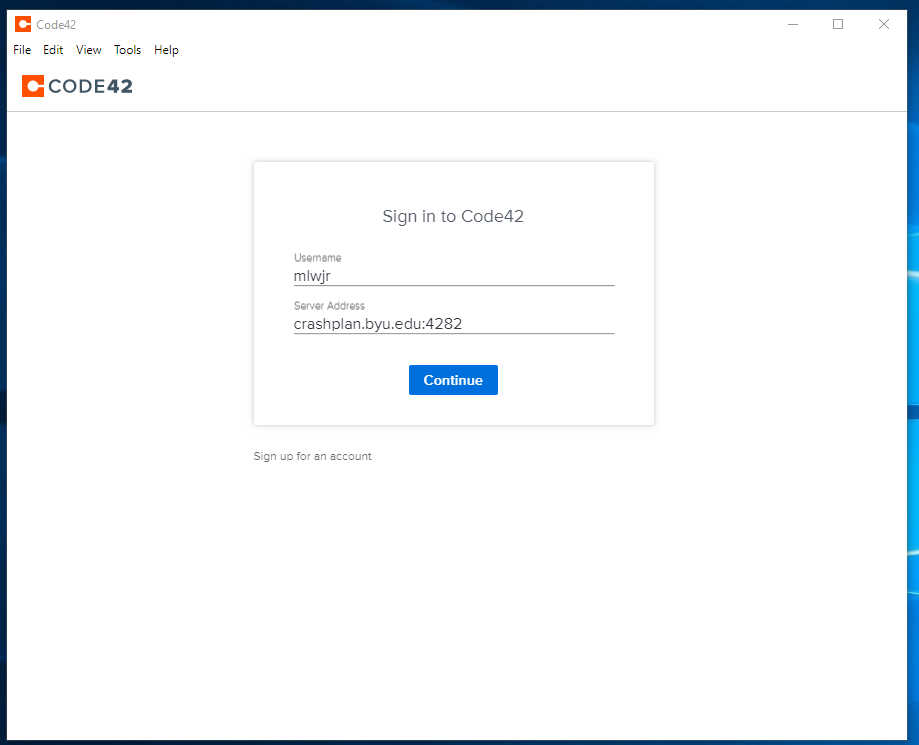
The Username and Password are the NetID@byu.edu and Password of the Professor.
The new Server address is clients.us2.crashplan.com
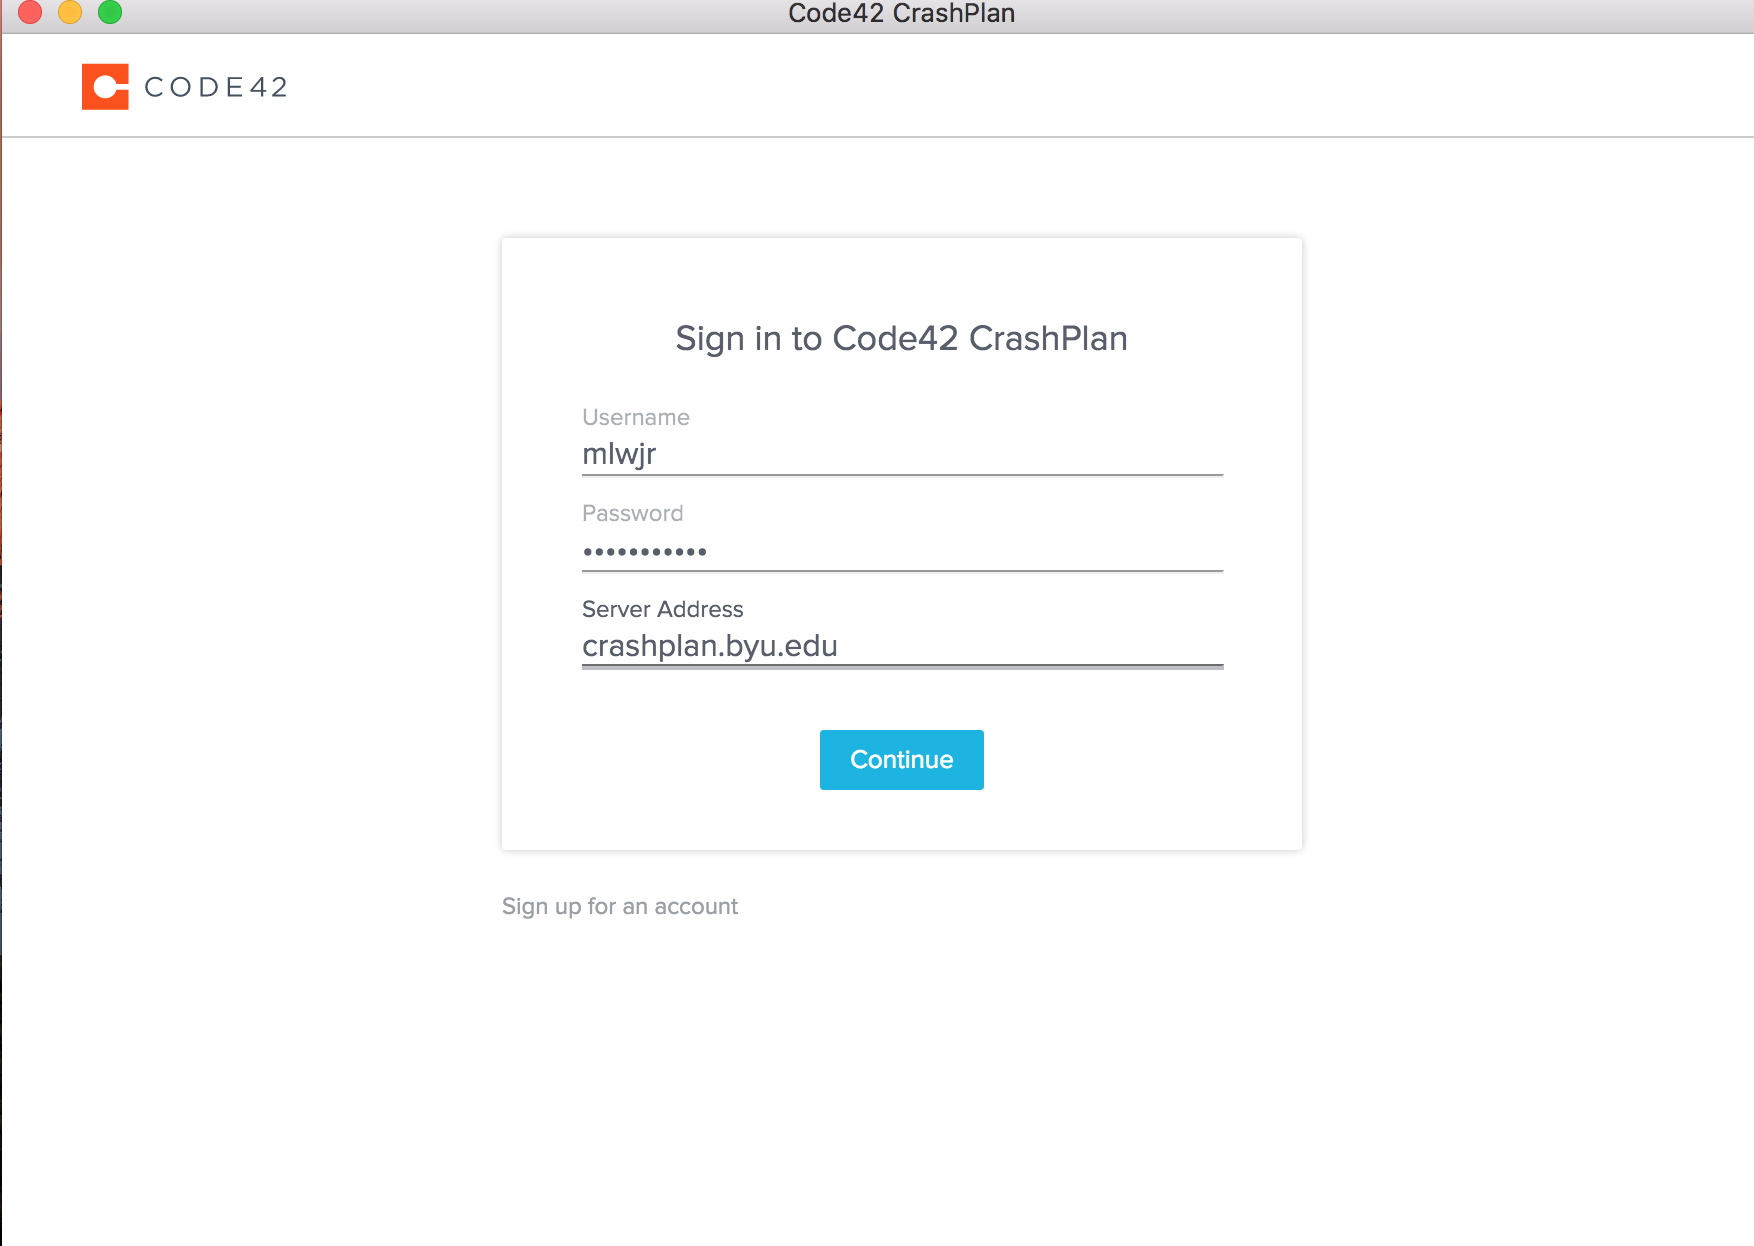
After this step, you will have a screen that will pop up. You will have two choices: Add New Device and Replace Existing Device. If this is a brand-new professor or the professor is getting another device, you will want to use Add New Device. Otherwise, you will be using Replace Existing Device.

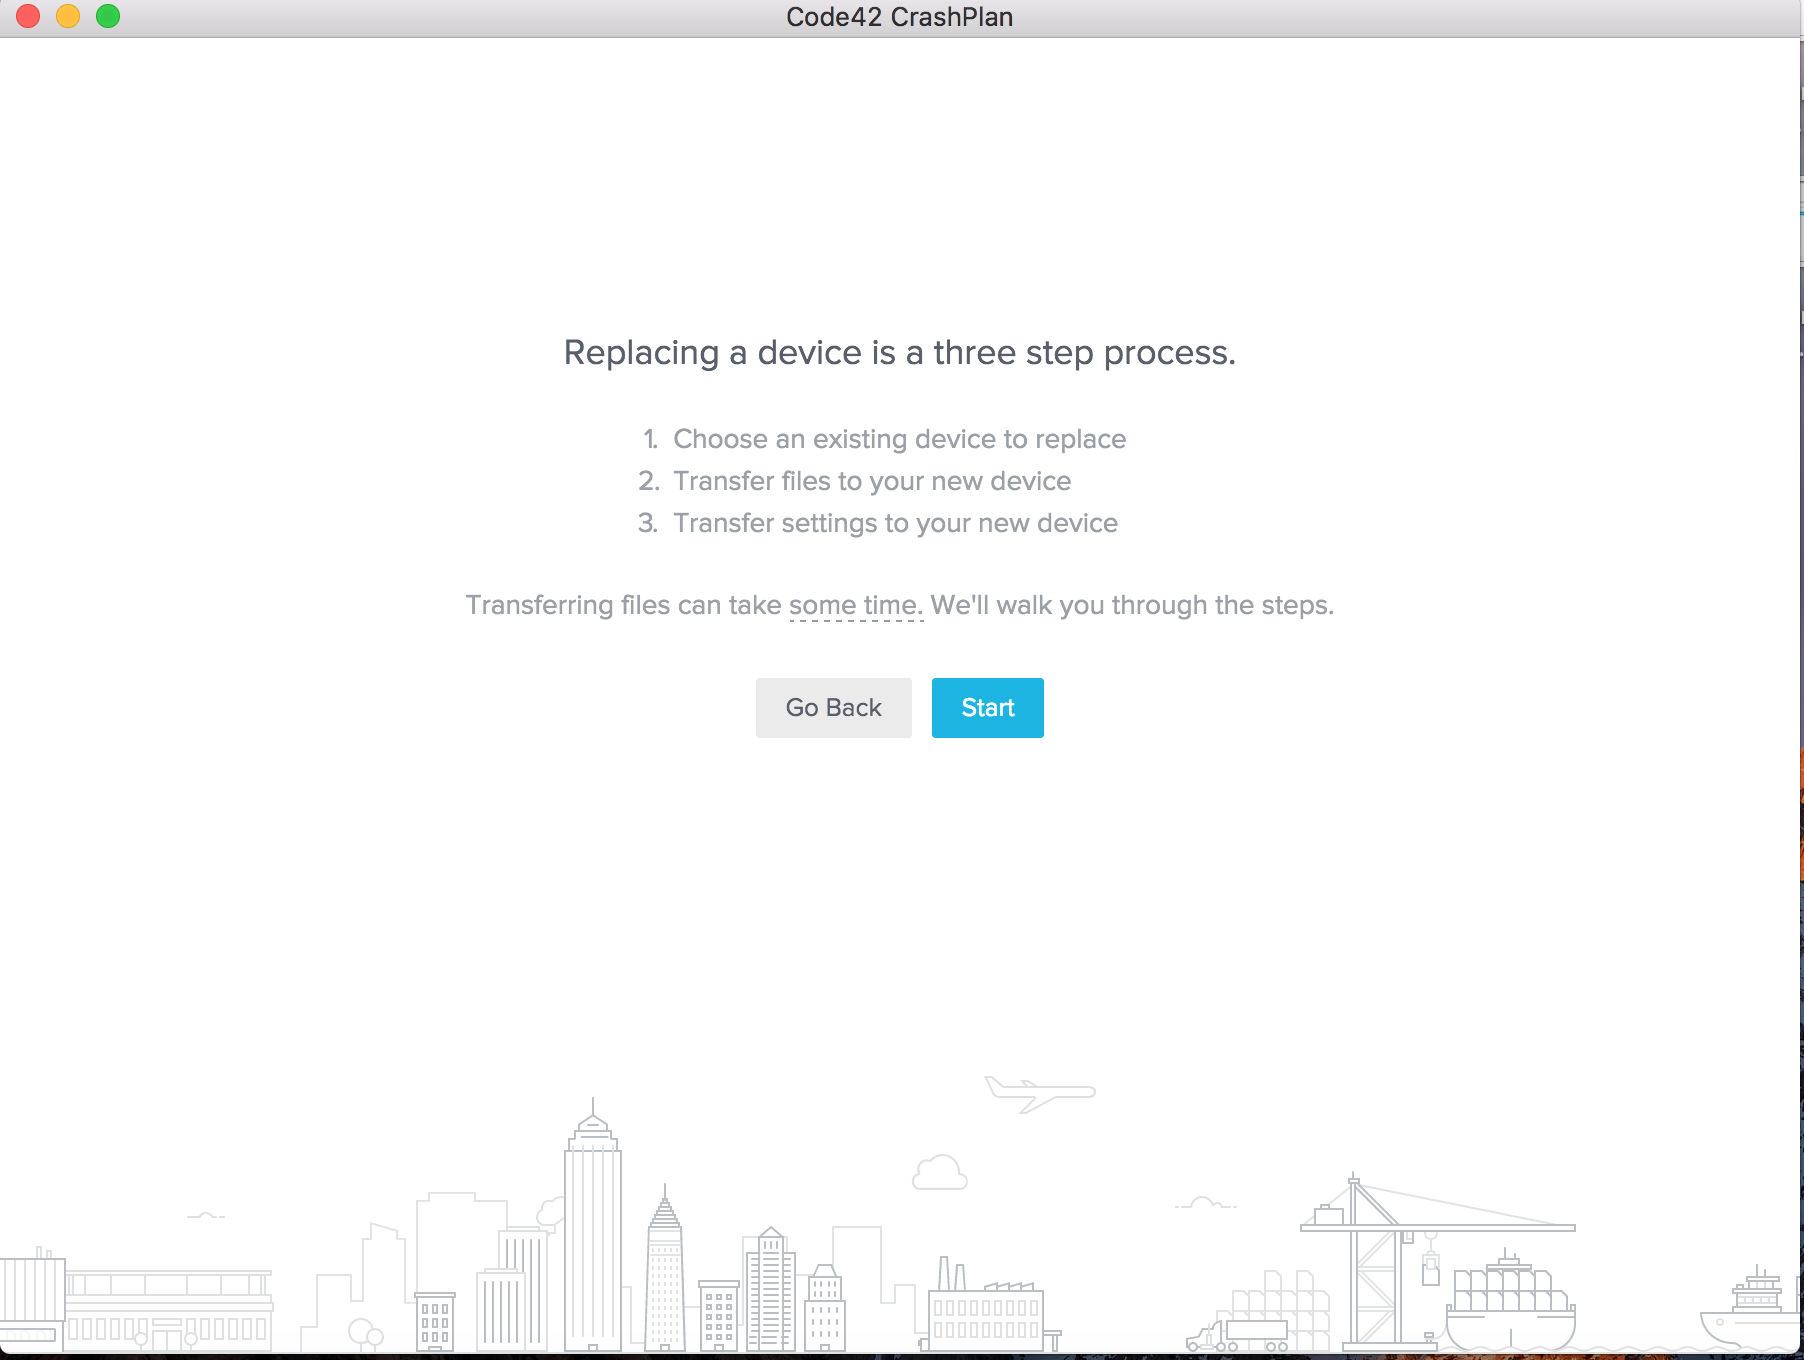
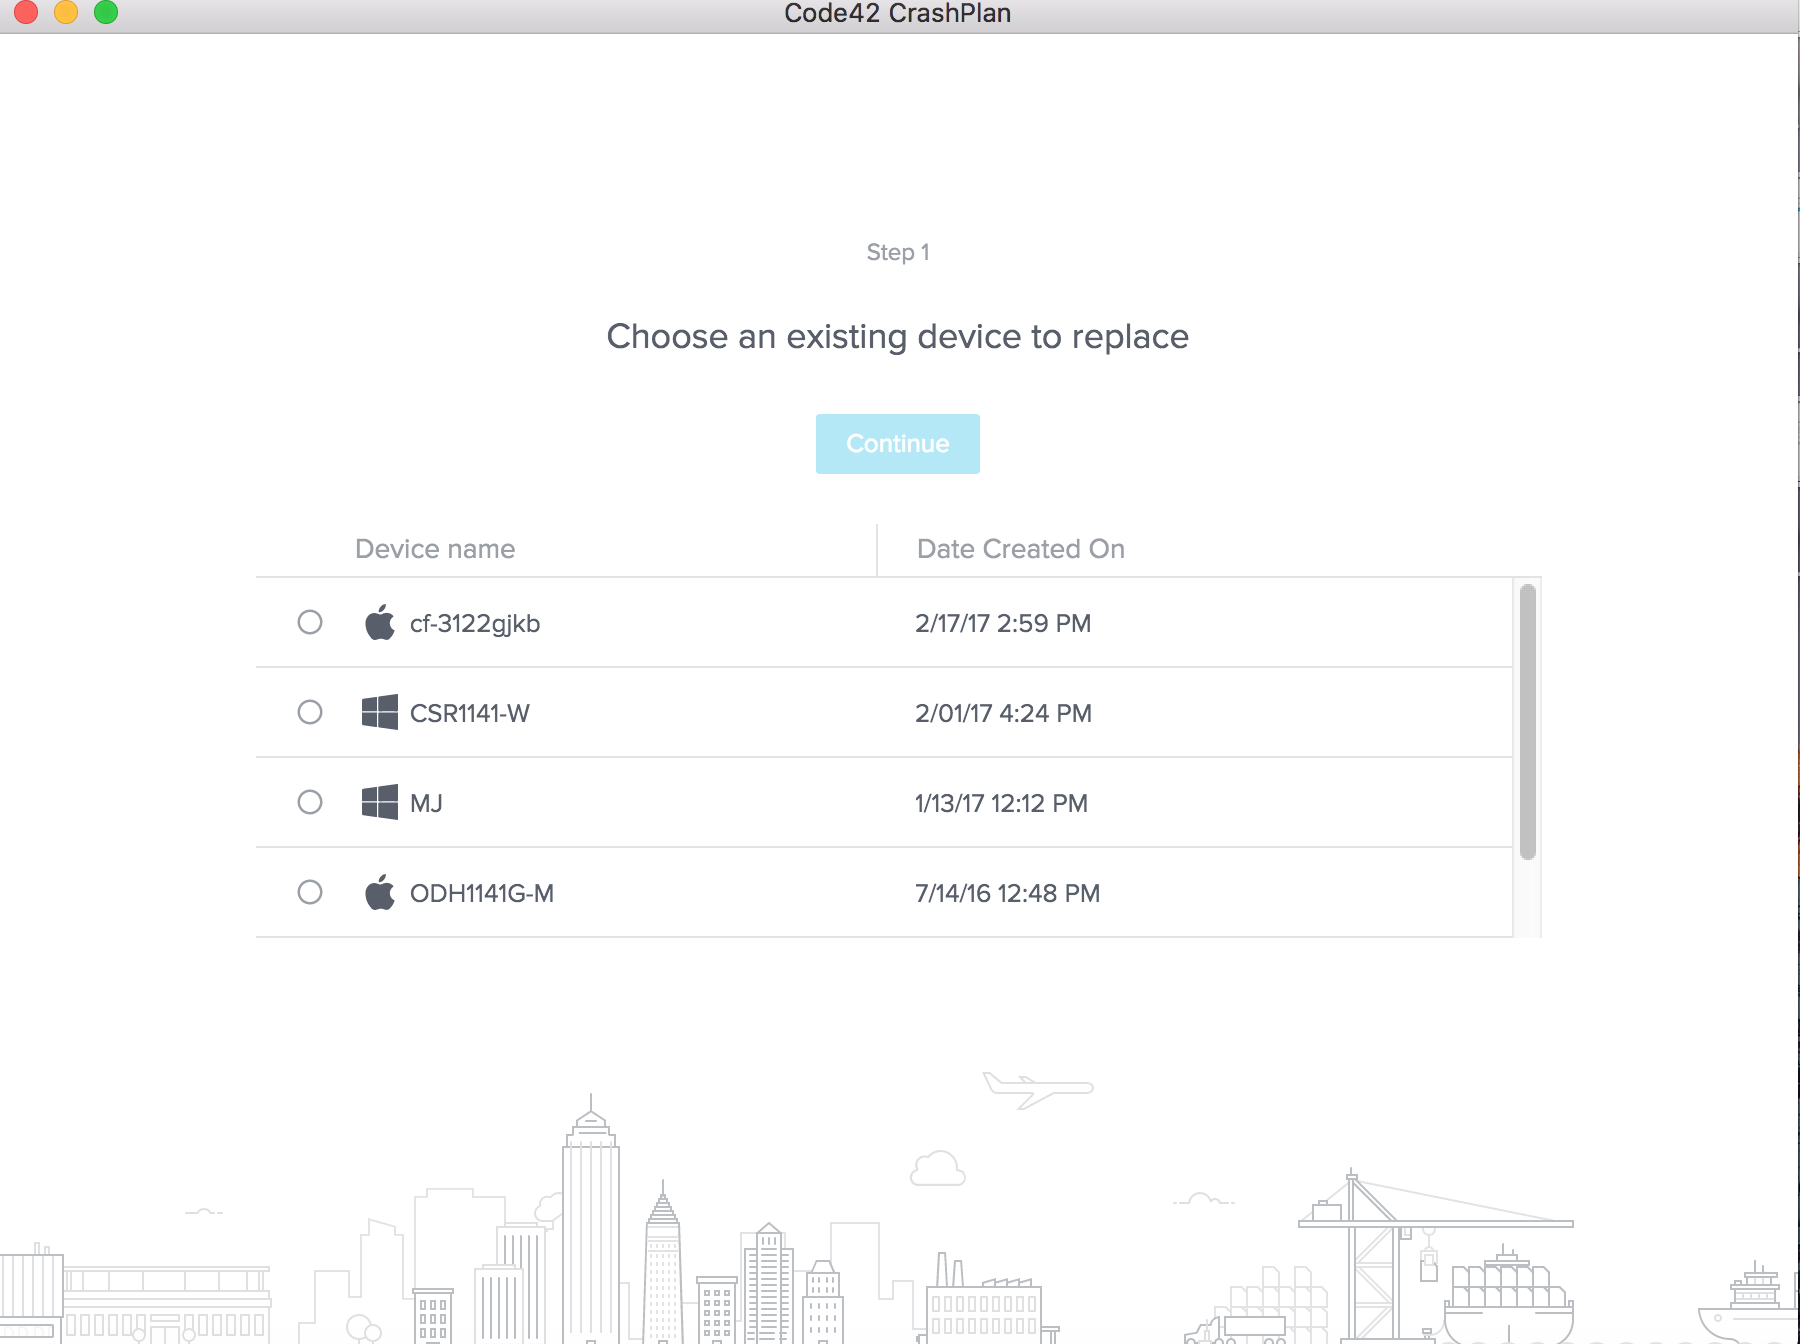
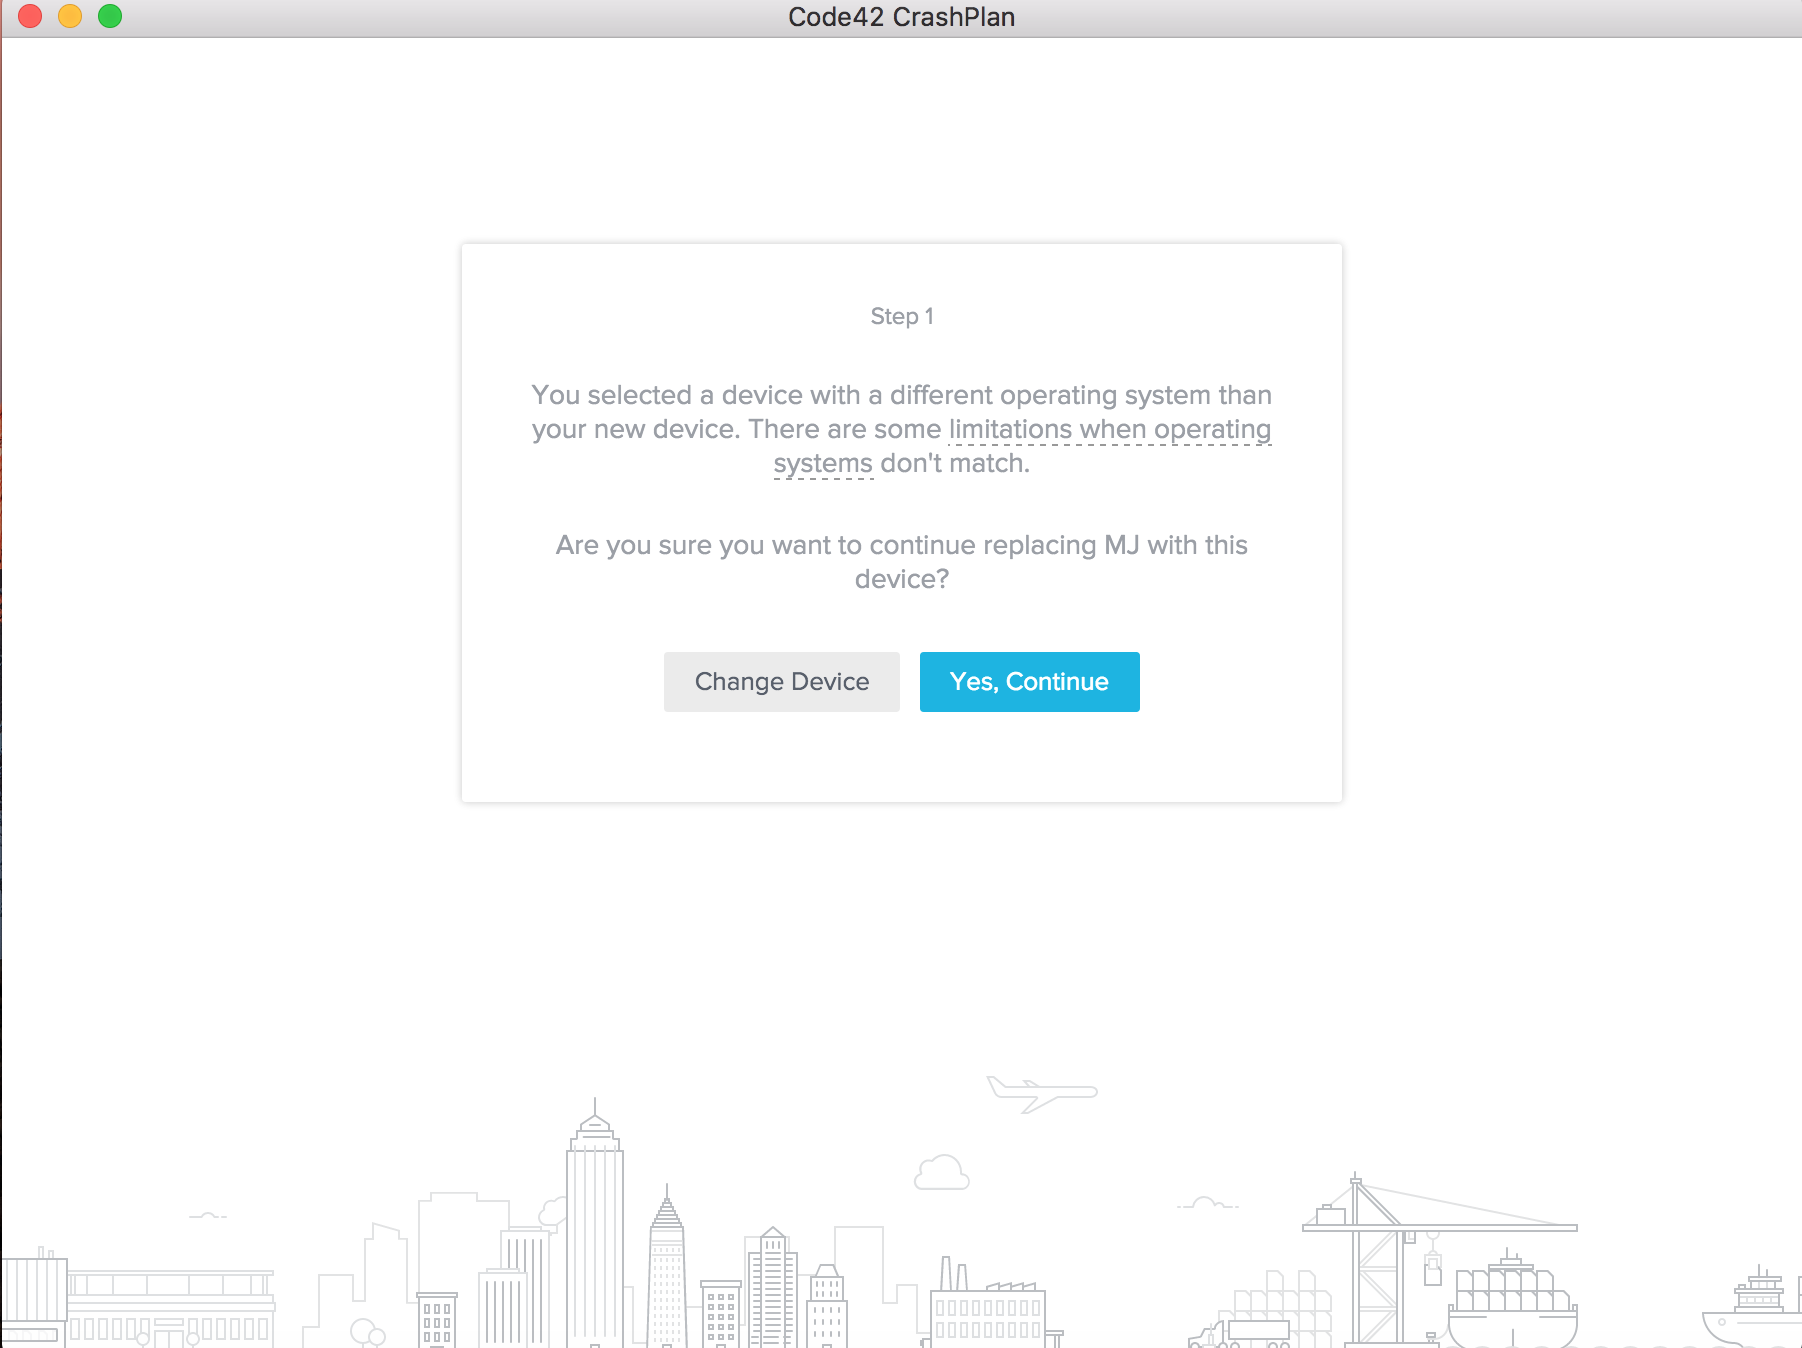
A list of devices will pop up and from there choose the correct device to replace.
A page will show up asking you if you’d like to transfer files. In MOST cases, you will want to transfer files. Some cases you won’t want to transfer files. This is true if there was a sort of error and the files are still on the computer. These are special cases that are rare but will happen.
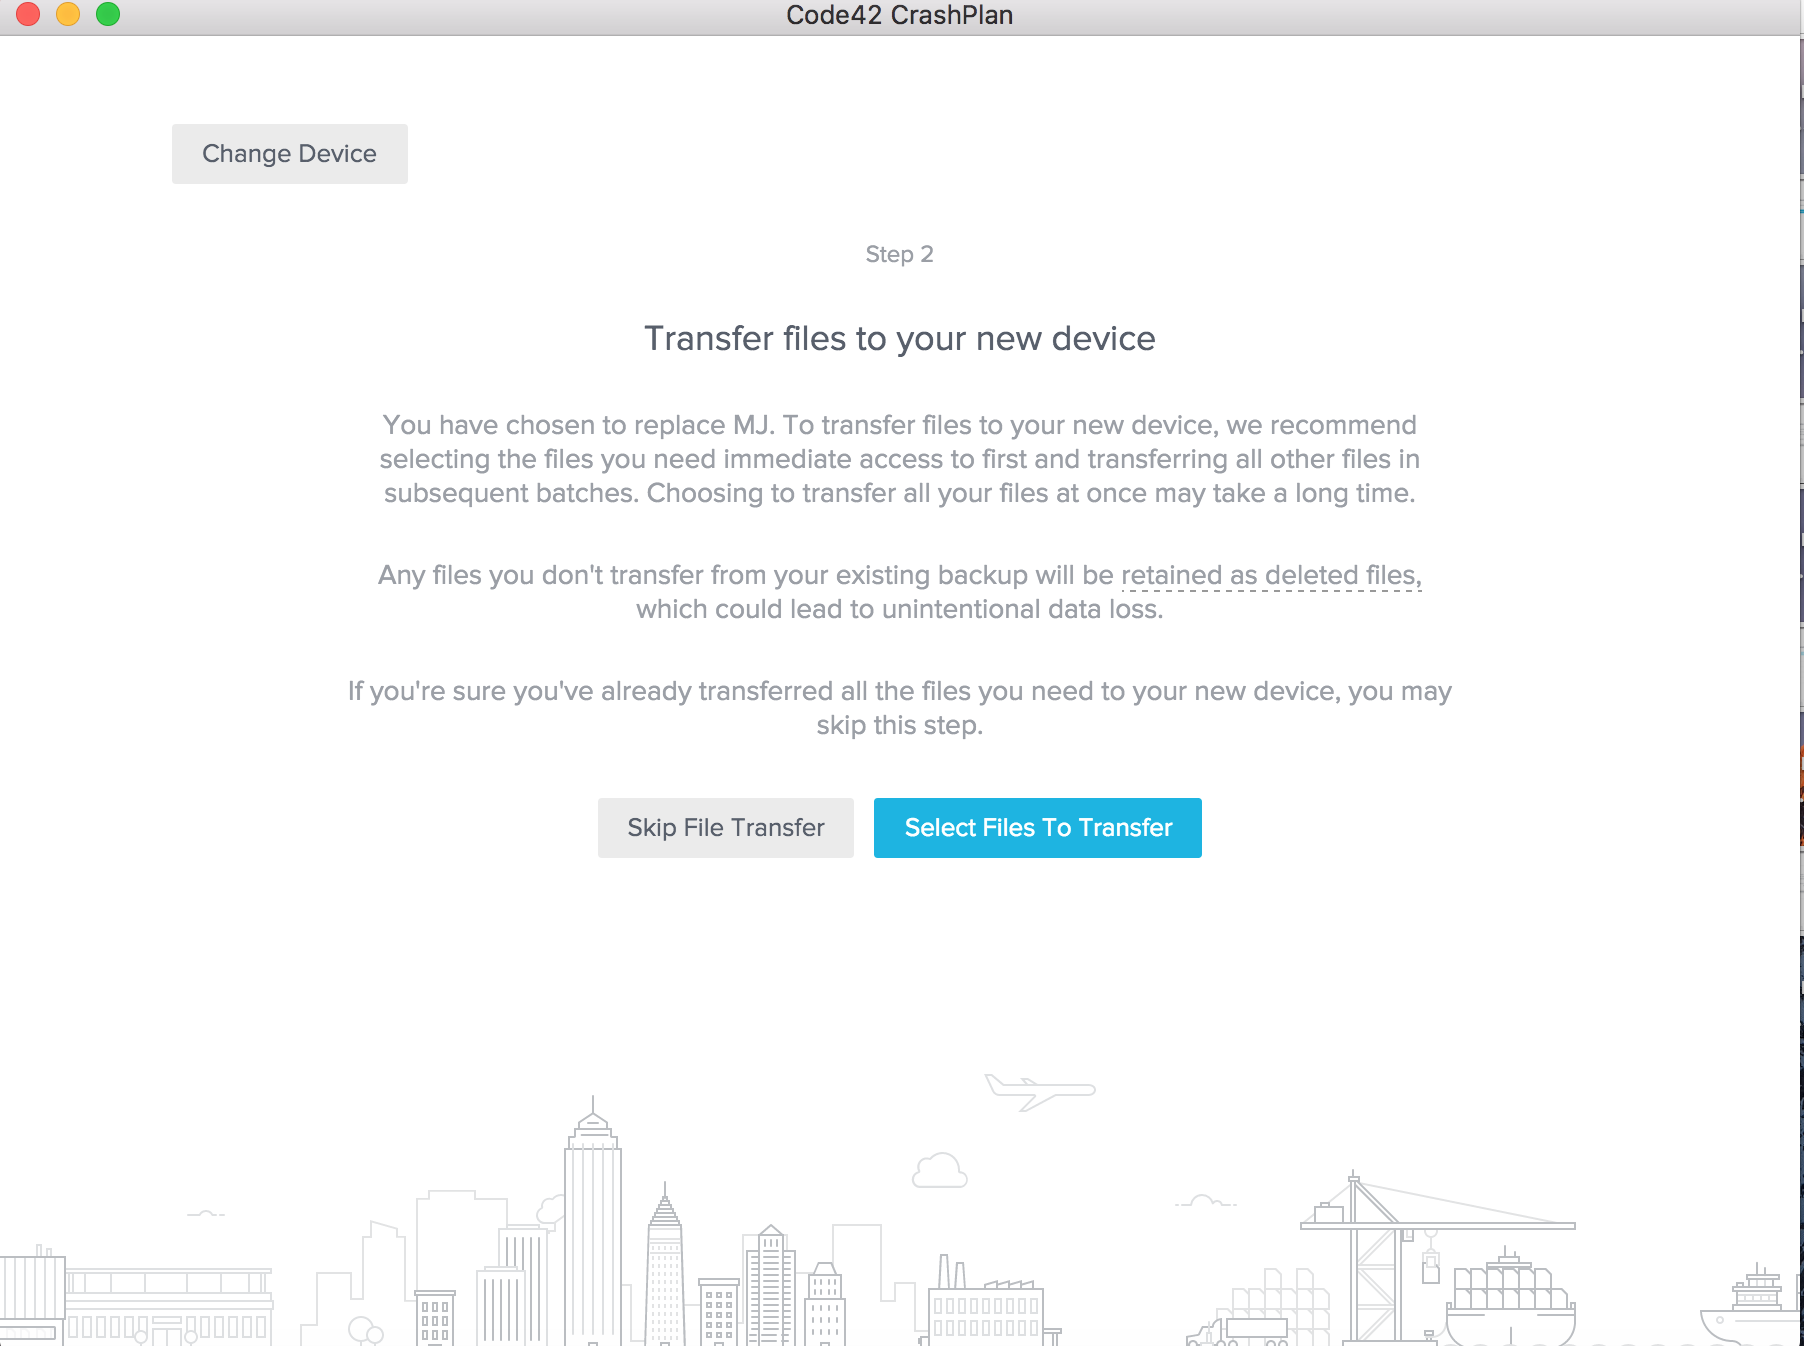
At this point you will select all the folders that will be on the computer. This will most likely be everything that is backed up but it doesn’t have to be. They suggest restoring the most important stuff first and then doing batches later but you can do all at once. Just watch for errors if any happen and make sure the professor checks all their data.

Once you select the files you will select where they go.
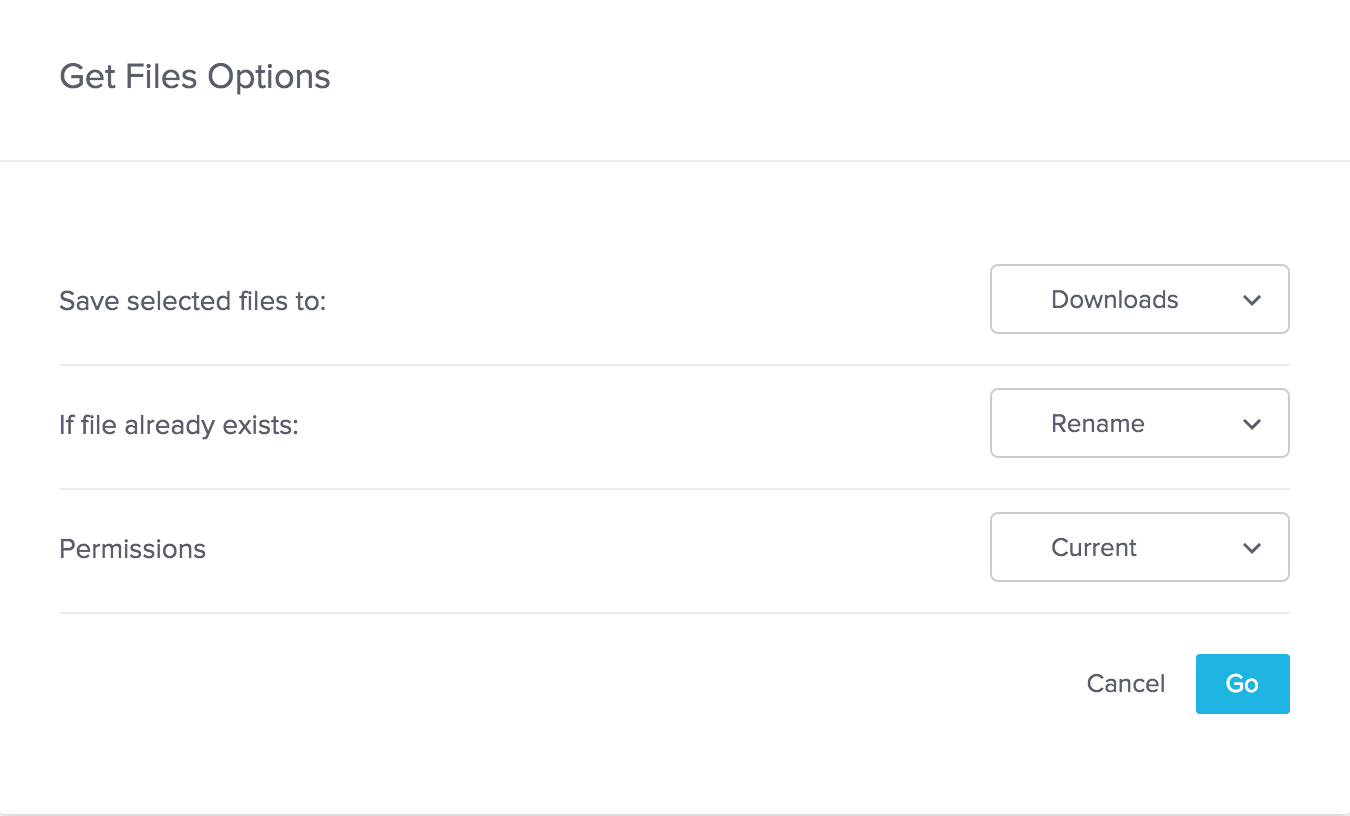
If the professor has signed in you will want to choose Original Location. This will be the most common place but other places can be good if the situation permits. Use your best Judgment.
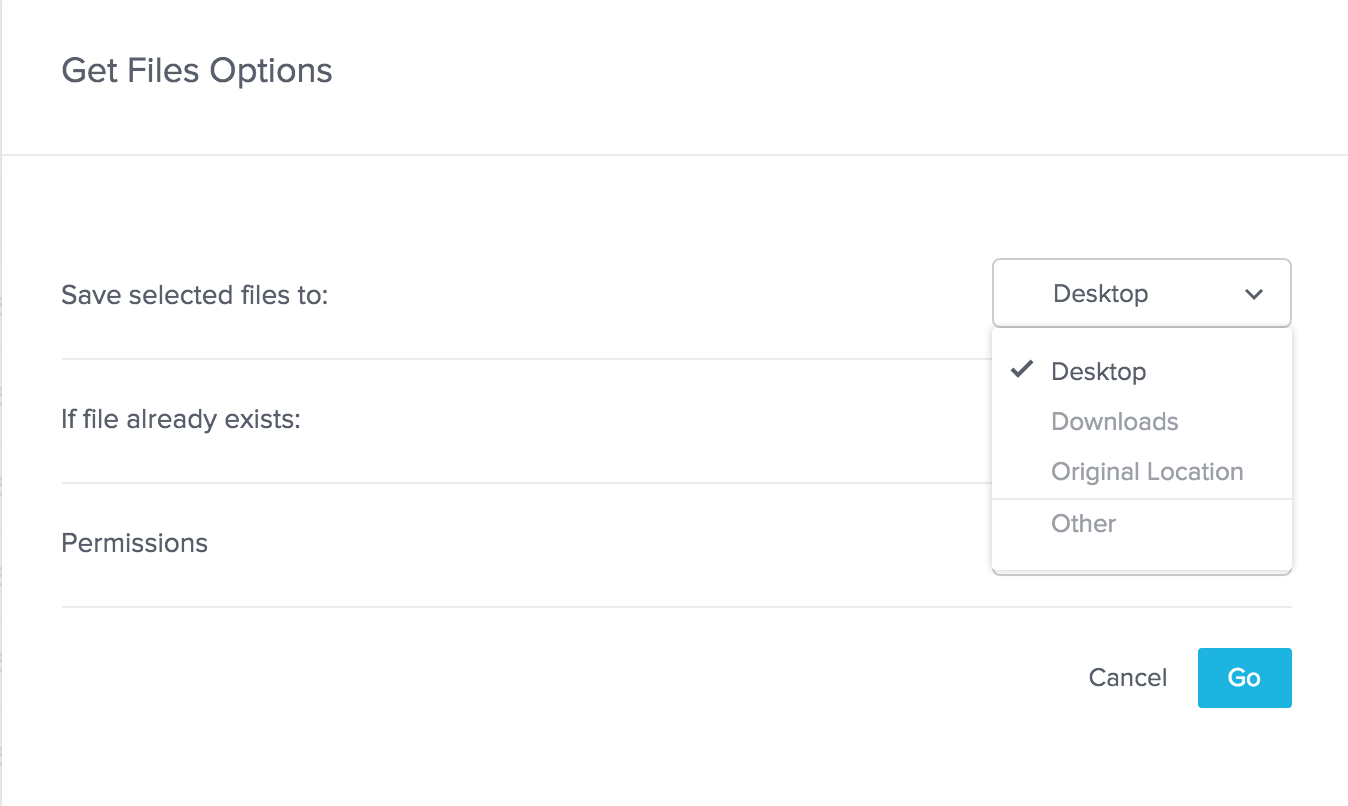
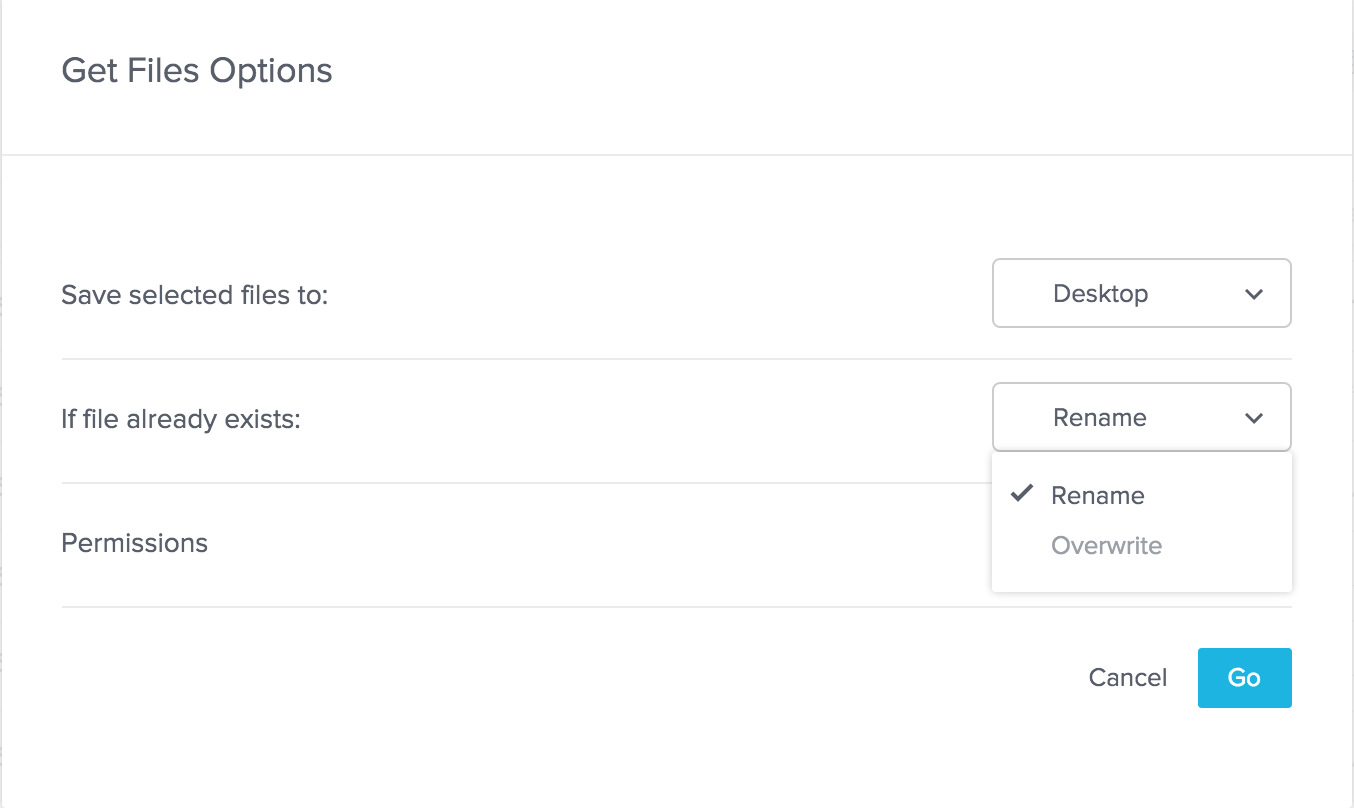
If the file already exists, you can have it rename if you are concerned about the files already there if any. Otherwise, you will want to Overwrite the files.
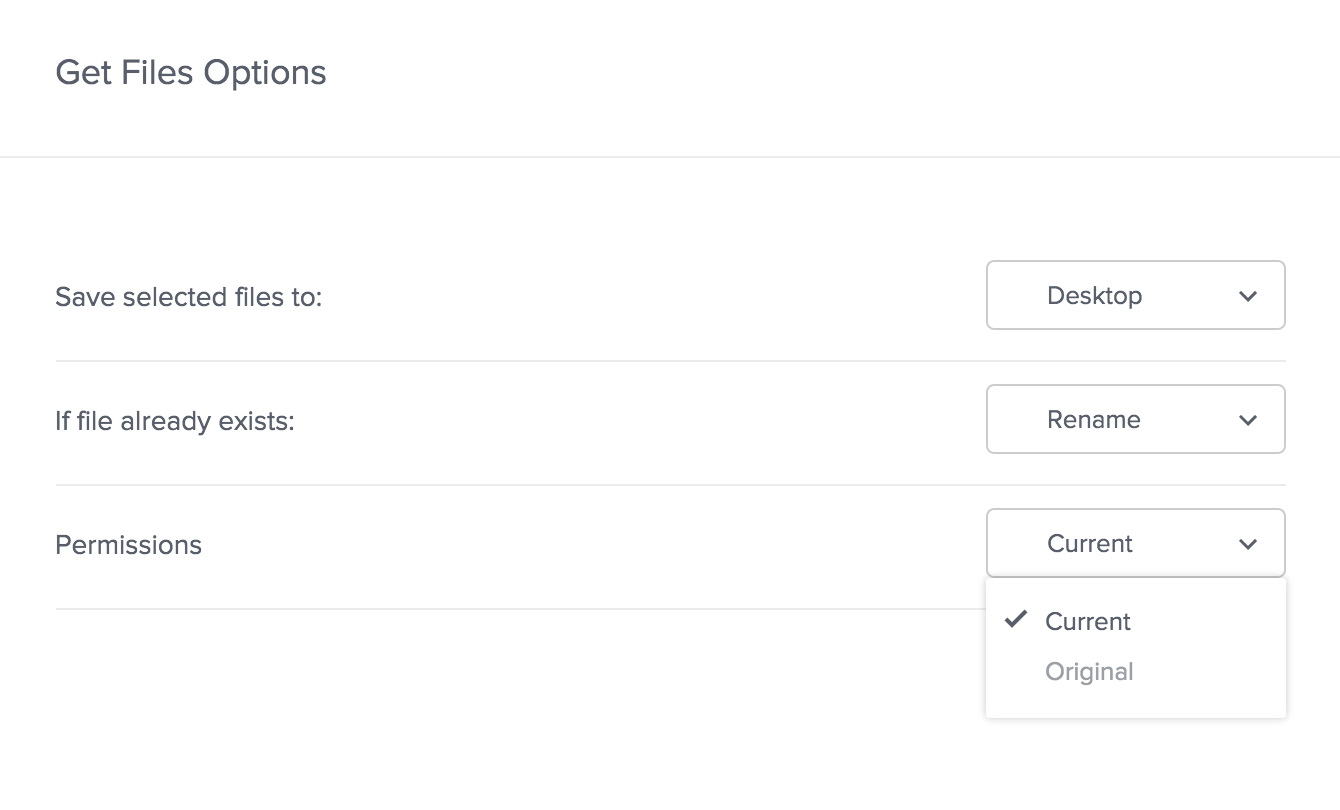
Current is usually best but the other option is okay.
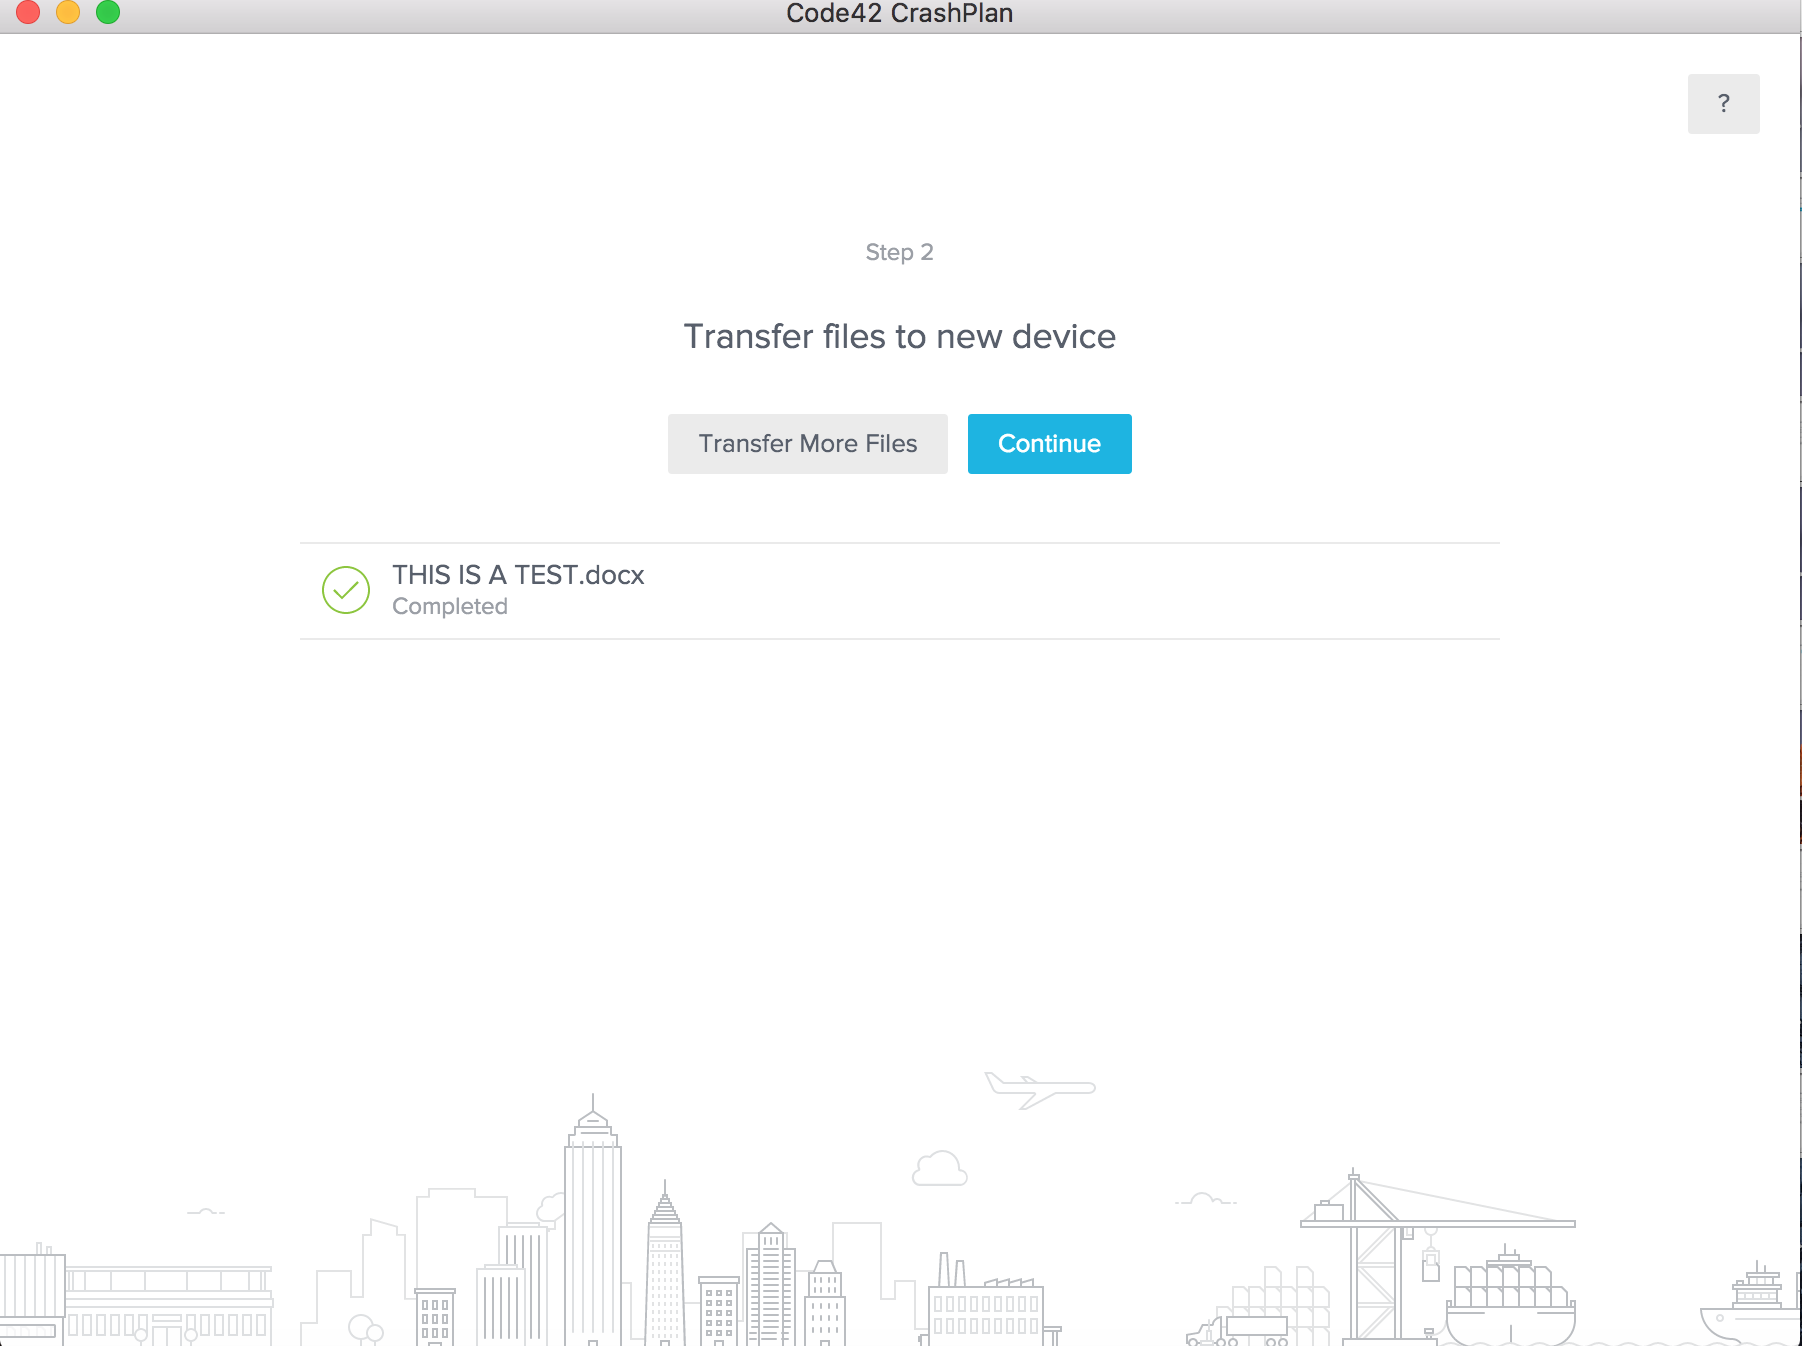
You will be asked if you want to transfer more files or continue. Most times you will have transferred everything so you can just hit continue.
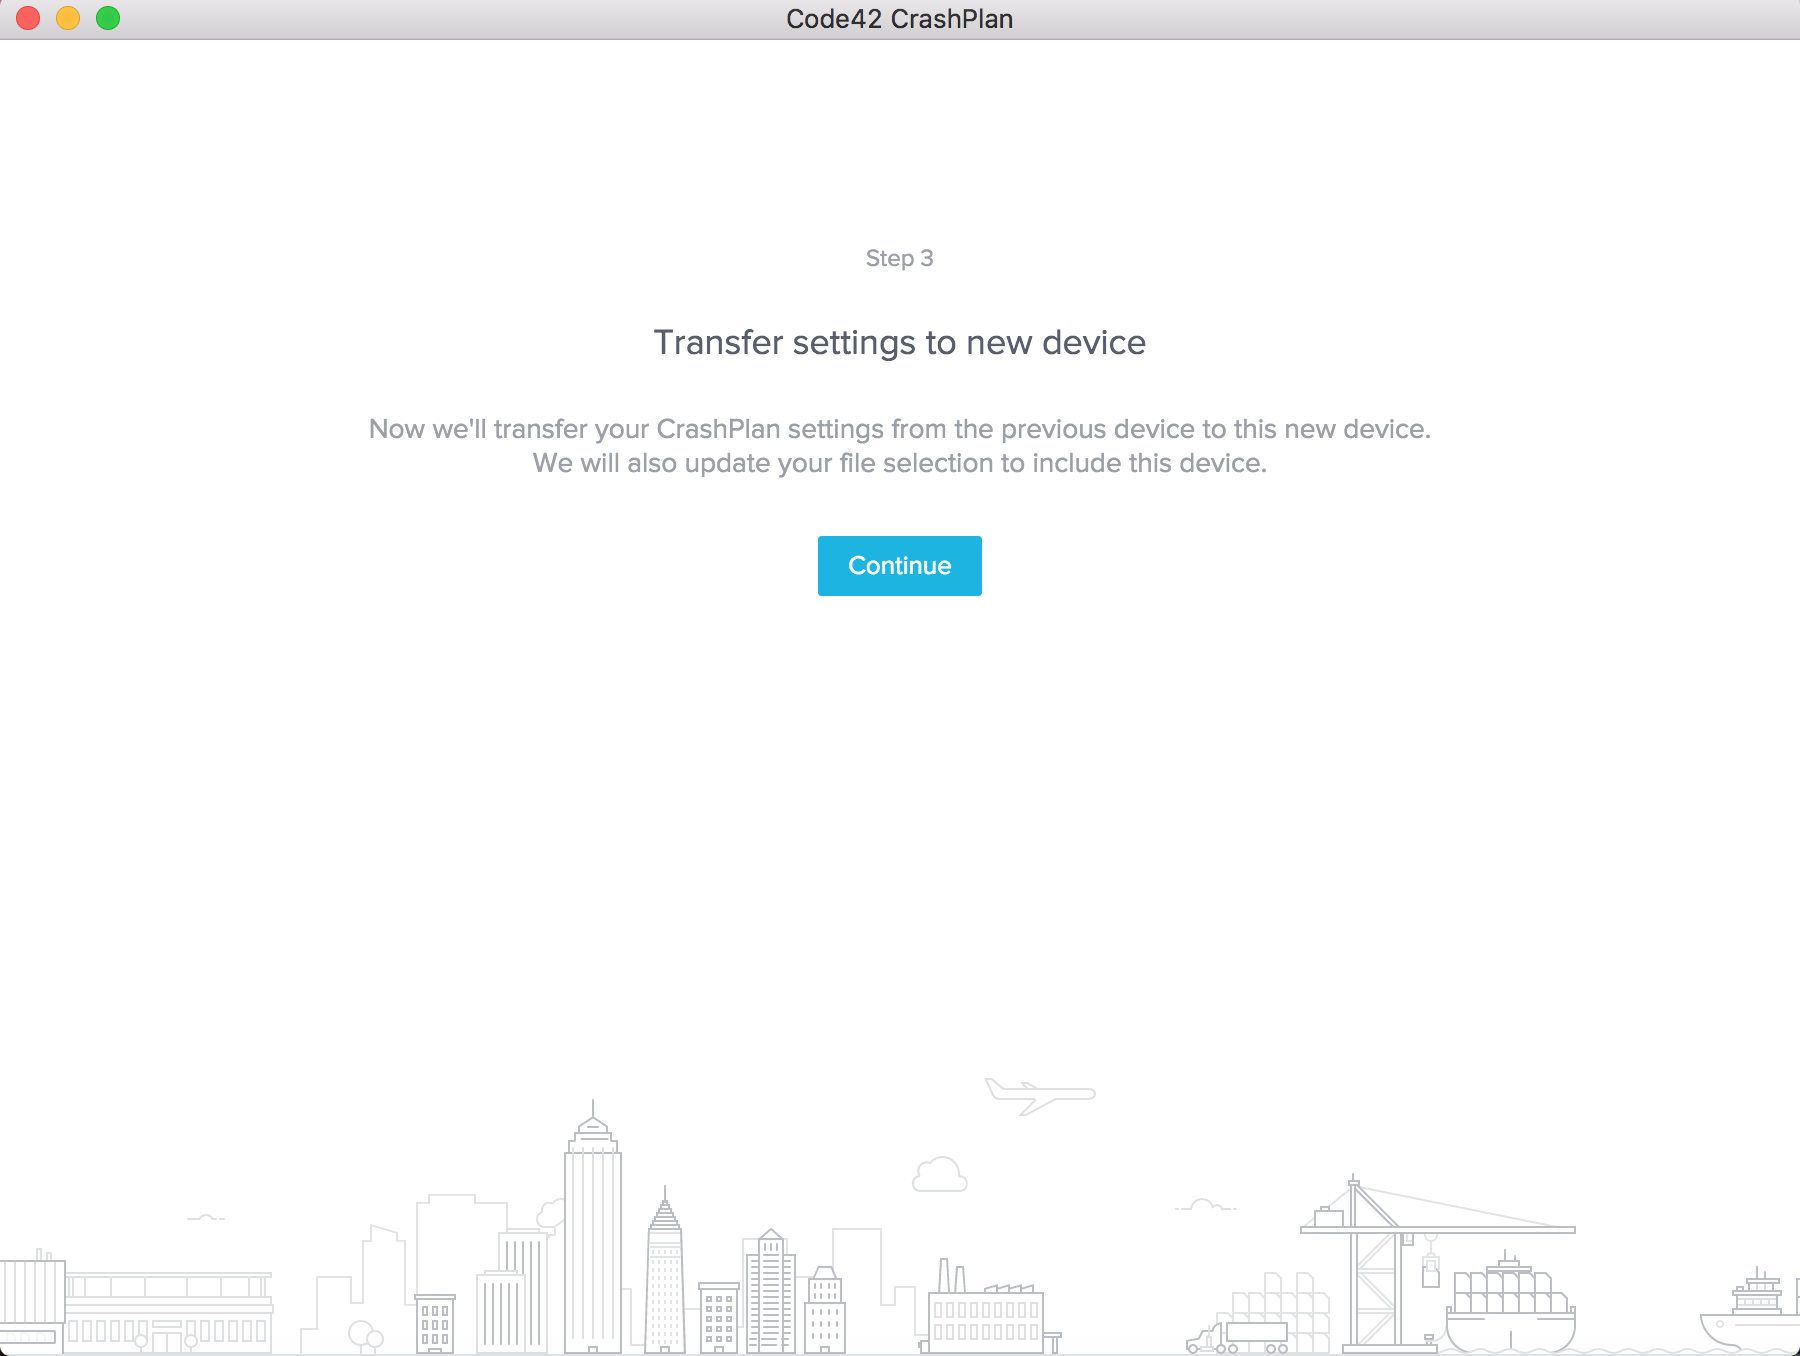
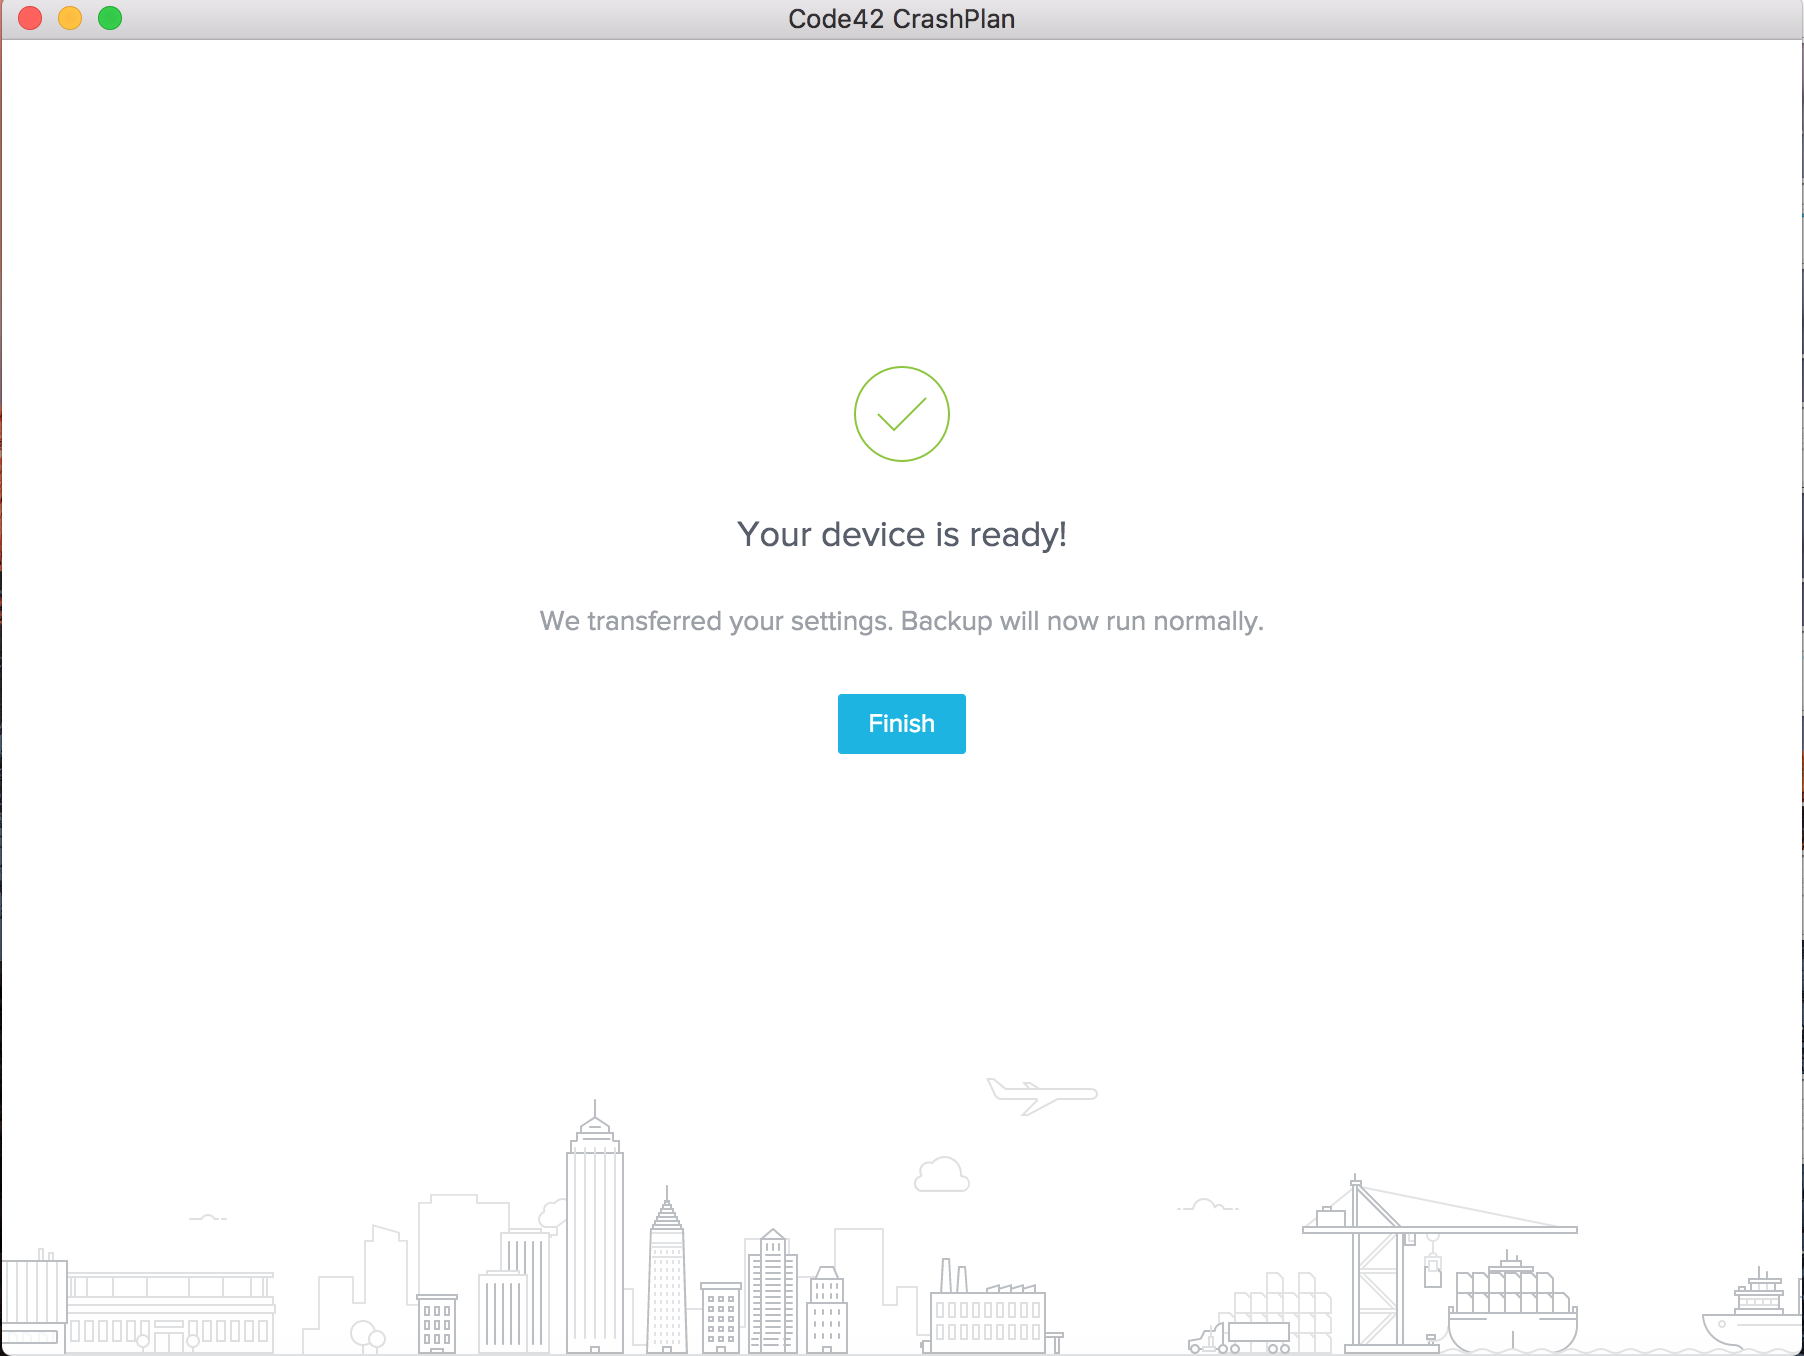
It will now have transferred the professor’s original CrashPlan settings.
The professor will have to sign in again at this point and this is the point that everything will be restored.
You will receive this screen and then they are good to go.
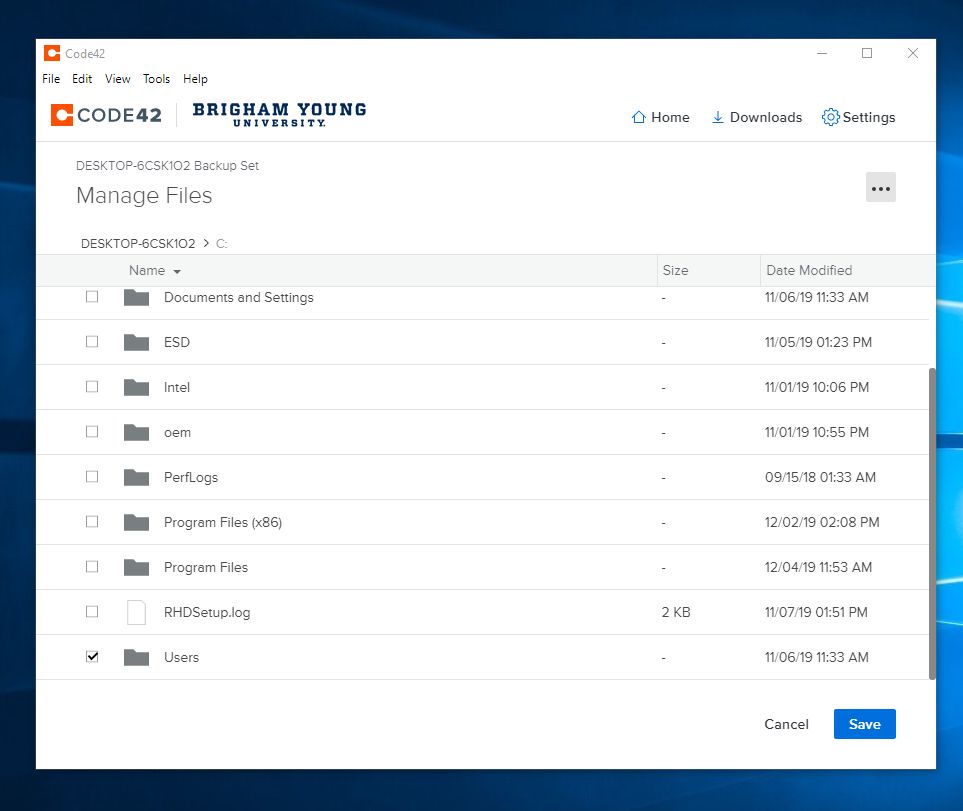
Make sure that you have the entire Users folder selected and D drive selected to back up (when applicable).
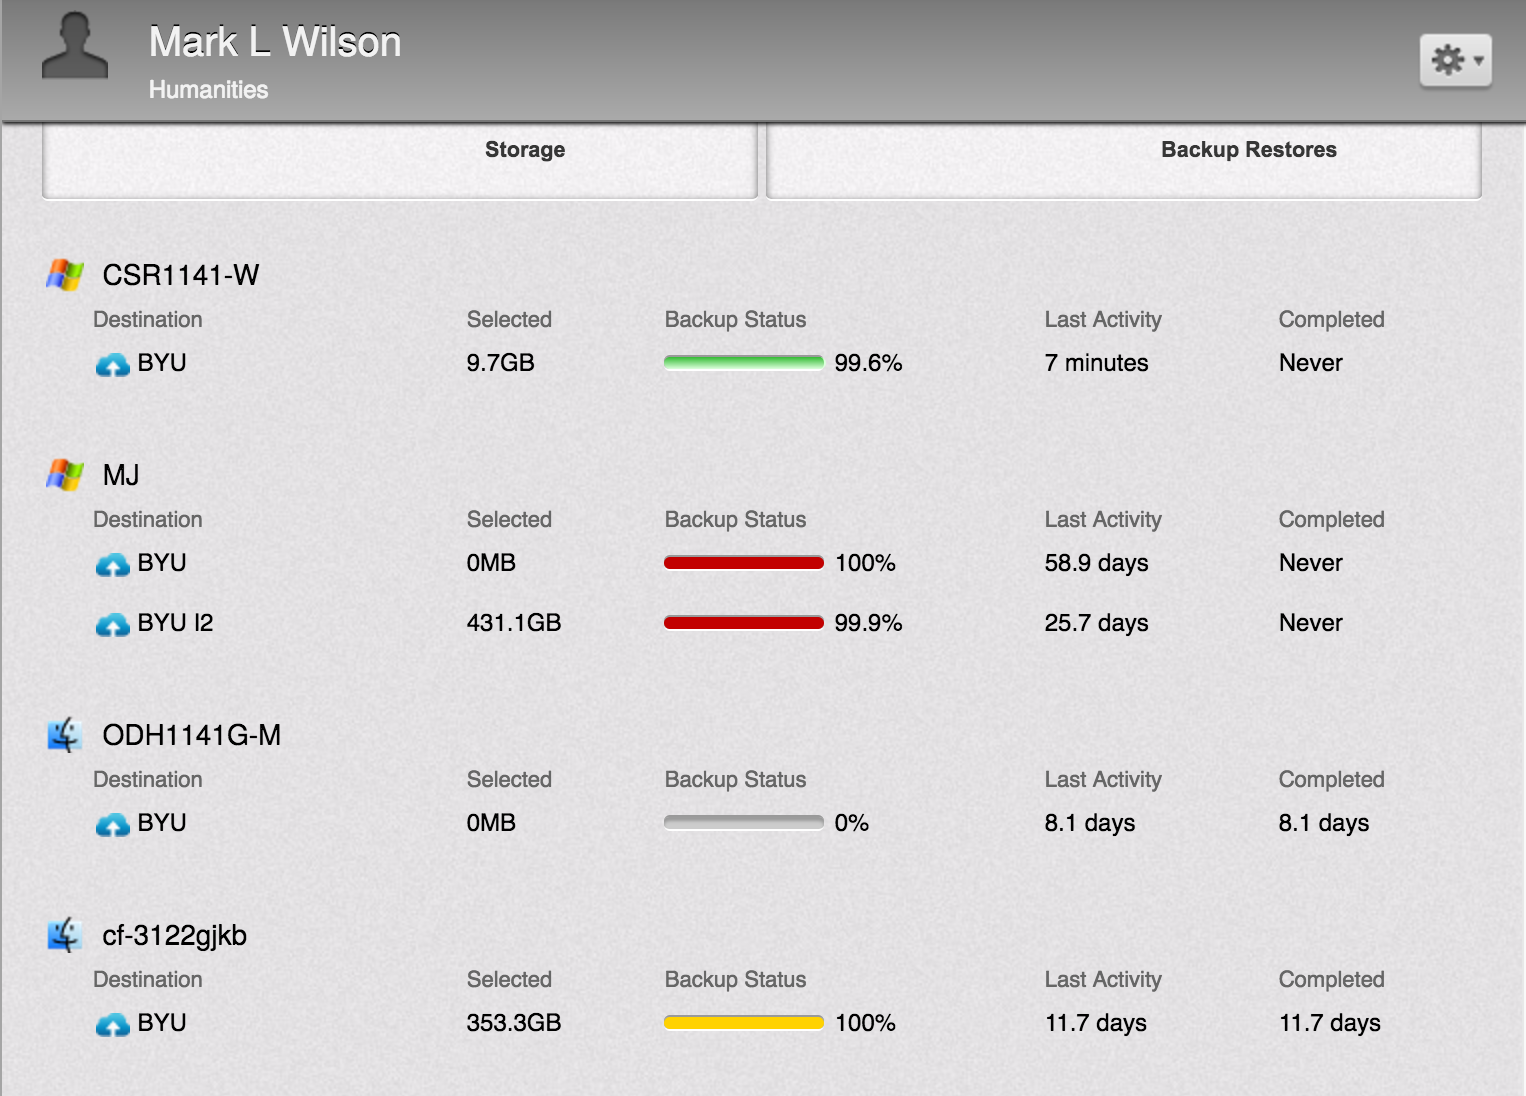
In the Crashplan admin console, this is what happens and what will be seen. Before:
After:
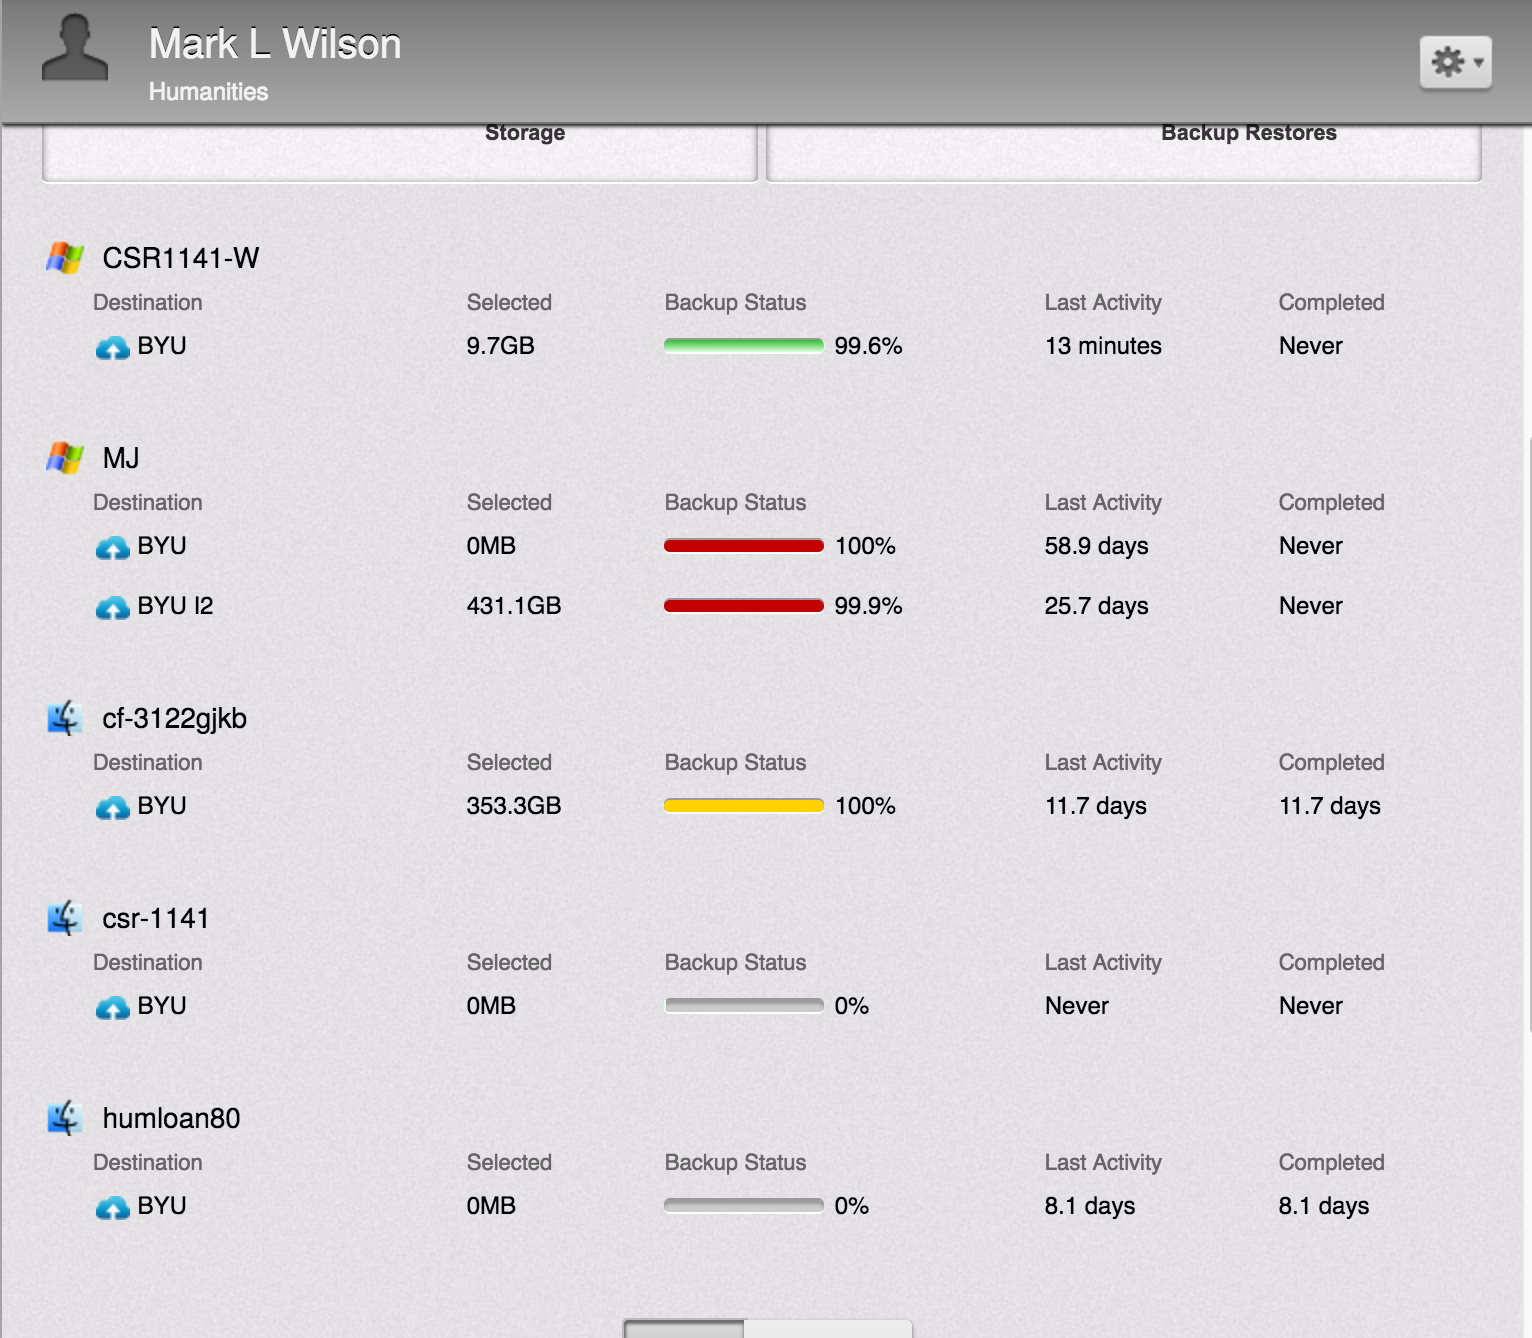
Automatic adoption of the old device to the new one.

